> ## Documentation Index
> Fetch the complete documentation index at: https://www.activepieces.com/docs/llms.txt
> Use this file to discover all available pages before exploring further.
# How to Manage Pieces
> Control which integrations are available to your users
## Overview
**Pieces** are the building blocks of Activepieces — they are integrations and connectors (like Google Sheets, Slack, OpenAI, etc.) that users can use in their automation flows.
As a platform administrator, you have full control over which pieces are available to your users. This allows you to:
* **Enforce security policies** by restricting access to certain integrations
* **Simplify the user experience** by showing only relevant pieces for your use case
* **Deploy custom/private pieces** that are specific to your organization
There are **two levels** of piece management:
| Level | Who Can Manage | Scope |
| ------------------ | -------------- | --------------------------------------------- |
| **Platform Level** | Platform Admin | Install and remove across the entire platform |
| **Project Level** | Project Admin | Show/hide specific pieces for specfic project |
Pieces are standard npm packages — official pieces are **auto-synced from the registry hourly**, so you don't need to upgrade the server to get new versions. Each step in a flow is pinned to a specific piece version, and drafts can be upgraded from the builder. See [Piece Syncing & Versioning](/install/architecture/piece-syncing) for the full pipeline.
***
## Platform-Level Management
Platform administrators can manage pieces for the entire Activepieces instance from **Platform Admin → Setup → Pieces**.
## Project-Level Management
Project administrators can further restrict which pieces are available within their specific project. This is useful when different teams or projects need access to different integrations.
### Show/Hide Pieces in a Project
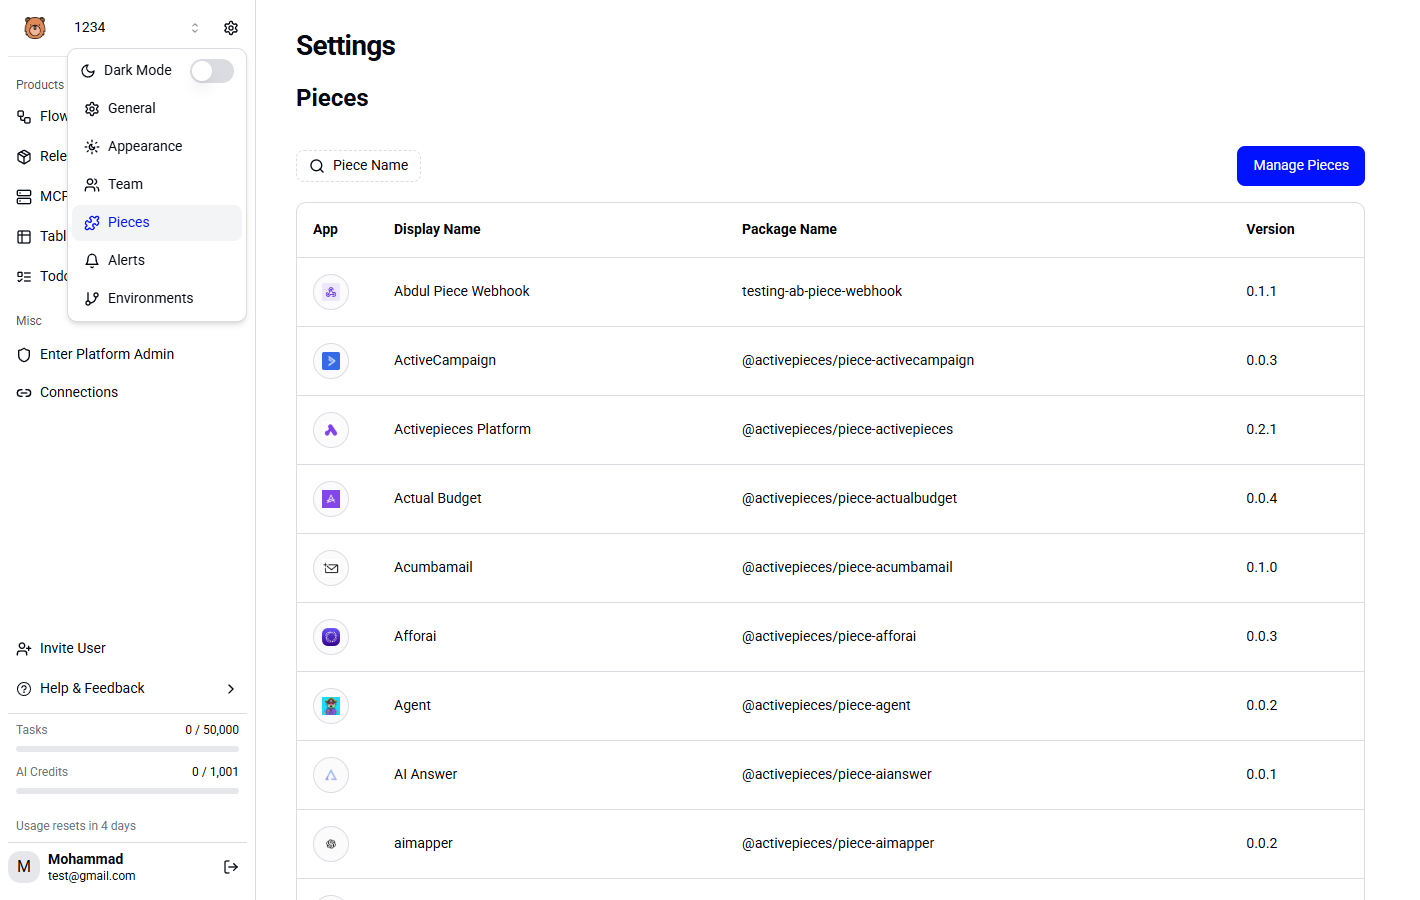
Navigate to your project and go to **Settings → Pieces**.
You'll see a list of all pieces installed on the platform. Toggle the visibility for each piece:
* **Enabled**: Users in this project can use the piece
* **Disabled**: The piece is hidden from users in this project
Changes take effect immediately — users will only see the enabled pieces when building their flows.
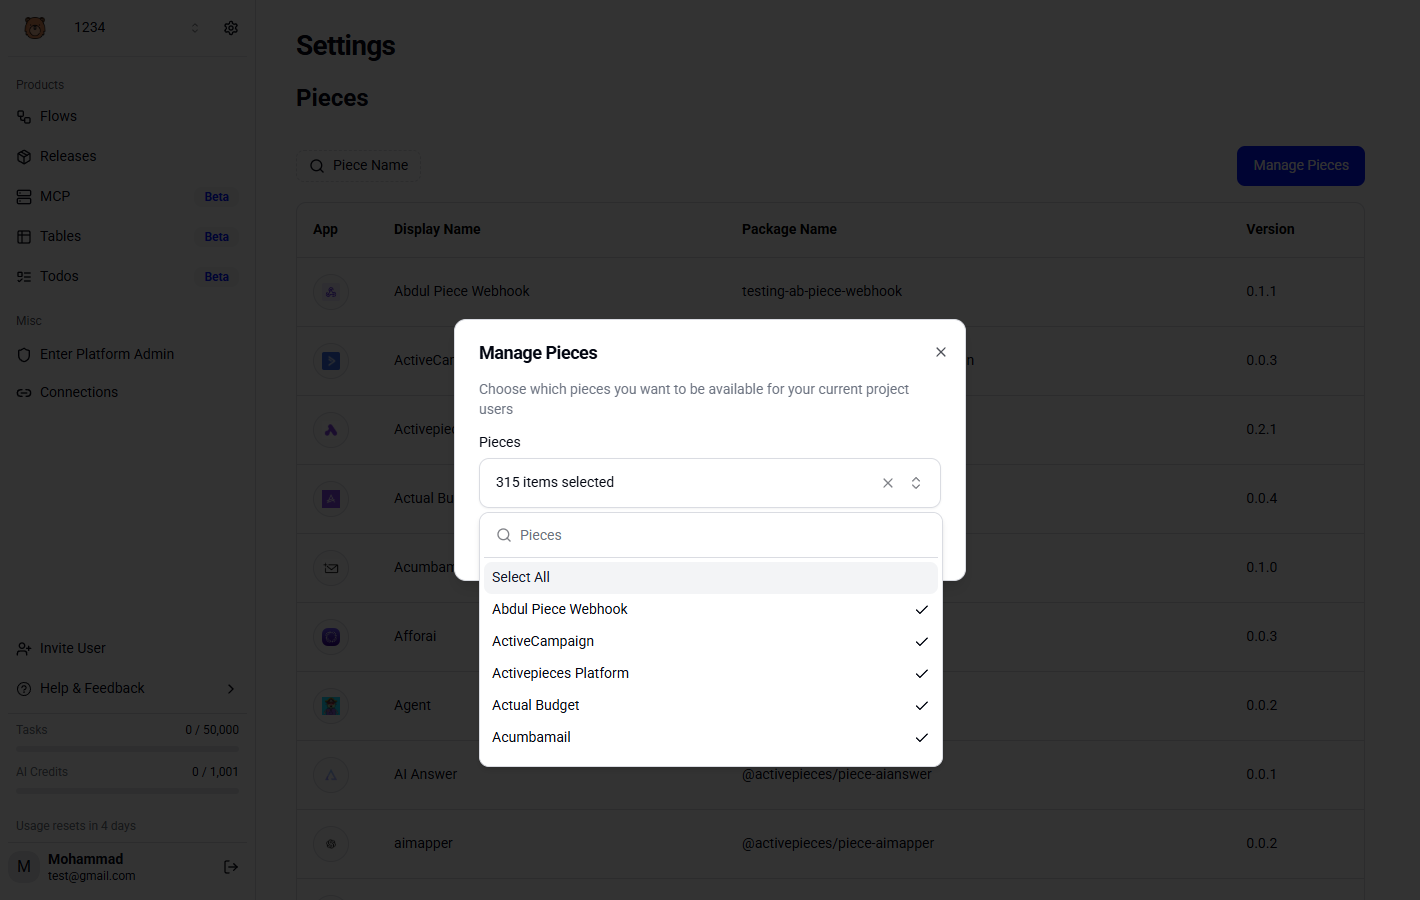 Project-level settings can only **hide** pieces that are installed at the platform level. You cannot add pieces at the project level that aren't already installed on the platform.
### Install Private Pieces
For detailed instructions on building custom pieces, check the [Building Pieces](/build-pieces/building-pieces/overview) documentation.
If you've built a custom piece for your organization, you can upload it directly as a tarball (`.tgz`) file.
Build your piece using the Activepieces CLI:
```bash theme={null}
npm run pieces -- build --name=your-piece-name
```
This generates a tarball in `dist/packages/pieces/your-piece-name`.
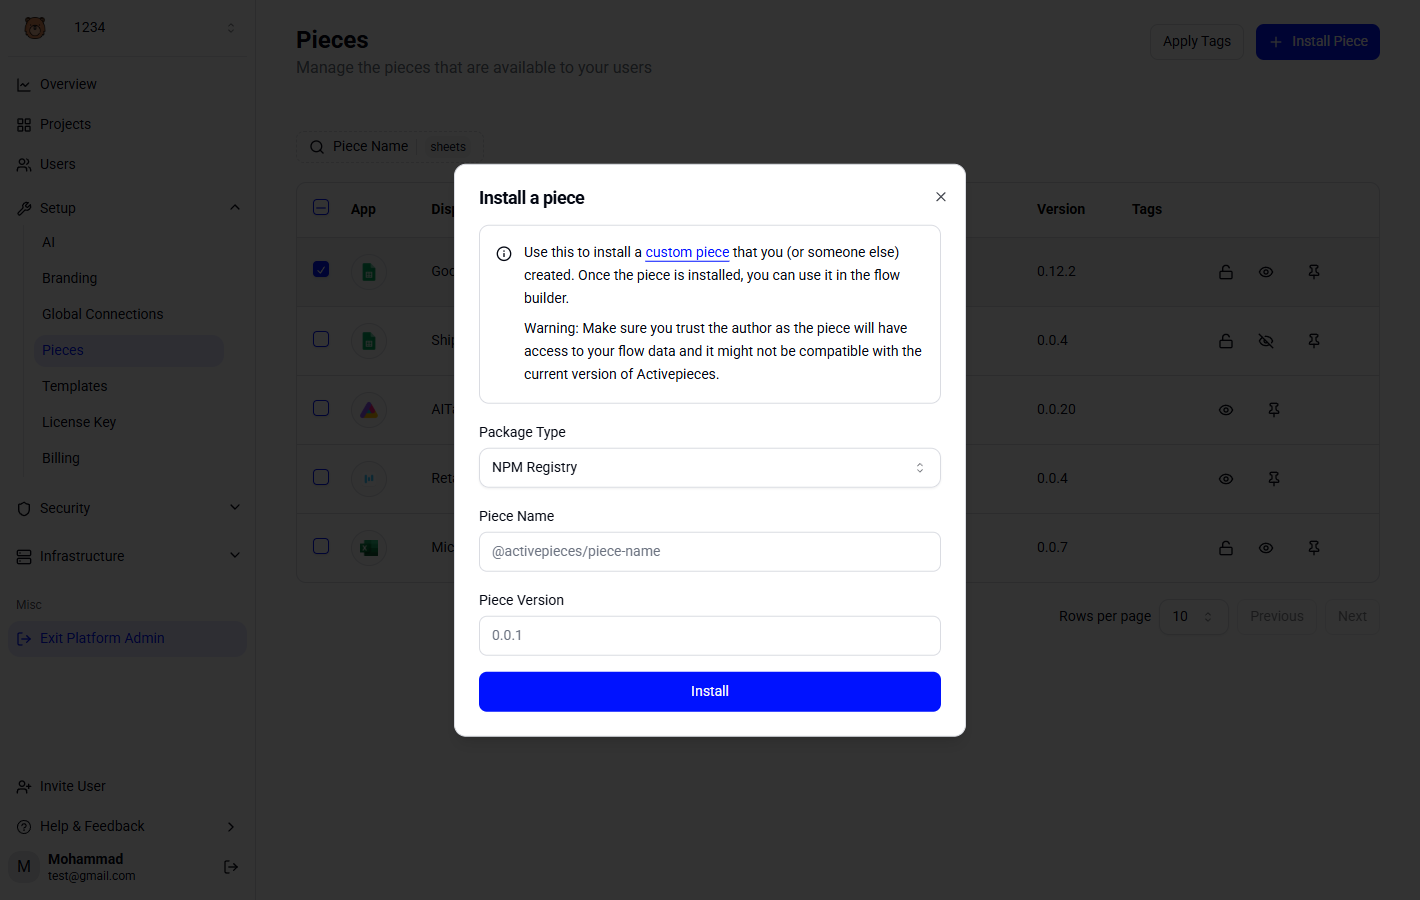
Go to **Platform Admin → Setup → Pieces** and click **Install Piece**.
Choose **Upload File** as the installation source.
Select the `.tgz` file from your build output and upload it.
Project-level settings can only **hide** pieces that are installed at the platform level. You cannot add pieces at the project level that aren't already installed on the platform.
### Install Private Pieces
For detailed instructions on building custom pieces, check the [Building Pieces](/build-pieces/building-pieces/overview) documentation.
If you've built a custom piece for your organization, you can upload it directly as a tarball (`.tgz`) file.
Build your piece using the Activepieces CLI:
```bash theme={null}
npm run pieces -- build --name=your-piece-name
```
This generates a tarball in `dist/packages/pieces/your-piece-name`.
Go to **Platform Admin → Setup → Pieces** and click **Install Piece**.
Choose **Upload File** as the installation source.
Select the `.tgz` file from your build output and upload it.