This tutorial assumes you have already followed the quick start guide using one of the installation methods listed in Install Overview.
Decide on Sandboxing
Decide on Sandboxing
You should decide on the sandboxing mode for your deployment based on your use case and whether it is multi-tenant or not. Here is a simplified way to decide:
More Information at Sandboxing
| Name | Supports NPM in Code Piece | Requires Docker to be Privileged | Performance | Secure for Multi Tenant | Reusable Workers | Environment Variable |
|---|---|---|---|---|---|---|
| V8/Code Sandboxing | ❌ | No | Fast & Lightweight | ✅ | ✅ | Set AP_EXECUTION_MODE to SANDBOX_CODE_ONLY |
| No Sandboxing | ✅ | No | Fast & Lightweight | ❌ | ✅ | Set AP_EXECUTION_MODE to UNSANDBOXED |
| Kernel Namespaces Sandboxing | ✅ | Yes | Slow & CPU Intensive | ✅ | ❌ | Set AP_EXECUTION_MODE to SANDBOX_PROCESS |
| Combined Sandboxing | ❌ | Yes | Medium & CPU Intensive | ✅ | ✅ | Set AP_EXECUTION_MODE to SANDBOX_CODE_AND_PROCESS |
Enterprise Edition (Optional)
Enterprise Edition (Optional)
You can request a trial key from within the app or in the cloud by filling out the form. Alternatively, you can contact sales at https://www.activepieces.com/sales.
Please know that when your trial runs out, all enterprise features will be shut down meaning any user other than the platform admin will be deactivated, and your private pieces will be deleted, which could result in flows using them to fail.
Please know that when your trial runs out, all enterprise features will be shut down meaning any user other than the platform admin will be deactivated, and your private pieces will be deleted, which could result in flows using them to fail.
Installation
-
Set the
AP_EDITIONenvironment variable toee. -
Set the
AP_EXECUTION_MODEto anything other thanUNSANDBOXED, check the above section. -
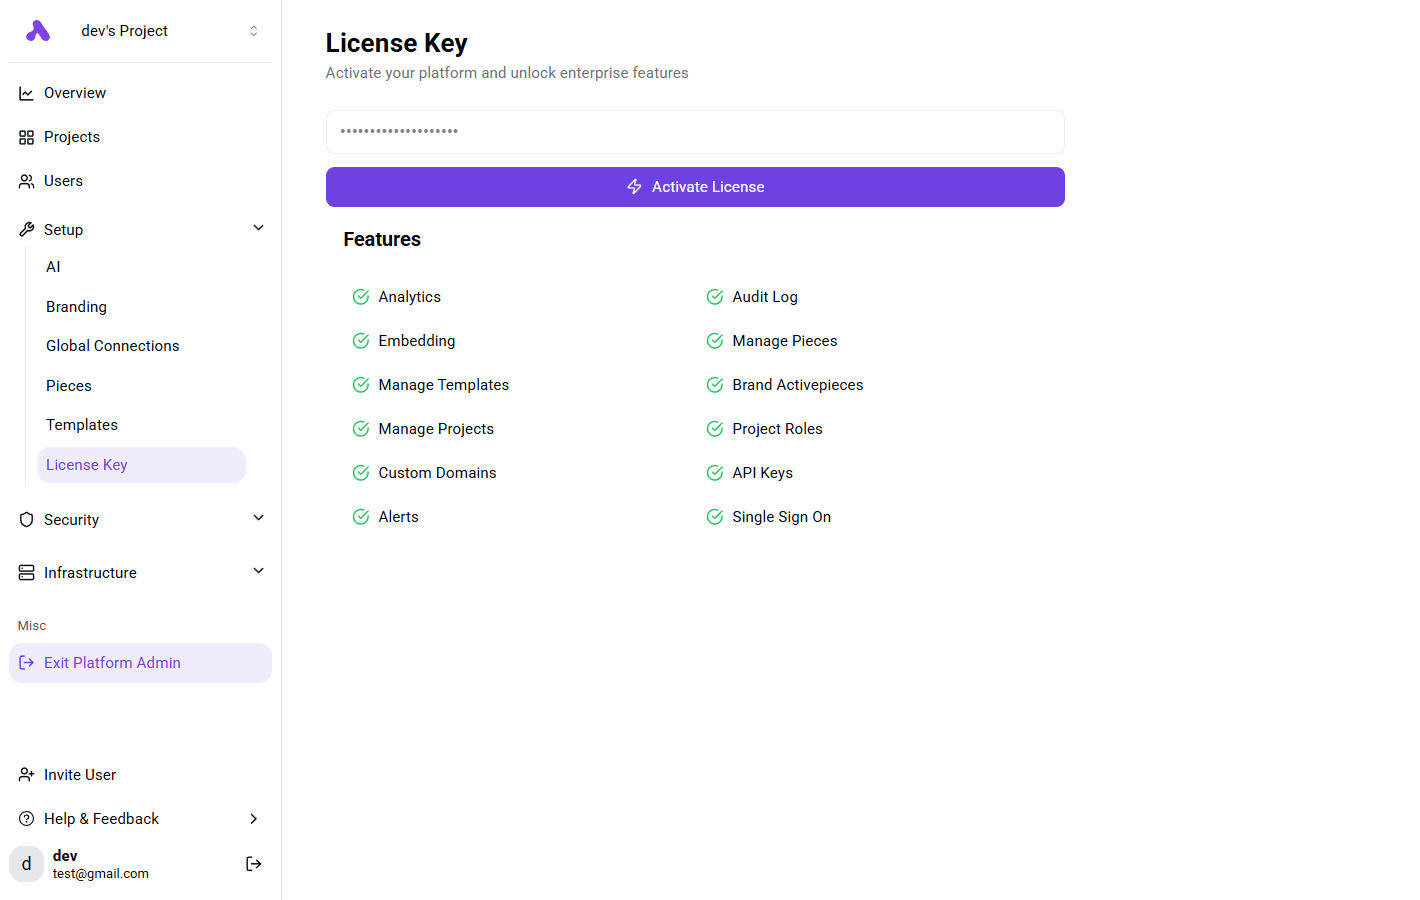
Once your instance is up, activate the license key by going to Platform Admin -> Setup -> License Keys.
Setup HTTPS
Setup HTTPS
Setting up HTTPS is highly recommended because many services require webhook URLs to be secure (HTTPS). This helps prevent potential errors.To set up SSL, you can use any reverse proxy. For a step-by-step guide, check out our example using Nginx.
Troubleshooting (Optional)
Troubleshooting (Optional)
If you encounter any issues, check out our Troubleshooting guide.