Data flow
Any Activepieces flow is a vertical diagram that starts with a trigger step followed by any number of action steps. Steps are connected vertically. Data flows from parent steps to the children. Children steps have access to the output data of the parent steps.Example Steps
This flow has 3 steps, they can access data as follows:- Step 1 is the main data producer to be used in the next steps. Data produced by Step 1 will be accessible in Steps 2 and 3. Some triggers don’t produce data though, like Schedules.
- Step 2 can access data produced by Step 1. After execution, this step will also produce data to be used in the next step(s).
- Step 3 can access data produced by Steps 1 and 2 as they’re its parent steps. This step can produce data but since it’s the last step in the flow, it can’t be used by other ones.
Data to Insert Panel
In order to use data from a previous step in your current step, place your cursor in any input, the Data to Insert panel will pop up. This panel shows the accessible steps and their data. You can expand the data items to view their content, and you can click the items to insert them in your current settings input. If an item in this panel has a caret (⌄) to the right, it means you can click on the item to expand its child properties. You can select the parent item or its properties as you need. When you insert data from this panel, it gets inserted at the cursor’s position in the input. This means you can combine static text and dynamic data in any field. We generally recommend that you expand the items before inserting them to understand the type of data they contain and whether they’re the right fit to the input you’re filling.Testing Steps to Generate Data
We require you to test steps before accessing their data. This approach protects you from selecting the wrong data and breaking your flows after publishing them. If a step is not tested and you try to access its data, you will see the following message: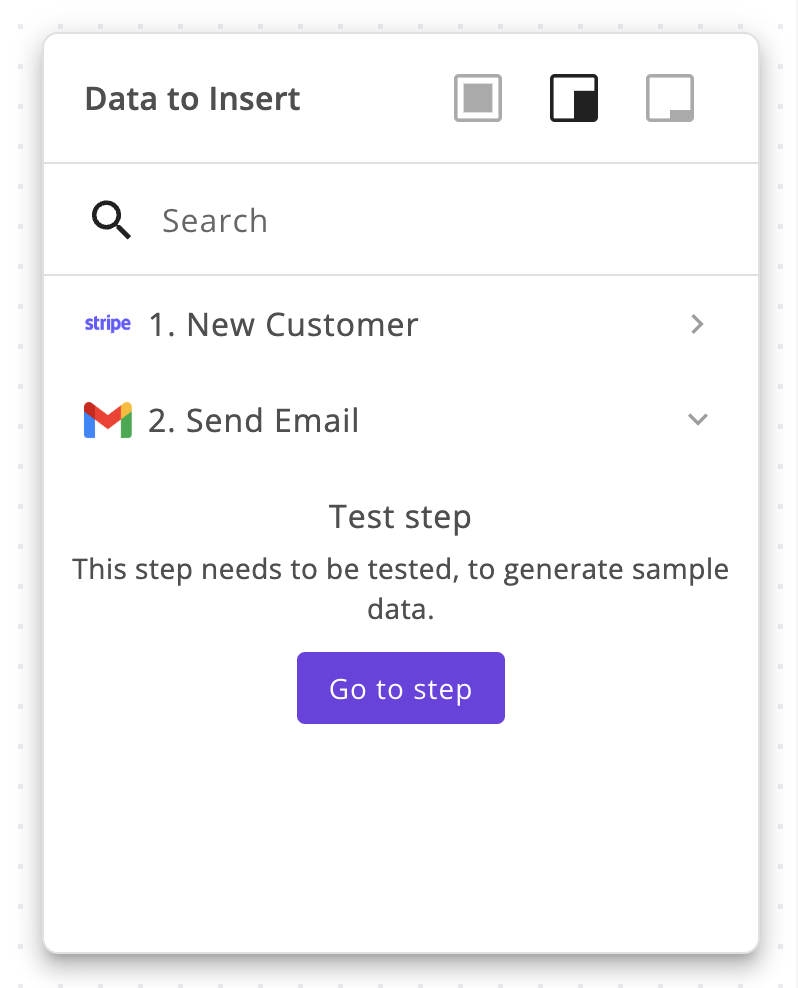
- Load Data: Some triggers will let you load data from your connected account without having to perform any action in that account.
- Test Trigger: Some triggers will require you to head to your connected account and fire the trigger in order to generate sample data.
- Send Data: Webhooks require you to send a sample request to the webhook URL to generate sample data.
- Test Action: Action steps will let you run the action in order to generate sample data.
Advanced Tips
Switching to Dynamic Values
Dropdowns and some other input types don’t let you select data from previous steps. If you’d like to bypass this and use data from previous steps instead, switch the input into a dynamic one using this button:Accessing data by path
If you can’t find the data you’re looking for in the Data to Insert panel but you’d like to use it, you can write a JSON path instead. Use the following syntax to write JSON paths:{{step_slug.path.to.property}}
The step_slug can be found by moving your cursor over any of your flow steps, it will show to the right of the step.