Overview
There are three ways to create a release:Prerequisites
Enabling Environments
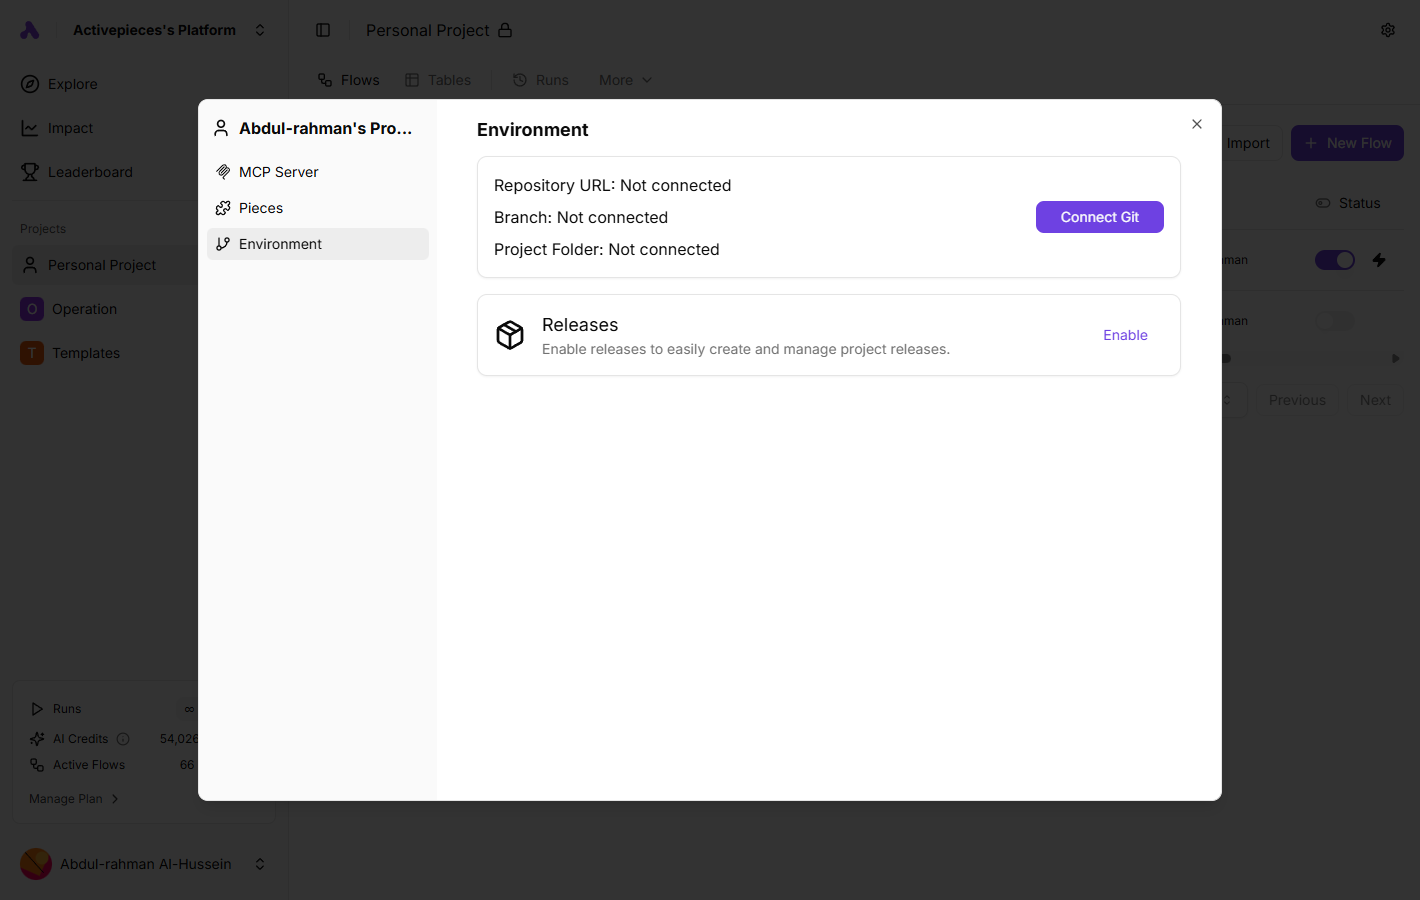
In your project dashboard, go to settings then to Environments and hit the enable button.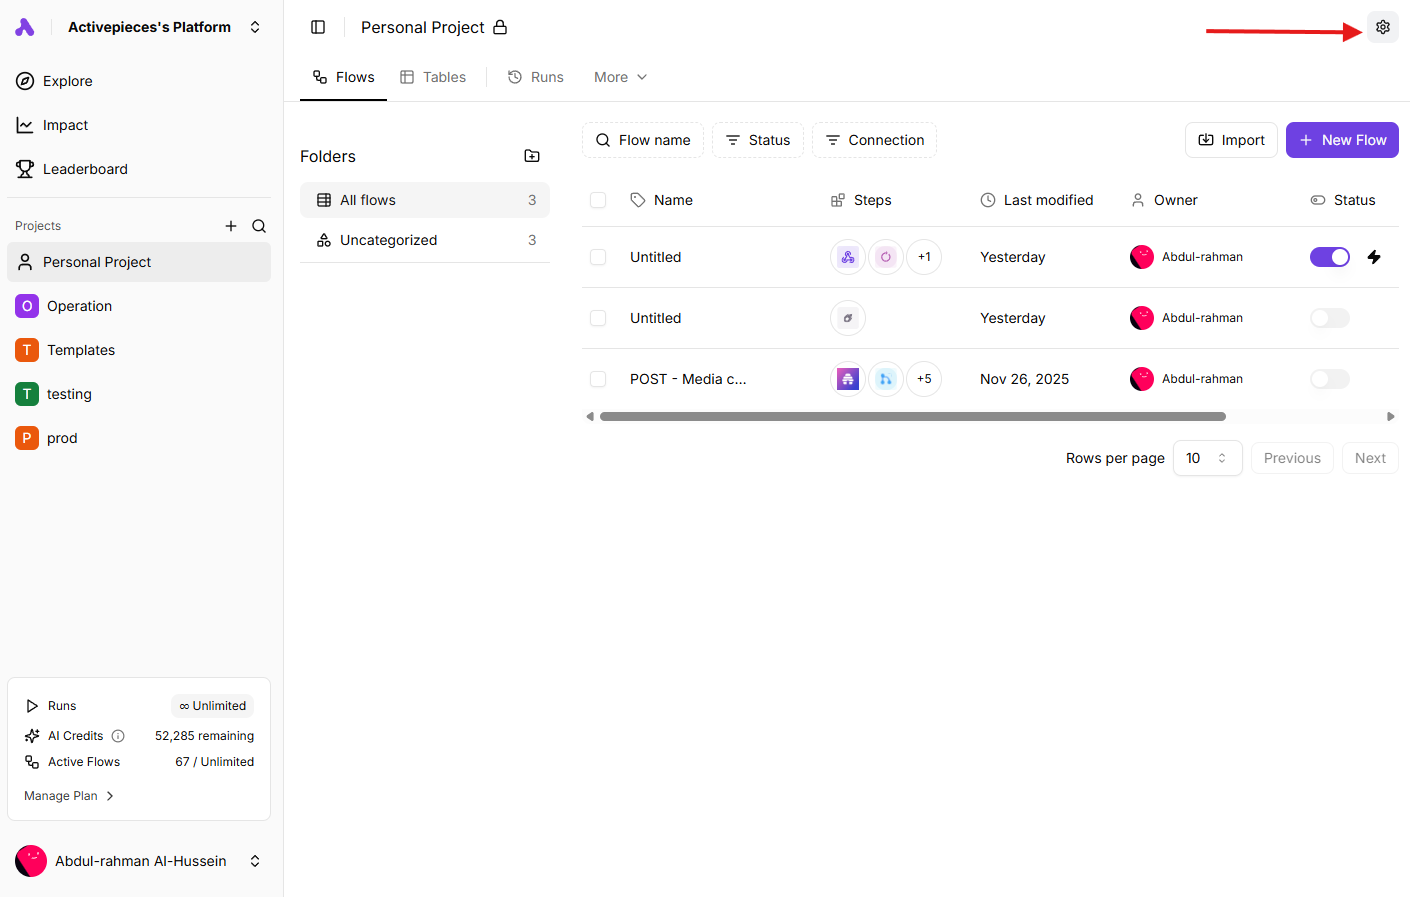
Getting Started
Navigate to the Releases page from your project sidebar to view all releases and create new ones.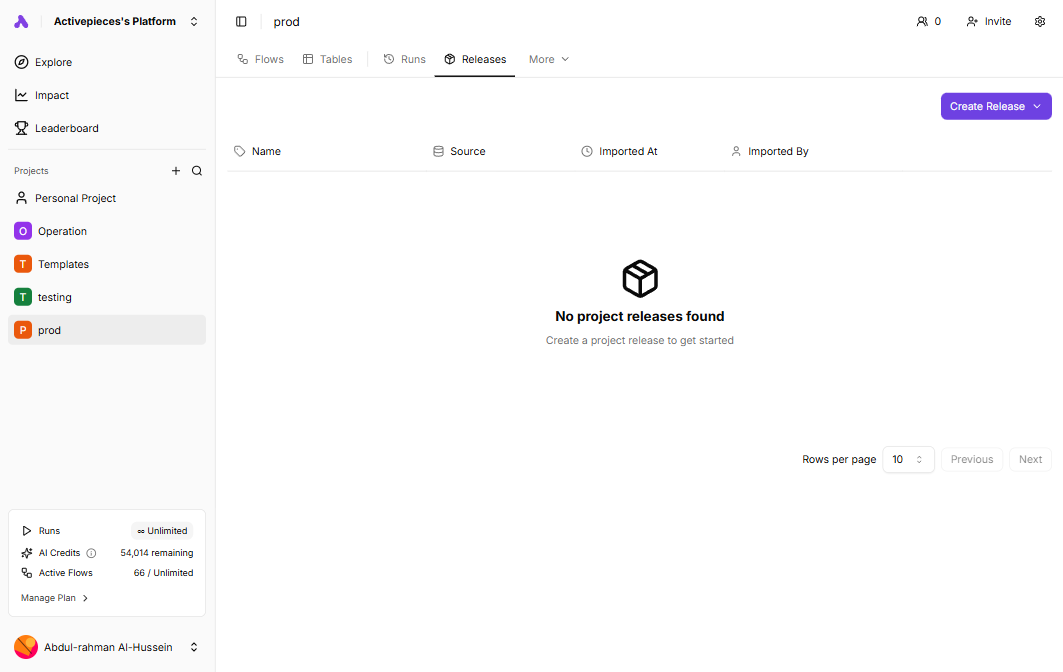
Connecting Git (Optional)
If you want to use Git to track your changes, you’ll need to connect a Git repository first. This requires the Environments feature to be enabled.Creating a Release
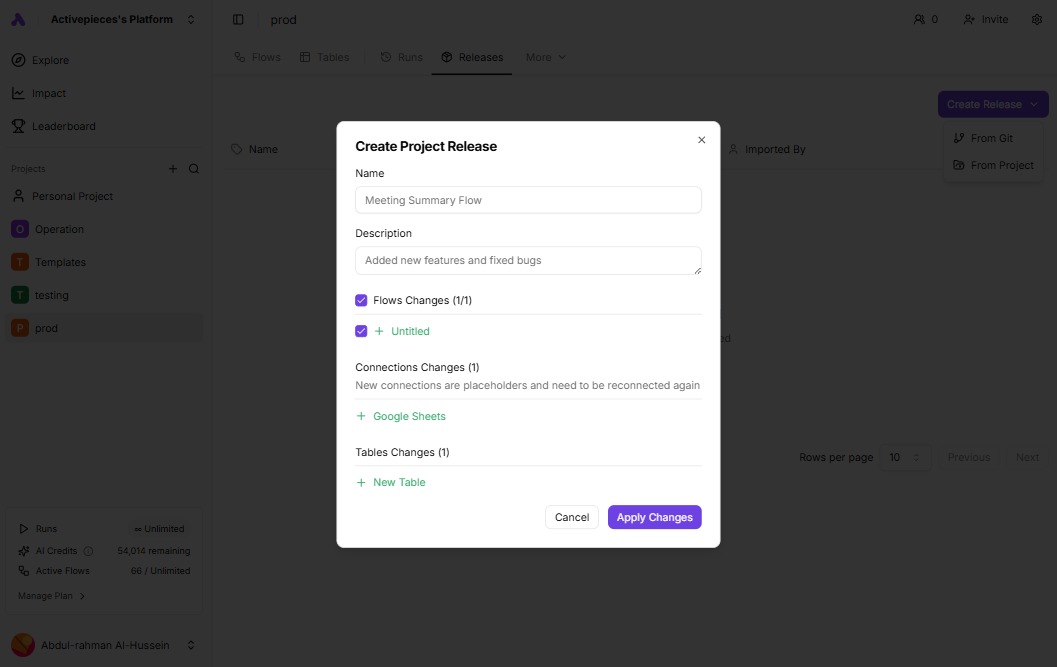
From Project
Apply changes from flows, connections and tables in one project to another.1
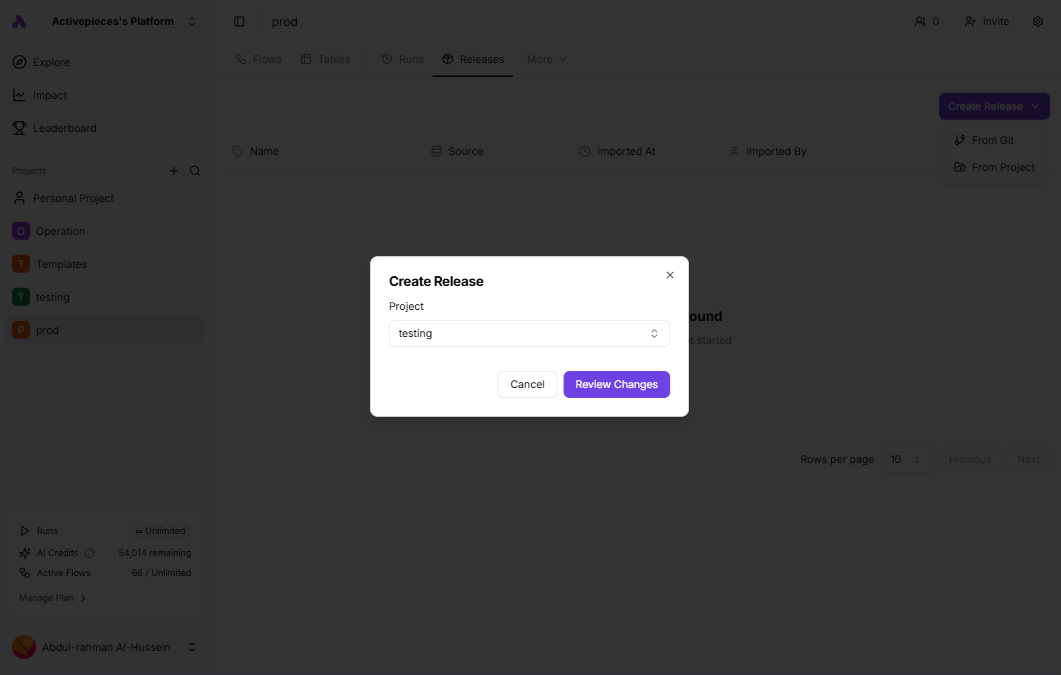
Open Create Release Menu
Click the Create Release dropdown button.
2
Select From Project
Choose From Project from the dropdown menu.
3
Select Source Project
Choose the project you want to copy flows, connections and tables from.
4
Review and Apply
Review the changes, and click Apply Changes.
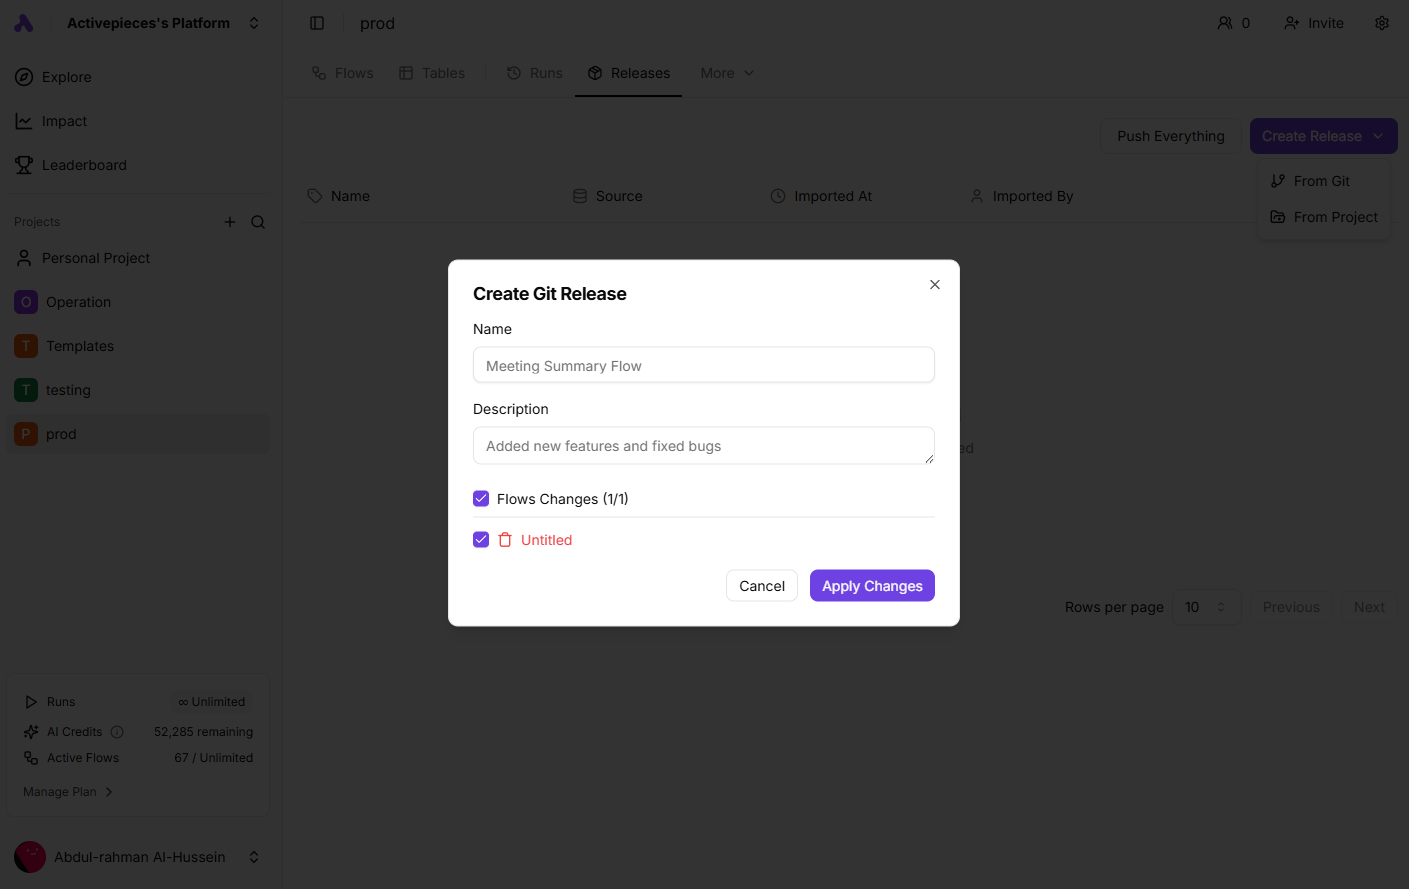
From Git
1
Open Create Release Menu
Click the Create Release dropdown button.
2
Select From Git
Choose From Git from the dropdown menu.
3
Review Changes
A dialog will appear showing all the changes that will be applied:
- Flows Changes: New, updated, or deleted flows
- Connections Changes: New or renamed connections
- Tables Changes: New, updated, or deleted tables
4
Select Changes
Check or uncheck the flows you want to include in this release.
5
Add Release Details
Enter a Name and optional Description for your release.
6
Apply Changes
Click Apply Changes to create the release.
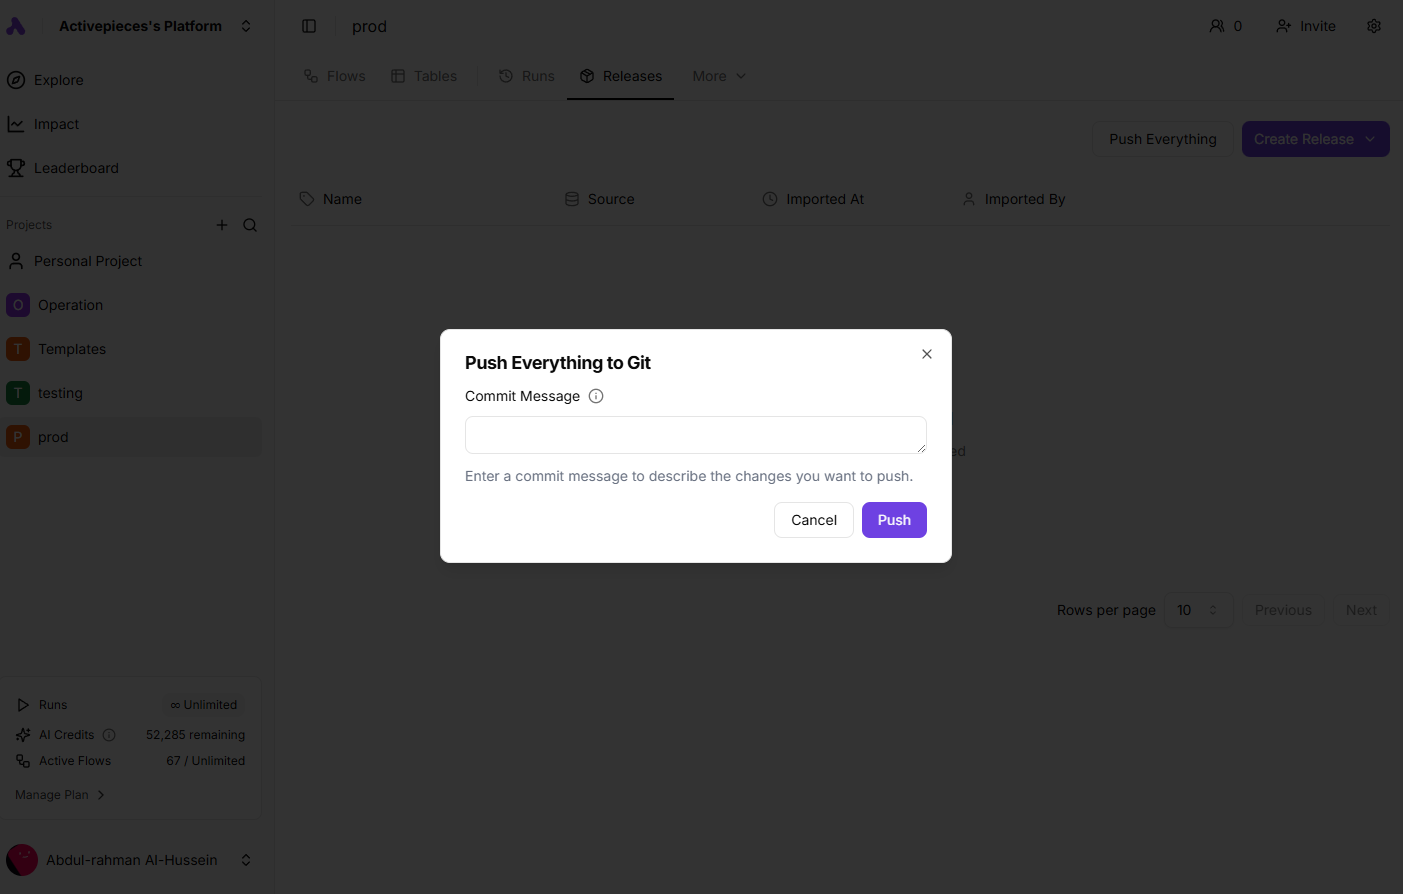
Push Everything to Git
If your project is connected to a Git repository, you can push all your flows, connections, and tables to Git.1
Click Push Everything
Click the Push Everything button on the releases page.
2
Enter Commit Message
Write a descriptive commit message explaining your changes.
3
Push
Click Push to send all published flows to the Git repository.
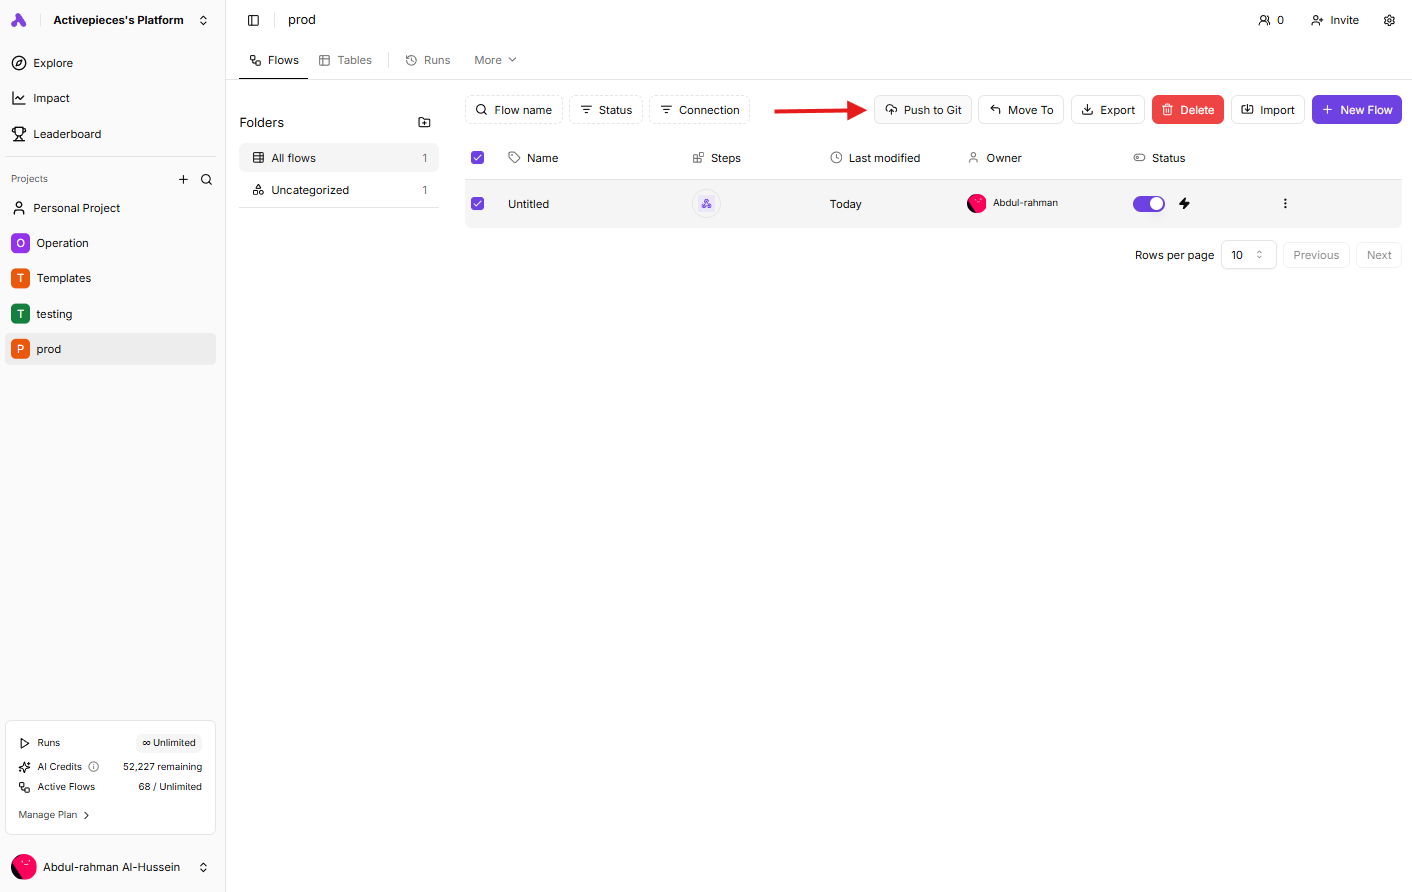
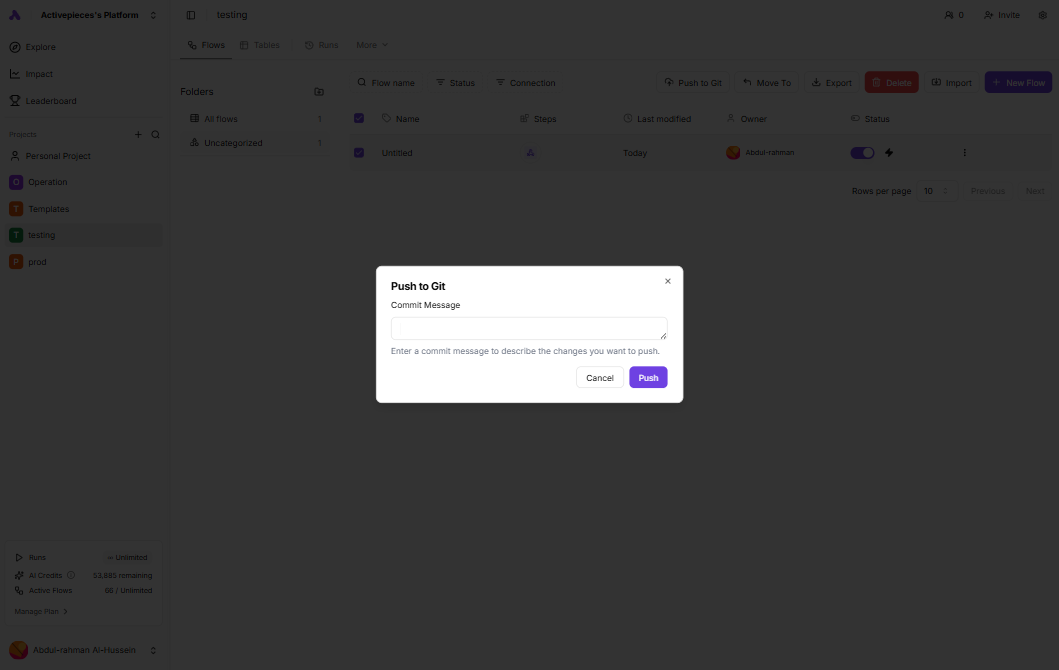
Pushing Individual Flows or Tables
You can also push specific flows or tables to Git without pushing everything.1
Select Items
Navigate to your flows or tables and select the items you want to push.
2
Open Push Dialog
Click the Push to Git option.
3
Enter Commit Message
Provide a commit message describing what you’re pushing.
4
Push
Click Push to send the selected items to Git.
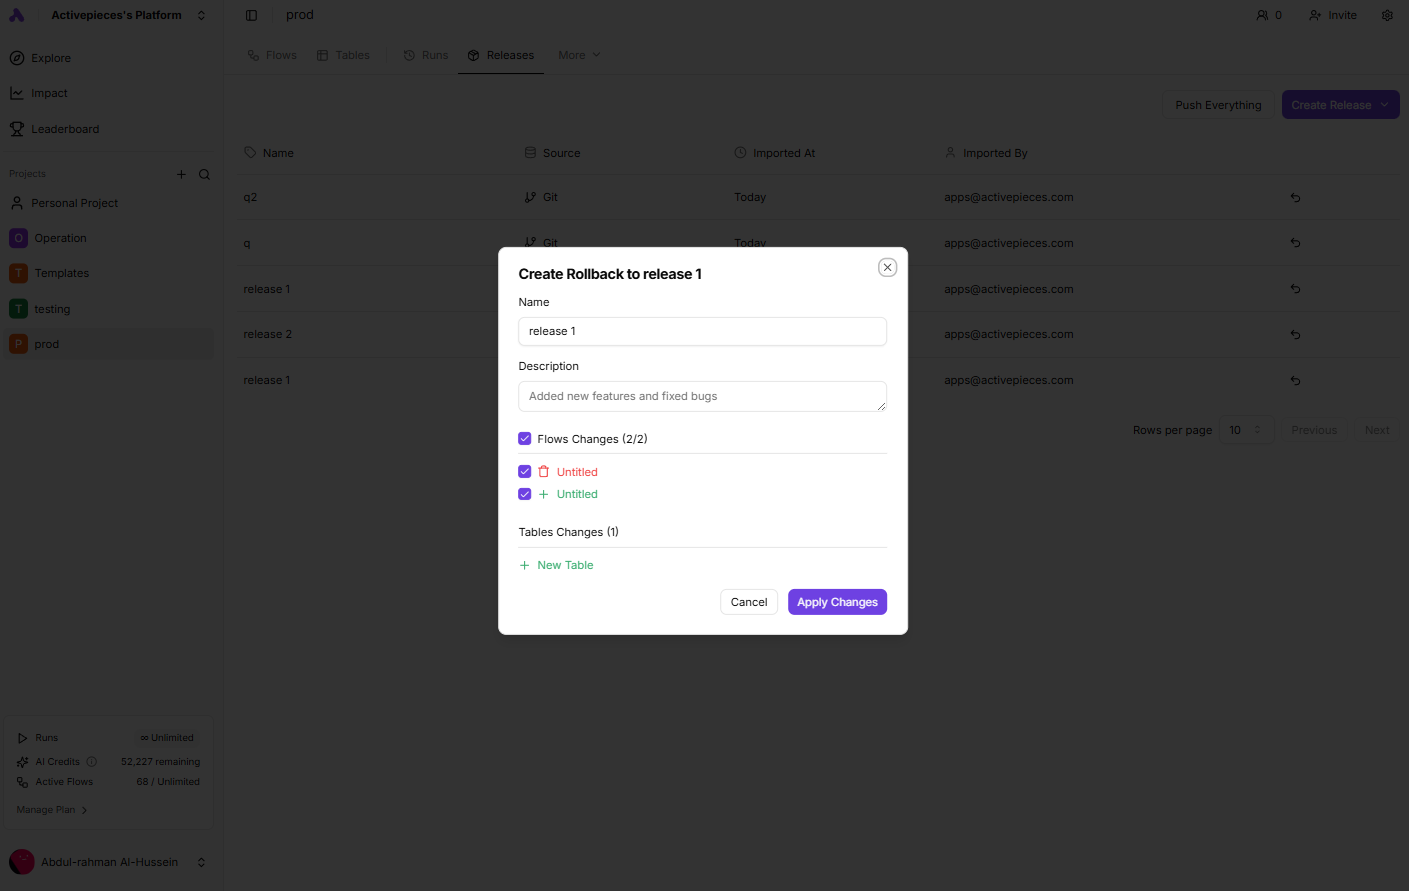
Rolling Back a Release
If something goes wrong after applying a release, you can easily rollback to a previous state.1
Find the Release
Locate the release you want to rollback to in the releases list.
2
Click Rollback
Click the rollback icon (↩) next to the release.
3
Review Changes
Review the changes that will be applied to restore that release state.
4
Apply Rollback
Select the changes to include and click Apply Changes.
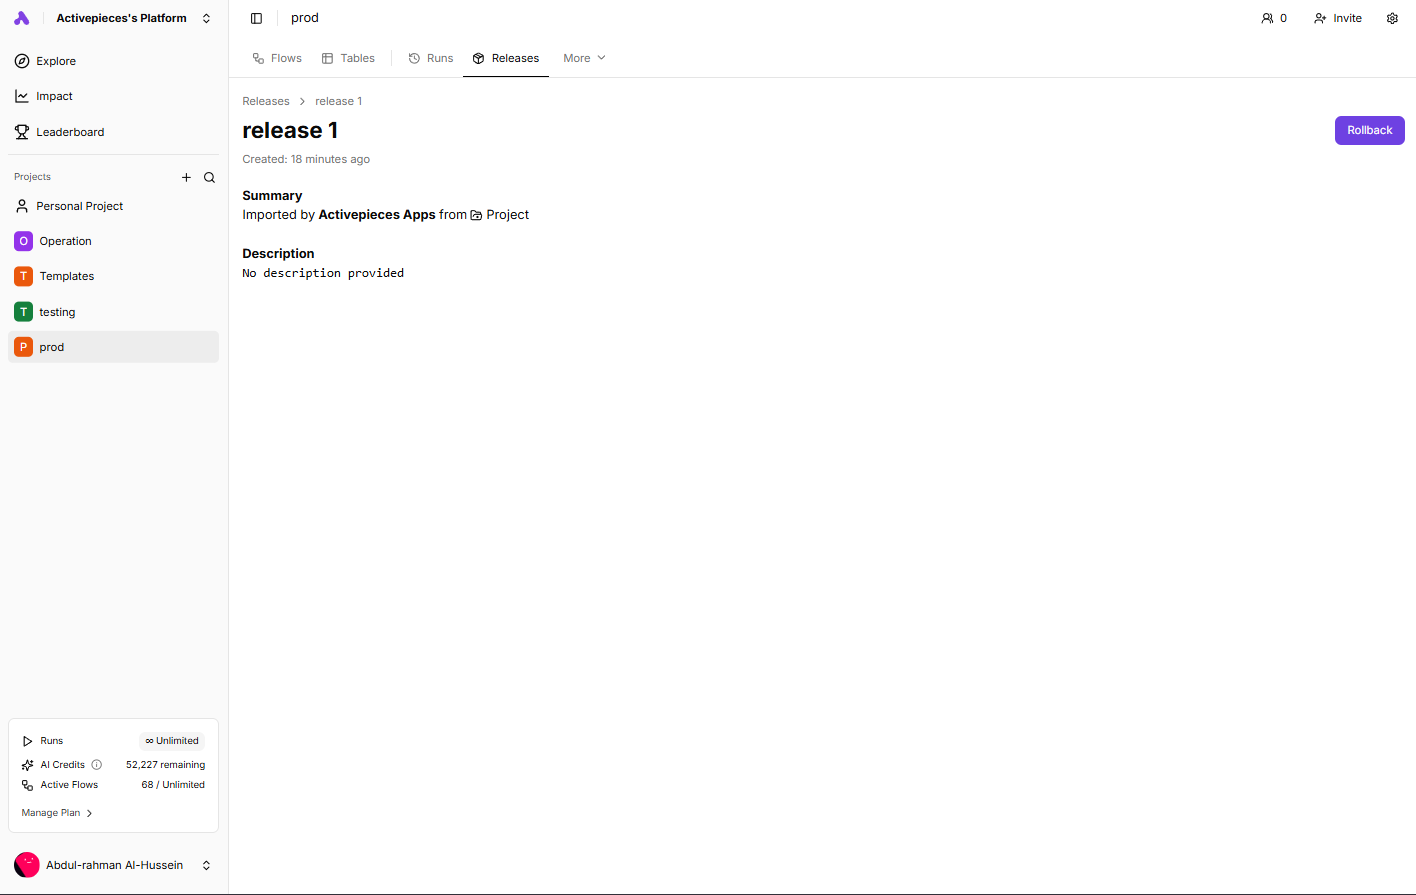
Release Details
Each release in the list shows:
Click on any release to view its full details.
Understanding the Changes Preview
When creating a release, you’ll see a preview of all changes:Flow Changes
- New flows that will be created
- Existing flows that will be updated
- Flows that will be deleted
Connection Changes
- New connections are placeholders and must be reconnected after the release
- Renamed connections
Table Changes
- New, updated, and deleted tables are shown with their respective indicators
Best Practices
Use Descriptive Names
Give your releases meaningful names like “v1.2.0 - Added email notifications” to easily identify them later.
Review Before Applying
Always review the changes preview carefully before applying a release to avoid unexpected modifications.
Test in Development
If using Git sync, test changes in a development project before deploying to production.
Document Changes
Use the description field to document what changed and why for future reference.
Permissions
To create and manage releases, you need the Write Project Release permission. Contact your instance administrator if you don’t have access to the releases feature.Troubleshooting
Environment settings are locked
Environment settings are locked
The Environments feature must be enabled on your instance plan to use Git sync. Contact your instance administrator to upgrade your plan or enable this feature.
Git connection fails
Git connection fails
- Verify your SSH private key is correctly formatted (ends with an endline), and make sure it has an empty phrase.
- Ensure the remote URL is in SSH format (not HTTPS)
- Check that the branch exists in the repository
No changes detected
No changes detected
If no changes appear when creating a release, it means your current project is already in sync with the source.
Connection placeholders
Connection placeholders
After applying a release with new connections, navigate to the Connections page and reconnect them with valid credentials.
Cannot find Environment settings
Cannot find Environment settings
Navigate to Project Settings from the sidebar, then click on Environment. If you don’t see this option, the Environments feature may not be enabled for your instance.