Overview
Single Sign-On (SSO) allows your team to authenticate using your organization’s existing identity provider, eliminating the need for separate Activepieces credentials. This improves security, simplifies user management, and provides a seamless login experience.Prerequisites
Before configuring SSO, ensure you have:- Admin access to your Activepieces platform
- Admin access to your identity provider (Google, GitHub, Okta, or JumpCloud)
- The redirect URL from your Activepieces SSO configuration screen
Accessing SSO Configuration
Navigate to Platform Settings → SSO in your Activepieces admin dashboard to access the SSO configuration screen.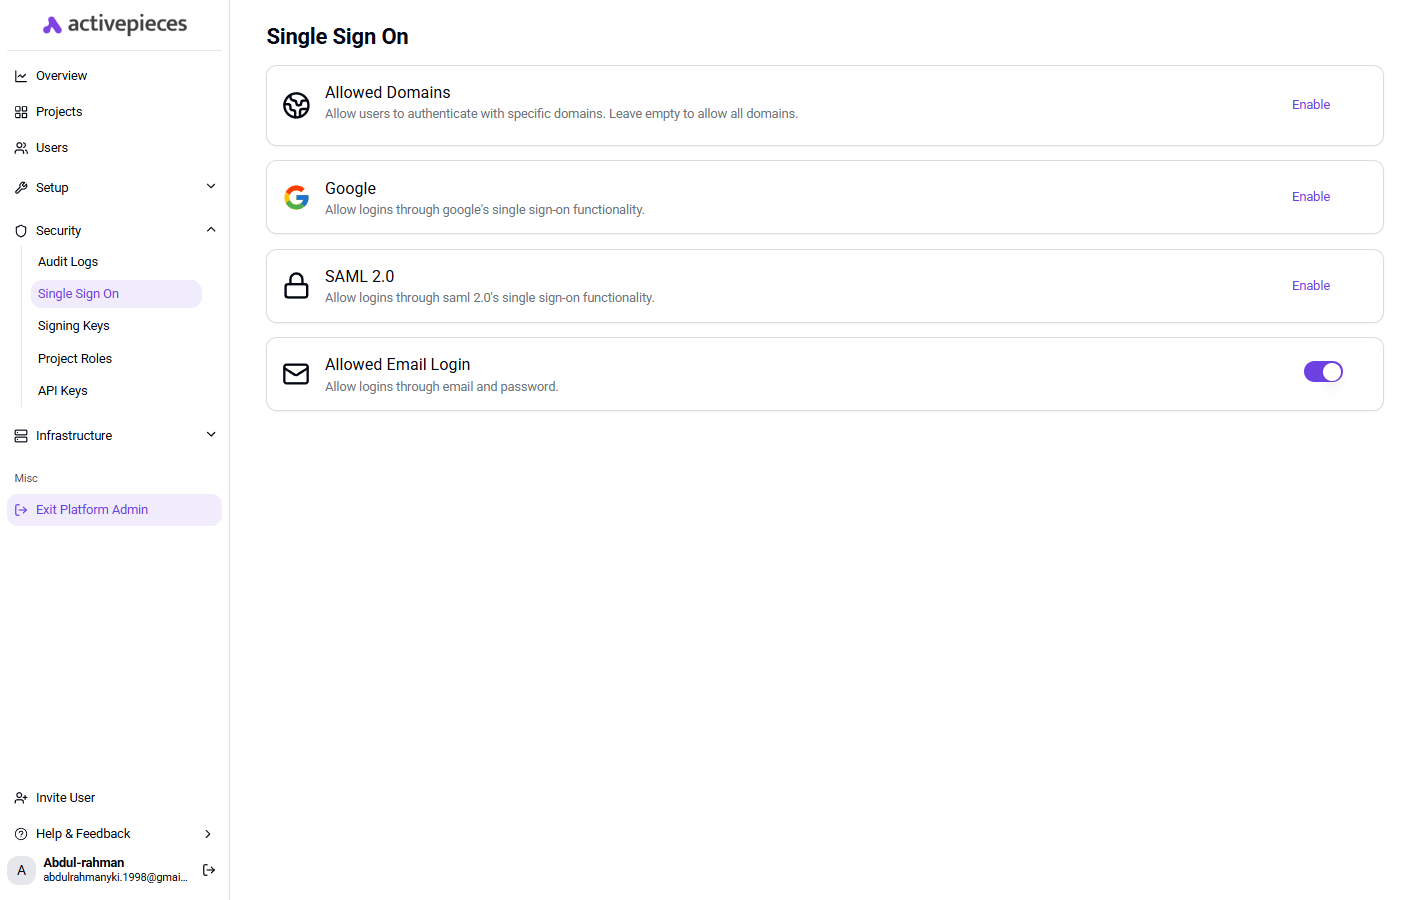
Enforcing SSO
You can enforce SSO by specifying your organization’s email domain. When SSO enforcement is enabled:- Users with matching email domains must authenticate through the SSO provider
- Email/password login can be disabled for enhanced security
- All authentication is routed through your designated identity provider
SSO Domain
The SSO Domain lets you map a public domain (e.g.acme.com) to your platform’s SAML provider so users can discover the right IdP from the shared sign-in page.
You can set it in the SAML configuration dialog (Platform Settings → SSO → SAML 2.0 → Enable), in the SSO Domain field. Leave it empty to disable domain-based discovery.
How it works on Cloud
On the cloud sign-in page, clicking Sign in with SAML opens a dialog asking the user for their organization’s domain. When they enter acme.com, the platform whose SSO Domain matches is looked up and the user is redirected to that platform’s identity provider.
Constraints
- Must be a valid public hostname containing a dot (e.g.
acme.com, notacme). - Each domain can be claimed by only one platform on Cloud.
Supported SSO Providers
Activepieces supports multiple SSO providers to integrate with your existing identity management system.Access Google Cloud Console
Create OAuth2 Credentials
Configure Redirect URI
Copy Credentials to Activepieces
Save Configuration
GitHub
Access GitHub Developer Settings
Register New Application
- Application name: Choose a recognizable name (e.g., “Activepieces SSO”)
- Homepage URL: Enter your Activepieces instance URL
Configure Authorization Callback
Complete Registration
Generate Client Secret
Copy Credentials to Activepieces
Save Configuration
SAML with Okta
Create New Application in Okta
Select SAML 2.0
Configure General Settings
Configure SAML Settings
- Single sign-on URL: Copy the SSO URL from the Activepieces configuration screen
- Audience URI (SP Entity ID): Enter
Activepieces - Name ID format: Select
EmailAddress
Add Attribute Statements
Complete Setup in Okta
Export IdP Metadata
Configure Activepieces
- Paste the IdP Metadata XML into the corresponding field
- Copy the X.509 Certificate from Okta and paste it into the Signing Key field
- (Optional, Cloud) Set the SSO Domain to your organization’s public domain (e.g.
acme.com) so users can sign in by entering it on the cloud sign-in page. See SSO Domain above.
Save Configuration
SAML with Microsoft Entra ID (Azure AD)
Create an Enterprise Application
Configure SAML Single Sign-On
Set Identifier and Reply URL
- Identifier (Entity ID):
Activepieces - Reply URL (Assertion Consumer Service URL): paste the SSO URL from the Activepieces configuration screen
Configure User Attributes & Claims
Copy the Federation Metadata
Copy the Signing Certificate
-----BEGIN CERTIFICATE----- / -----END CERTIFICATE----- markers) into the Signing Key field in Activepieces.Assign Users
Save Configuration
SAML with JumpCloud
Create New Application in JumpCloud
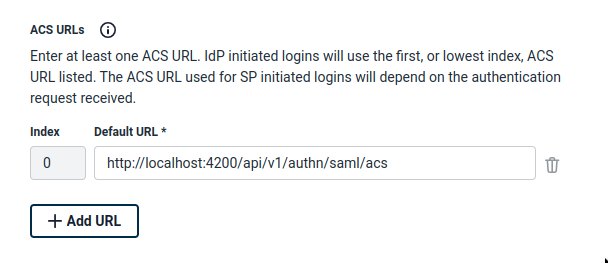
Configure ACS URL
Configure SP Entity ID
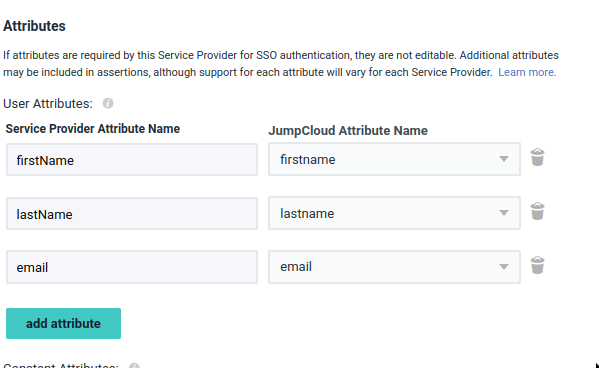
Activepieces.Add User Attributes
Enable HTTP-Redirect Binding
HTTP-Redirect binding by default. You must enable this option.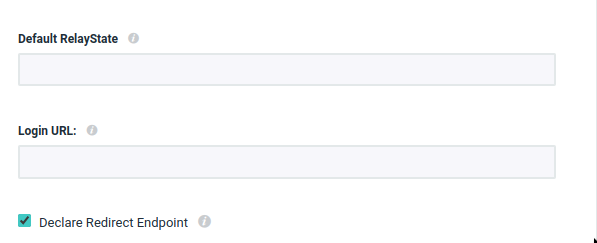
Export Metadata
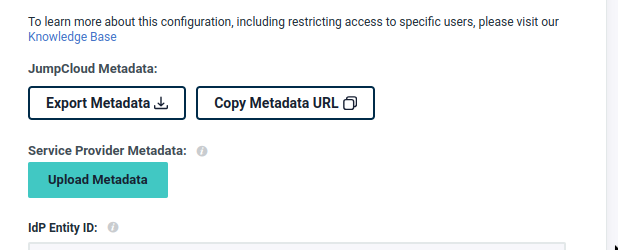
Configure IdP Metadata in Activepieces
Configure Signing Certificate
<ds:X509Certificate> element in the IdP metadata and extract its value. Format it as a PEM certificate:Assign Users to Application
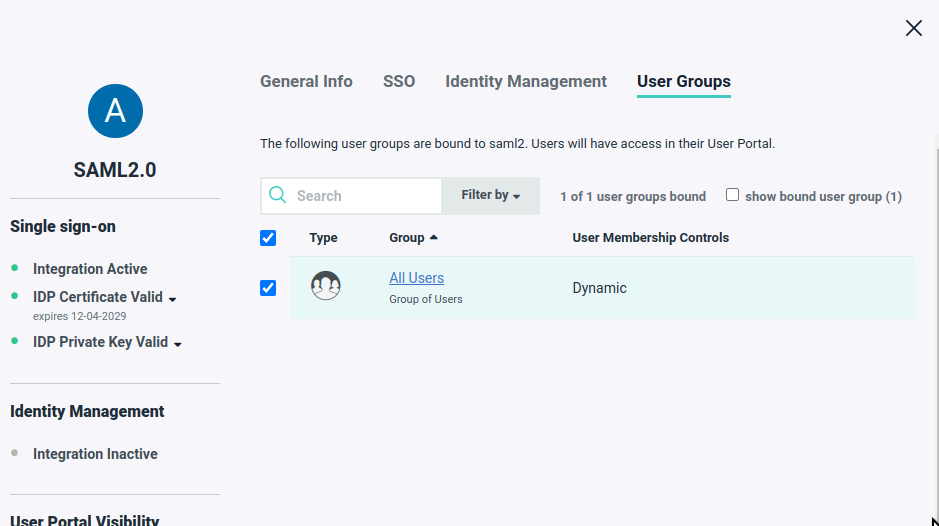
Save Configuration
Troubleshooting
Users cannot log in after SSO configuration
Users cannot log in after SSO configuration
- Verify the redirect URL is correctly configured in your identity provider
- Ensure users are assigned to the application in your identity provider
- Check that email domains match the SSO enforcement settings
SAML authentication fails
SAML authentication fails
- Confirm the IdP metadata is complete and correctly formatted
- If you pasted a metadata URL, make sure it is publicly reachable (Activepieces fetches it server-side)
- Verify the signing certificate is properly formatted with BEGIN/END markers
- Ensure all required attributes (firstName, lastName, email) are mapped
HTTP-Redirect binding error (JumpCloud)
HTTP-Redirect binding error (JumpCloud)
- Enable the HTTP-Redirect binding option in JumpCloud
- Re-export the metadata after enabling the binding
- Verify the binding appears in the exported XML