Automate Opus Clip: A Beginner Setup Guide (2026)

Nov 11, 202614 min read
Automating Opus Clip means using its own import, scheduling and (on plans that include it) API access to turn a long video into short clips.
The finished clips then pass to a separate workflow, built in a tool like Activepieces or anything comparable, that posts them. Nobody touches the video between upload and publish.
Opus Clip automation is the practice of using the tool's built-in features, such as project import, scheduling and API access where a plan includes it, to cut long videos into short clips, then passing those clips to a separate workflow that publishes them.
Automate Opus Clip the fastest way
What 'automate Opus Clip' actually means
Video in, clips out, posted without manual steps: that is the goal. Opus Clip is an AI tool that takes a long video, such as a podcast, webinar or stream, and cuts it into short vertical clips.

Everything on either side of the clip-making is what you automate: getting the source video in, and getting the finished clips out to the channels. The clip-making stays inside Opus Clip.
Three routes compared: built-in, API, outside tool
The table below puts the three routes side by side on what each needs, what it costs and where it most likely breaks.
| Route | What it needs | Cost | Most likely failure point |
|---|---|---|---|
| Built-in features (project import, scheduling) | An Opus Clip account and a source link or file | Included in your current plan's allowance | Hitting a plan limit on connected accounts or scheduled posts |
| Opus Clip API | A plan that includes API access, plus someone to write and maintain calls | Depends on the plan tier that unlocks access | The plan doesn't include it, or the endpoints change under your code |
| Outside workflow tool (Zapier, Make, or Activepieces) | An account, a trigger, and a way to receive finished clips | Metered per task, run or operation, so cost scales with clip volume | A handoff step silently failing when clips aren't ready |
Start with the built-in route, because it costs nothing extra. The API only matters if your plan has it.
The outside tool costs per metered unit, which is why a high-volume channel should price it per clip before committing.
Opus Clip plan limits and verification date
As of 11 Nov 2026, the plan gates and limits here follow Opus Clip's documentation. This article quotes few plan figures because they change.
Before you build, confirm three things on the vendor's pricing and help pages. They're whether your plan includes API access, what the scheduling and connected-account limits are, and what your outside tool meters per run.
This takes minutes, not a project: automate it in Activepieces free.
Set up project and brand template
Create one project from a link or an upload and set clip length, language, aspect ratio and captions. Then save a brand template so every later project inherits the same look without re-entering it.

Work through the new-project screen in this order:
- Source: paste a video link or upload a file. A link avoids the upload cap entirely, but it depends on the host allowing the import. If a link fails, a local file is your fallback.
- Language: set the spoken language of the source. Captions and clip selection both lean on the transcript, so a wrong setting here corrupts everything downstream.
- Clip length: pick the range you want, not just a single target. A tighter range gives more predictable output, which matters once a separate workflow expects clips of similar duration.
- Aspect ratio: choose it for the platform you publish to most. Changing it later means re-exporting, and re-exporting can cost you processing again, depending on how your plan meters usage.
- Captions: decide on or off, and the style, before generation, not after.
- Brand template: attach it last, once it exists (next step).
That metering is done in credits. A credit is the unit Opus Clip's plans use to count processing: generating clips from a source video spends them, and your balance is what runs out.

The help pages publish no per-minute rate, so check your balance in the account.
Save an Opus Clip brand template
Every project would otherwise repeat the same visual choices: caption style, fonts, colors and logo placement. A brand template stores them, to the extent the editor exposes each one on your plan.
Build it once on your test project, save it, and select it by name on every new project.
For automation, consistency is the point. If you later hand clips to a scheduler or an editing queue, every clip arriving with the same captions and framing means no per-clip fixes.
Opus Clip input limits for long videos
Three things limit what you can feed Opus Clip:
- source duration
- local upload file size
- supported link hosts
Because these limits differ by plan and the vendor revises them, check the vendor's pages for current figures. Read the upload size cap for your plan on the current help and pricing pages before you plan a batch.
If your raw recordings run larger than your plan's upload cap, you either compress before uploading or use link import.
Send clips via scheduler or API
Once the clip set is stable, you send it out through Opus Clip's own scheduler or its API, and your plan decides which of the two you get.
I have no verified Free, Starter and Pro comparison of scheduler, API access, platforms and seats, so no plan table is printed here.
Read those rows on Opus Clip's pricing page, and treat the scheduler and the API as plan-gated until you've seen them listed for yours.
Plan around these caps, which are quoted from Opus Clip's Help Center and should be rechecked there before you build.
Help says YouTube and TikTok allow 15 posts a day each and Instagram 40, so YouTube and TikTok become your bottleneck if you're posting across all platforms.
However fast you generate clips, a batch of 20 bound for YouTube takes two days to clear.
Connect accounts and schedule from the dashboard
Connect each social account once in the dashboard, then queue clips against a posting time. Length matters here because the platforms differ.
Per RevID's platform-limits chart, a third-party comparison rather than Opus Clip's own documentation, YouTube Shorts tops out at 3 minutes, Instagram Reels at 20 minutes, and TikTok on the web at 60 minutes.

That means you'll need to edit content differently for each platform when cross-posting.
A clip cut for Shorts fits everywhere. A clip cut to fill TikTok's allowance fits nowhere else, so set your template's maximum length to the shortest platform you post to.
Request API access and make the first call
Before building on the API, check the API column, because access depends on your plan. If your tier doesn't include it, you have two options: upgrade, or stay in the dashboard and download finished clips in batches for the next stage.
A clip cut for Shorts fits everywhere. A clip cut to fill TikTok's allowance fits nowhere else, so set your template's maximum length to the shortest platform you post to.
If your plan includes it, request a key from your account settings and take the endpoints, auth header and request fields from Opus Clip's current API documentation, since they change. Don't copy them from a tutorial.
Make your first call the simplest one the docs list, using the key Opus Clip gave you.
Poll Opus Clip or use a webhook
Because clip generation takes time, your code has to find out when a project is done. If the docs list a webhook, use it, because it costs no requests.
If you can only poll, do the arithmetic against the 30 requests a minute limit, per Help.
6 requests a minute is what one project checked every 10 seconds uses, so five projects running at once use the entire allowance.
Poll every 30 seconds or longer, which means detection can lag up to 30 seconds behind actual completion, and stop polling a project once it reports complete.
You can follow the rest of this with the builder open. Start free, no card.
Stage 3: Hand finished clips to a workflow
Once a project reports complete, stop polling and hand its clips to a separate workflow. A trigger fires, a reviewer gets one message, a sheet gets one row, and only approved clips reach a folder.
From one 60-minute episode came 12 generated clips, of which 3 were top performers. That's one clip in four, and it is the reason for the human step.
Publish all 12 and nine weaker clips go out under your name. A reviewer who spends a few minutes cutting the list to three is the cheapest quality filter in the pipeline.
The flow runs left to right: Opus Clip, then a webhook or scheduled check, then a split into a Slack message to the reviewer, a Google Sheets row, and a drive folder for approved clips.
Trigger: webhook or scheduled check
Use a webhook if your Opus Clip plan exposes one. Otherwise, run a scheduled check that calls the status endpoint you built in the previous stage and fires only when a project flips to complete.
A webhook costs nothing while idle. A schedule runs, and costs a metered unit, whether or not anything's finished. Check the current docs for which your plan supports.
Notify the reviewer and log clips
Send one Slack message, or an email, per finished project, not per clip. Include the project name, the clip count, and a link to the review page.
Then add one Google Sheets row with the project ID, the date, clips generated, and a status column set to "pending review." That row is your audit trail, and it shows later how many clips each episode actually yields.

Watch the metering here. Zapier counts each action as a task, so a run with a Slack message and a Sheets row uses two. Make counts operations per module. Multiply by your episode volume before choosing a tier.
What if your review channel is something none of them has a connector for? Activepieces lets you generate that integration with AI and add it privately to your own instance, so the notification step doesn't wait on a vendor release.
Its catalogue holds 747 integrations, counted directly from the packages/integrations/community directory of the MIT-licensed activepieces/activepieces repository on GitHub rather than taken from a marketing page, and roughly 60% of them were contributed by the community.
Action: store approved clips
When the reviewer approves a clip, the workflow copies the file to a drive folder and flips the row's status to "approved." Keep the folder to approved clips only, so whoever schedules posts never has to guess which files passed review.
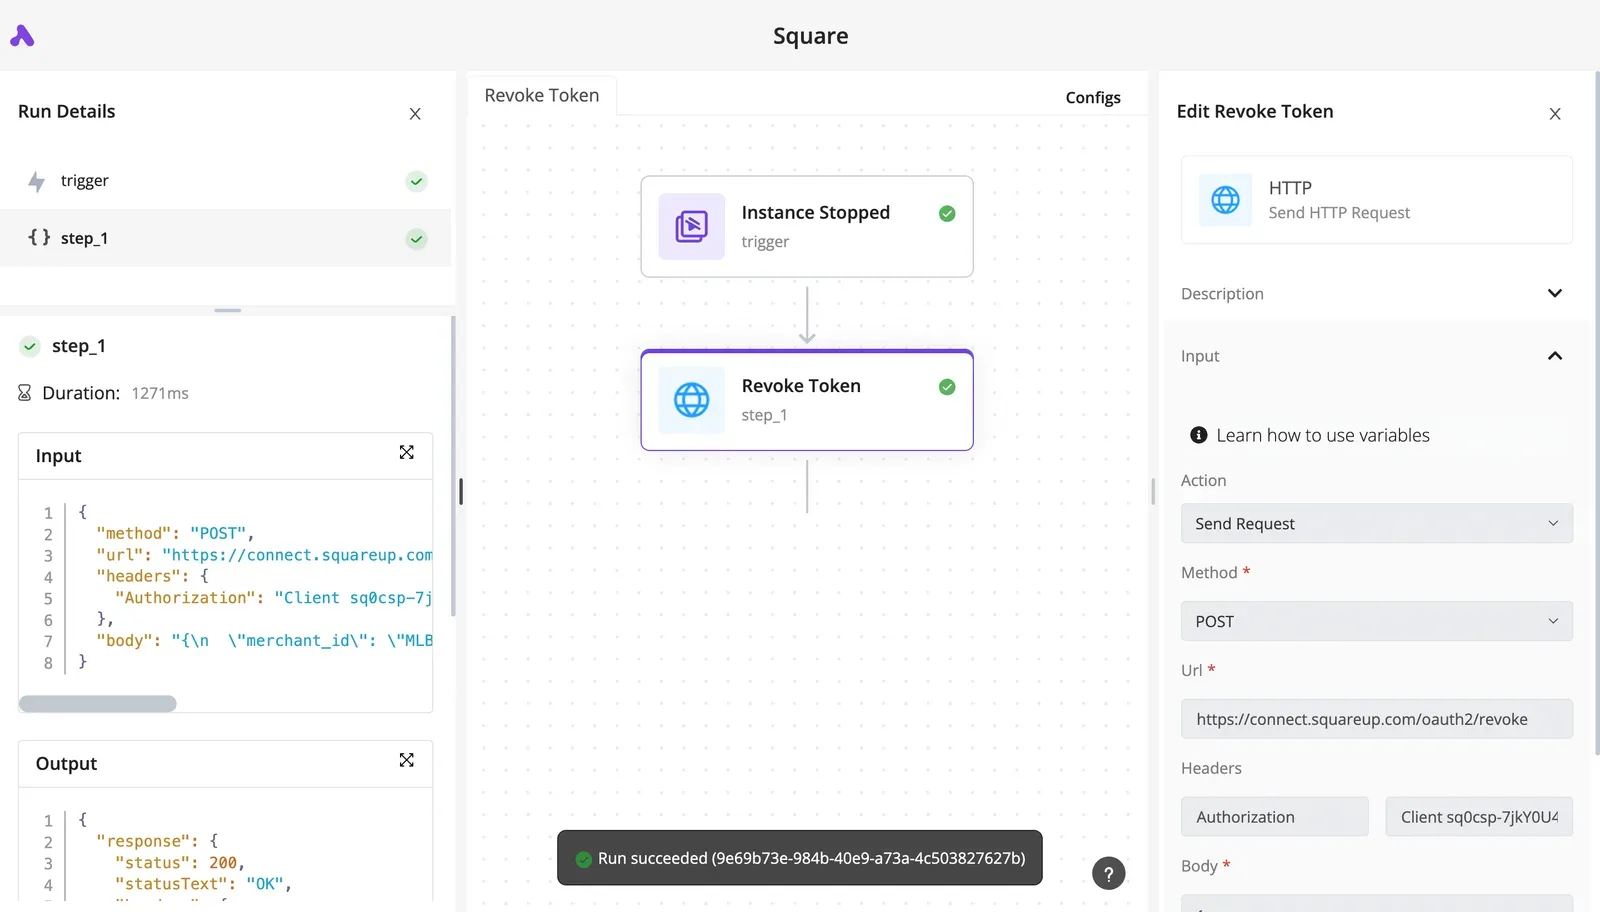
Build and test the minimum first: a flow that sends one message and writes one row.
Fix Opus Clip limits and errors
When a run fails, check the upload size first. The posting limits and the local upload cap are the limits the vendor's docs confirm, and I mark everything else below "docs silent" where Opus Clip's help pages give no cause.
To separate a plan limit you can plan around from a fault you can only retry, use the table below, which lists each symptom with its documented cause and a fix.
| Symptom | Documented cause | Fix |
|---|---|---|
| Import rejected or too long | File over the plan's upload cap; length limit: docs silent | Compress or trim the file, or upgrade the plan |
| Stuck processing | Docs silent | Re-submit the project; contact support if it repeats |
| Credits exhausted | Docs silent | Check the balance before each run; top up or wait |
| Watermark | Docs silent | Check the plan's export settings |
| Social disconnect | Docs silent | Reconnect the account |
| API 401 | Docs silent | Regenerate the key and confirm the plan includes API access |
| API 429 | Docs silent | Back off and retry with a delay |
| Clips missing | Docs silent | Confirm processing finished, then re-open the project |
Import and processing failures
On Free and Starter, local uploads are capped at 10 GB, and on Pro and Business at 30 GB, per the Opus Clip Help Center.

A 12 GB source recording is therefore rejected on Starter but accepted on Pro, so a workflow that pushes raw files should check size before upload.
For stuck jobs the docs say nothing, so give every run a timeout and a single retry.
You will not find a credit cost per minute or a per-plan export cap, because the docs publish neither, so this article gives no figure. Read the balance in the account before a batch.
When a connected account drops, the docs say nothing about why, or about when its token expires. Treat a failed post as a reconnect case, and keep the finished clip in a folder so the post can be redone without reprocessing.
If you see a 401, it most likely means a bad key or a plan without API access. A 429 means too many requests, though the rate itself is unpublished. Retry with growing delays, and watch the response headers for any limit the API reports.
Frequently asked questions
Because each answer rests on a plan limit that Opus Clip can change, confirm it on the vendor's pricing page and API documentation before you build on it. These are the questions the row-by-row checks keep raising, and the answers are dated 2026-11-11.
Can Opus Clip run on autopilot without manual review?
Technically you can chain import, clipping and posting without a person, but you shouldn't. The unit being metered is the clip generation, and every unreviewed run spends it on output nobody has checked.
A bad clip then reaches a public channel with your name on it.
Keep one human approval step between generated clips and the scheduler. Take it out only after the rejection rate is low enough that you can defend the cost of the misses.
Does the free plan include API access or auto-posting?
Don't assume so. API access is gated by plan, and the free tier's limits on watermarks, exports and scheduling are set by the vendor and have changed before.
Check four things on the current pricing page. They're whether the API's open on your plan, whether credits map one-to-one to source minutes, whether the free plan keeps a watermark, and which platforms the built-in scheduler can post to.
If the API isn't on your plan, the workflow starts from a manual import, and any automation begins only after clips are exported.
Can Opus Clip a new YouTube upload automatically?
Not on its own, as far as the product's documented features go. Opus Clip takes a project from a video link, so the trigger has to come from outside.
To supply that trigger, a separate workflow watches the channel for a new upload and submits that link. Whether it can submit it programmatically depends on whether your plan includes API access.
Without the API, the watcher can only notify you, and you paste the link yourself. Either way, the clips come back to a review step, not straight to publishing.
On Monday, start with the manual path and prove it end to end before automating any part of it.
- Import one real project by link and note how many credits it consumed against the source length.
- Export or schedule one approved clip, and check whether the watermark and platform list match what your plan promises.
- Confirm on the API documentation whether your plan includes access.
- Only then add the watcher and the handoff to your posting workflow.
Related reading
References
Build it
Set this up in minutes.
No code required. Connect your accounts, and Activepieces runs it from there.
Start free Talk to sales