
Tailscale Automation: CLI, API and Webhooks (2026)

Nov 11, 202616 min read
Tailscale automation means running your tailnet from code instead of the admin console, using scoped credentials, the API and a policy file. Build it in that order.
Each layer works without the next, and teams that start with webhooks or policy before credentials end up retrofitting access control onto scripts already in production, whether those scripts are hand-written or Activepieces flows.
Defined precisely, Tailscale automation is the set of credentials, API calls and version-controlled configuration. Together they let devices join, permissions change and events trigger responses without a person clicking through the admin console.
In about 45 minutes you'll have all three layers working, so you can verify the approach in a single session. Vendor facts here were checked on 11 Nov 2026 against Tailscale's docs, pricing page and changelog.
Tailscale automation is scripted keys, API and policy
What Tailscale lets you automate
You will automate three jobs in practice: enrolling machines, deciding who can reach what, and reacting when something changes. Enrollment runs on credentials and tags, so a new server joins with an identity that describes its role rather than a person's login.
Access runs on the policy file. Reaction runs on webhooks that fire when devices or users change.
When nothing narrower exists, the first team to break the guardrails is usually the one handed a broad, long-lived key. The adoption curve follows the same order. Hand people scoped credentials first and that excuse is gone before anyone needs it.
When nothing narrower exists, the first team to break the guardrails is usually the one handed a broad, long-lived key.
Tailscale automation methods and what each one does
Read the list below in build order; it gives the one thing each part will do when you finish. Take from it that every stage ends in a working result, so you can stop after any of them and still have something useful.
- Scoped credentials plus tagged devices: a new machine joins your tailnet unattended, carrying a tag instead of a person's identity.
- A policy file in Git: an access change goes through review and merges into the live policy without anyone editing it in the console.
- A webhook receiver: a device or user event reaches your own endpoint and triggers a response you defined.
Activepieces, MIT-licensed at the core with 747 integrations, can be the receiver in place of a small service you write, and the stage works the same either way, meaning the endpoint you want is almost certainly supported. What follows is the groundwork each stage assumes.
What you need before you start
You need admin rights on a tailnet you can safely experiment on, so a test tailnet beats production. You need a Git repository you can protect with required reviews, and one machine or virtual machine to enrol as a tagged device.
For the last stage you need a publicly reachable HTTPS endpoint, which you can defer until you reach it.
Decide on your tag names now, before you create a single credential. Tags carry the ownership model through all three stages, and renaming them later means touching every credential and every policy rule that references them.
Everything below works on Activepieces' free plan. Start without code or a credit card.
Stage 1: API credentials and tagged auth keys
Start with an OAuth client for automation and a tagged auth key for devices. Both belong to the tailnet rather than a person, and both carry only the tags you grant, which is why they have to be built before anything else.

Choose OAuth client, API token or workload identity
When someone changes roles, the API access token is the one that fails, because it's the only credential tied to a person and it has an expiry. The table compares the three credential types on the dimensions that decide rollout risk.
| Credential | Expiry | Scopes | Owner | Best use |
|---|---|---|---|---|
| OAuth client | Secret does not expire; the access tokens it mints are short-lived | Chosen per client, including tag restrictions | Tailnet | Scripts and services you run yourself |
| API access token | 1 to 90 days, set at creation | Inherits the creating user's access | User | One-off checks and quick tests |
| Federated identity | No stored secret; the token is exchanged per run | Chosen per identity | Tailnet | CI pipelines and cloud workloads that can present their own identity token |

Store OAuth secrets in your secret manager from day one, because a non-expiring secret trades rotation work for a leak that never ages out.
With the API token the problem runs the other way: its expiry quietly breaks automation when it lapses or when its owner leaves.
Prefer federated identity wherever your runner supports it, and fall back to an OAuth client where it doesn't.
Make the first API call: list devices
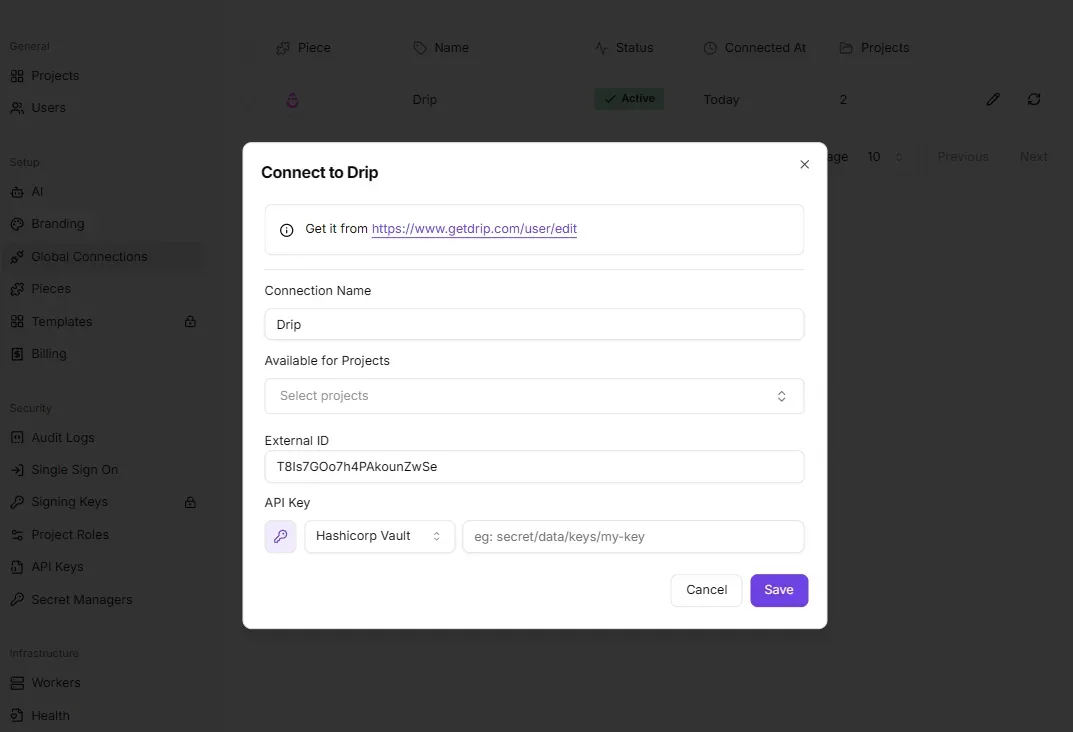
In the admin console, open Settings, then Trust credentials, create an OAuth client, and grant it read access to devices (devices:core:read). Add auth_keys scope now if you plan to mint keys in the next step.
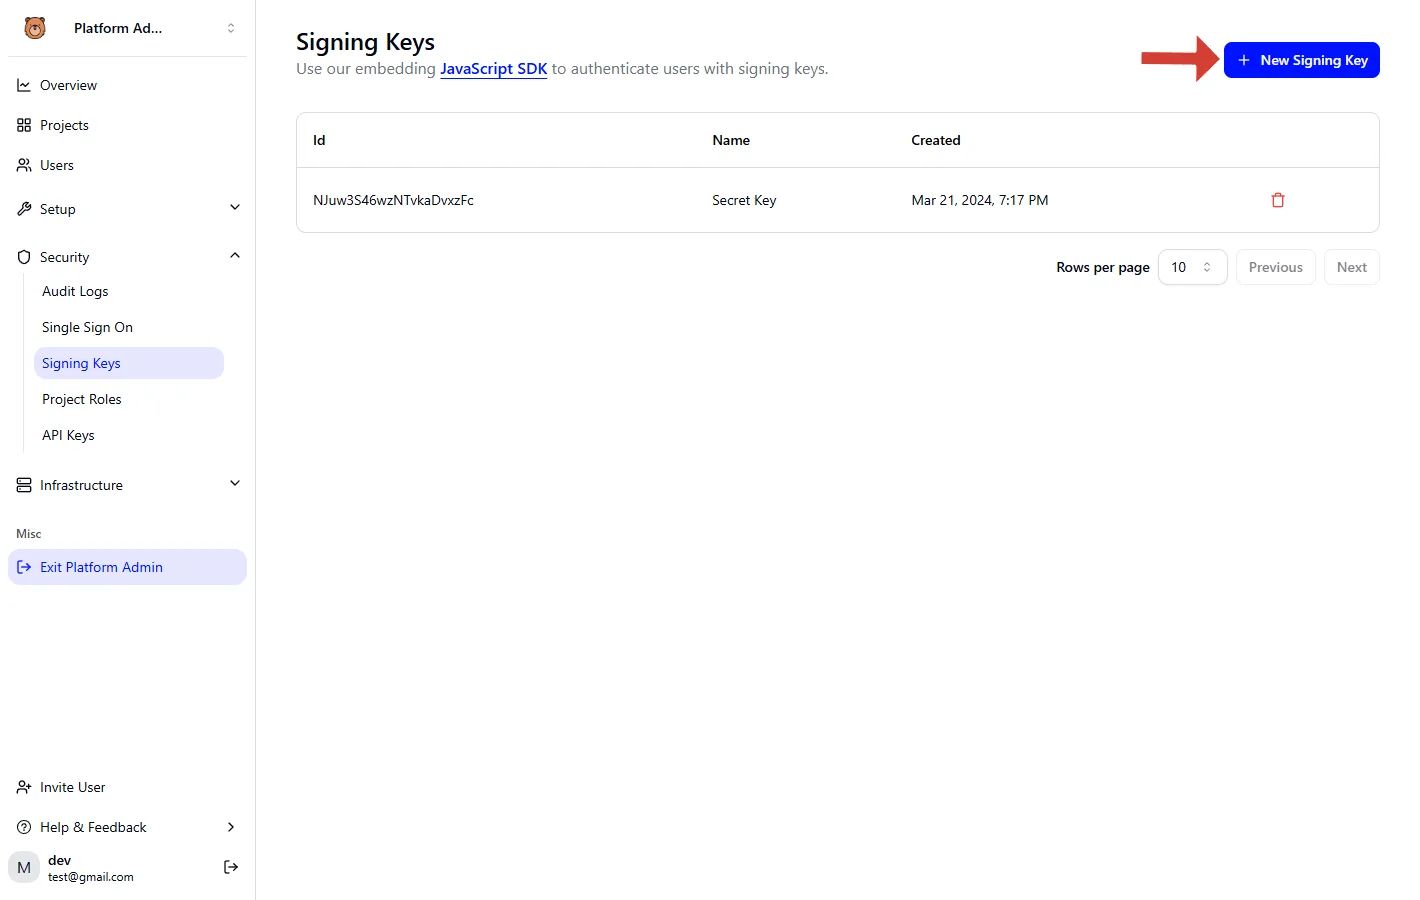
Exchange the client for a token, then list devices:
TOKEN=$(curl -s -d "client_id=$TS_CLIENT_ID" -d "client_secret=$TS_CLIENT_SECRET" \
 -d "grant_type=client_credentials" \
 https://api.tailscale.com/api/v2/oauth/token | jq -r .access_token)

curl -s -H "Authorization: Bearer $TOKEN" \
 https://api.tailscale.com/api/v2/tailnet/-/devices | jq '.devices[].name'
If this prints your device names, the credential layer works on its own. Don't move on until it does.
Join a server with a tagged auth key
Declare the tag in your policy's tagOwners first, then create the key in the console under Settings, then Keys.
Select reusable if you'll enrol a fleet from one image, ephemeral if the node should vanish when it goes offline, and pre-approved if device approval is on. Attach tag:server.
On the server, one command joins it:
tailscale up --auth-key=tskey-auth-XXXX --advertise-tags=tag:serverBecause the device is now owned by the tag, not by whoever ran the command, the policy work in Stage 2 has something stable to match against.
Stage 2: Access rules managed as code in Git
Move the tailnet policy file into a Git repository and push it to Tailscale from there, so every rule change is reviewed and tested before it takes effect. Tags give that file stable names to match against.
Where the policy file lives
Start by treating the console editor as read-only. Your repository holds the policy file, and the admin console shows what Git last pushed.
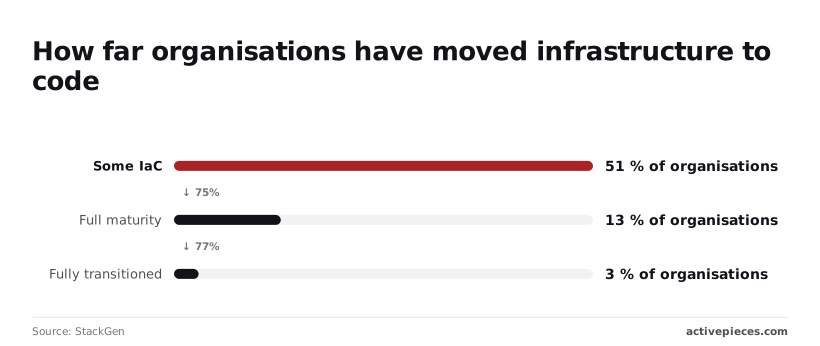
51% of organisations manage some infrastructure as code, StackGen reports, so a staged move is normal and partial adoption is the common starting point, not a failure. Only 13% report full maturity, and just 3% have fully transitioned.
Expect your first quarter to be a hybrid, and put the policy file in Git first, because it's one file with one owner and a clear review path.
What makes this safe is the API. A GET on the policy endpoint returns the file along with an ETag, a version fingerprint for that exact copy. When you push, you send it back in an If-Match header.

If someone edited in the console in the meantime, the fingerprints differ and Tailscale rejects your push with a 412 instead of overwriting their change.
Push it from Git with the GitHub Action
You don't have to write the ETag exchange yourself: Tailscale publishes a GitHub Action that handles it. On a pull request it runs the tests; on a merge to the main branch it applies the file.
Add a pull request template with a checklist (which tags change, who's affected). That's the cheapest lever for review quality, and you can measure it by how many pull requests arrive with the checklist complete.
If anyone edits in the console in the middle, the push stops, because the ETag is captured at the start and spent at the end. The sequence below shows the full loop, including the manual API calls the Action performs.
- GET the current policy file and record its ETag.
- Commit the file to the Git repository.
- Open a pull request with your change.
- Run the policy tests against the proposed file.
- Merge once the tests pass and a reviewer approves.
- Push the merged file with If-Match set to the recorded ETag.
When step six returns a 412, the console was edited after step one. Pull the new copy, reconcile the difference in Git, and repeat.
Add tests to your Tailscale access rules
State which sources must reach which destinations and which must not, in the tests section the policy file supports. Write at least one allow and one deny per tag you created in Stage 1.
A rule that accidentally opens a production tag to everyone then fails the pull request instead of reaching the tailnet.
Once merges reliably pass through tests, the policy is stable enough to emit events, and that's what Stage 3 builds on.
Easier to see it running than to read about it: set it up free, no card.
Stage 3: Webhooks that react to tailnet events
Instead of polling the API, you let the tailnet push events to an endpoint you control, so a device joining or a key expiring reaches a person.
Because it assumes the first two, this stage comes last: events about tagged devices only mean something once tags are reliable, and events about policy changes only matter once policy goes through review.
Create a Tailscale webhook and choose events
In the admin console, add a webhook with the URL of your receiver and select the event types it should get. Start narrow.
Subscribe first to device-level events such as a new node appearing, a node needing approval, or a node key nearing expiry, because those are the ones people act on.
Subscribing to everything at the start produces a channel the team mutes within a week, and a muted channel is the usual way this stage fails.
When you create the endpoint, Tailscale shows its signing secret, so copy it straight into your secret store. A secret kept anywhere else is one more thing to rotate later.
Verify Tailscale webhook signatures before trusting payloads
Anyone can post to your receiver, because it is a public URL. Every genuine delivery carries a signature header with a timestamp and a signature computed from that timestamp and the raw request body, using your secret. The receiver should do three things in order:
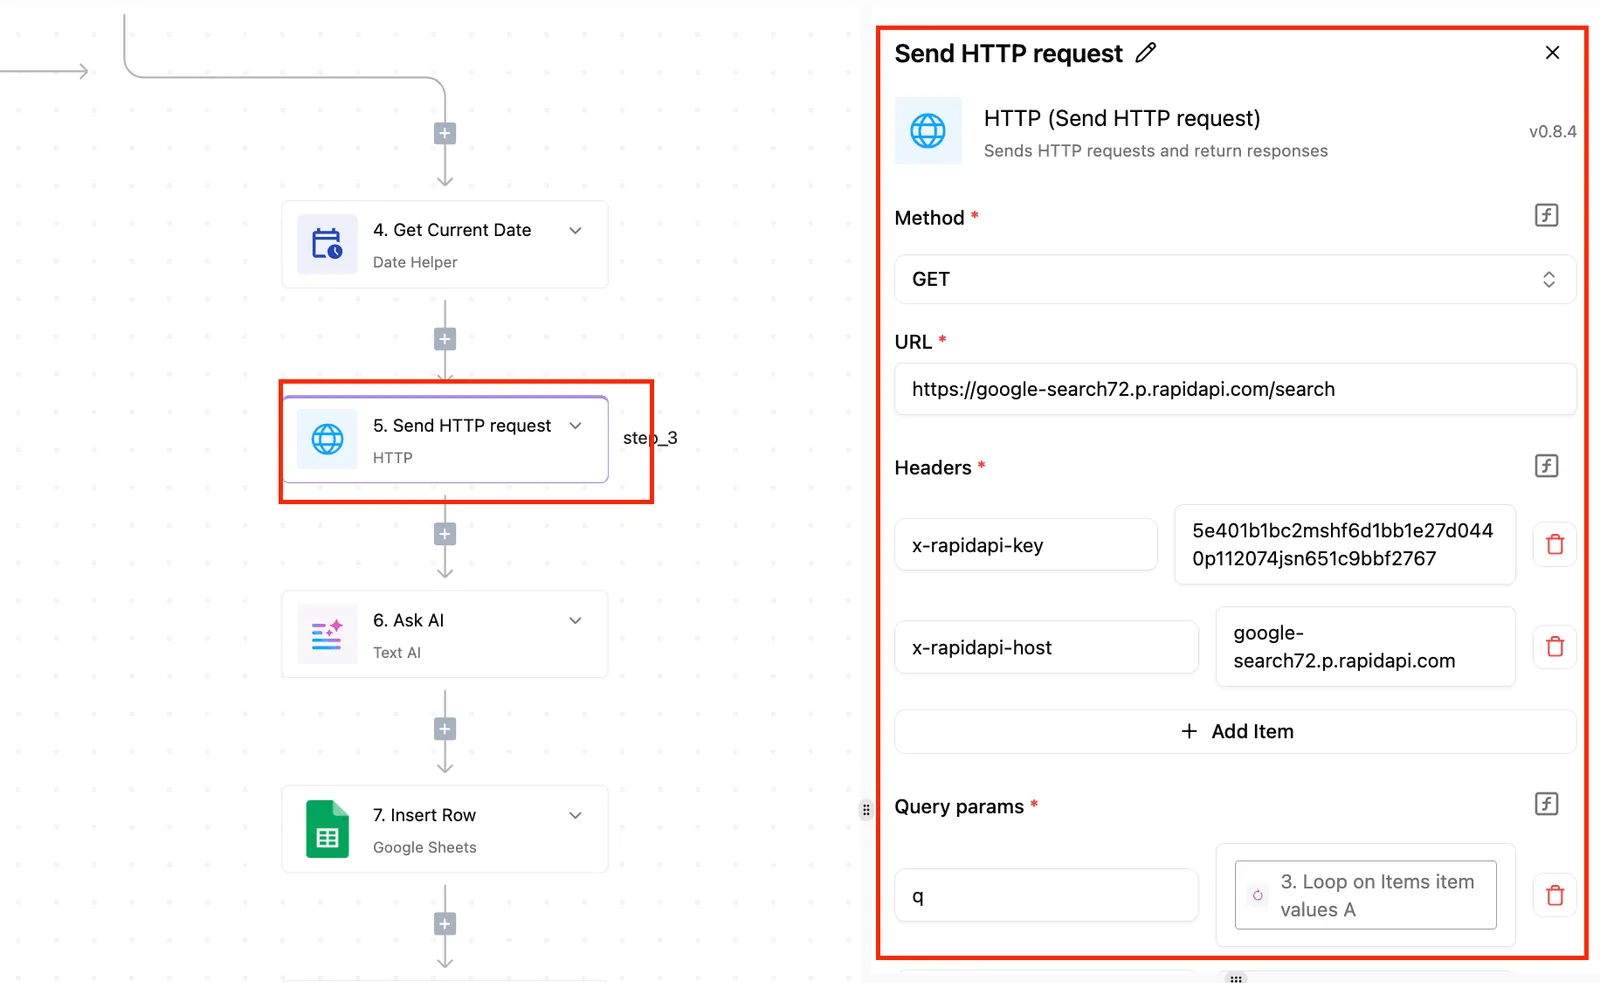
- Read the raw body before any JSON parsing, because re-serialising changes the bytes and breaks the match.
- Recompute the signature with your secret and compare it to the header using a constant-time comparison.
- Reject the request if the timestamp is too far from the current time, which stops an attacker replaying a captured valid request later.
Most people skip the timestamp check. That leaves a receiver that authenticates payloads but accepts old ones indefinitely. Anything that fails a check gets rejected without a body in the response, and nothing downstream runs.
Receive it with a script or Activepieces
You can get by with a small self-hosted script: one route, the three checks above, then a call out to chat and to your ticketing system.
If you'd rather not run a service, Activepieces can take the webhook trigger and route the event to Slack, email or a ticket. It sits beside Tailscale's own API, auth keys and Git-based policy tooling and replaces none of them.
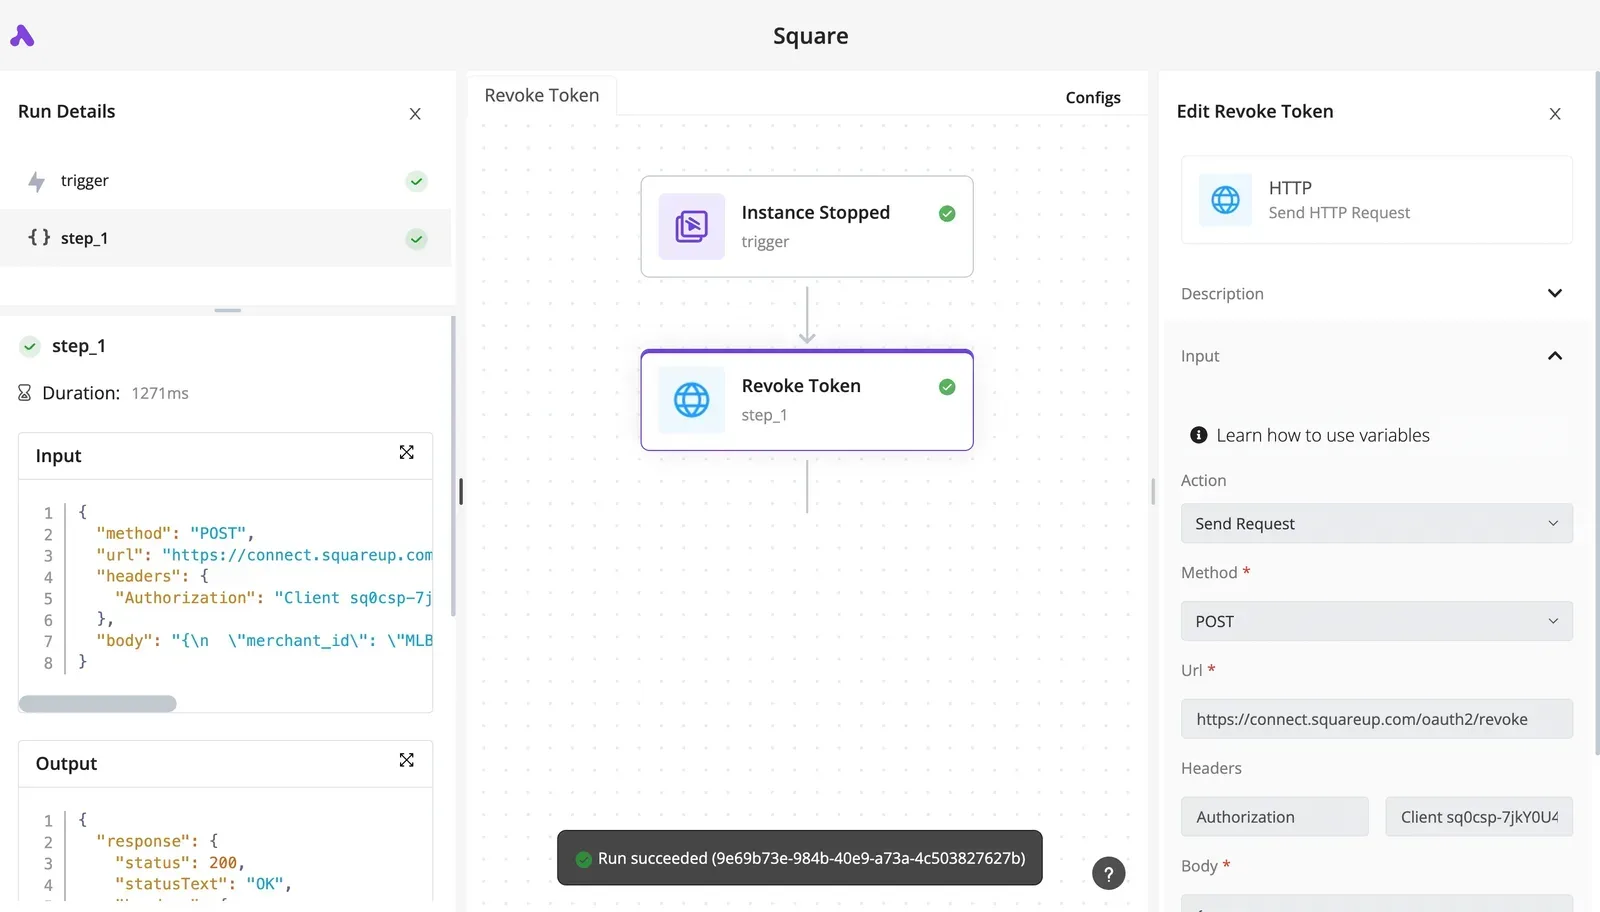
The signing secret from the previous step is the part worth a second look: Activepieces supports secret managers as part of its enterprise governance set, so credentials are held centrally rather than in each team's scripts.
Secret managers are listed in the enterprise governance feature set, next to SCIM, custom RBAC, SSO/SAML and audit logs, and MoneyGram, Moneypenny, Alan and FundingSocieties run Activepieces in production. You still need to apply the signature and timestamp checks before any action step.
Read the flow left to right. The tailnet sends a signed request to the receiver, the receiver checks signature and timestamp, and only a request that passes branches to a Slack message and a ticket.
The point is that the verification step sits between the internet and every side effect.
Test it with one real event, such as bringing up a tagged device, and confirm the message and the ticket both appear. A forged request with a bad signature should produce neither.
Tailscale automation errors, limits and fixes
When Tailscale automation fails, the cause is usually your own configuration, not an attack. The usual causes are a credential without the right scope, a tag nobody owns, or a policy file that fails its own tests. Each has a one-step fix.
Read the table below top to bottom, because the rows follow the build order: credentials, then tags, then policy. It pairs each error with what you see, why it happens and what to change.
| Error | What you see | Cause | Fix |
|---|---|---|---|
| 400 | Request rejected as malformed | Invalid JSON or a bad policy body | Validate the payload before sending |
| 401 | Unauthorized | Credential missing, revoked or mistyped | Reissue the credential and update the secret store |
| 403 | Forbidden | Credential is valid but lacks the scope | Grant the narrower scope the call needs |
| Tag not owned | Device or key creation refused | The creator isn't listed in tagOwners |
Add the owner to the tag, then retry |
| 412 policy conflict | Precondition failed on policy update | Someone changed the policy after you fetched it | Fetch the current file, merge, resubmit |
| Test validation failure | Policy rejected with a failing test | A rule contradicts a policy test | Fix the rule or the test, not both at once |
| Key expired | New devices fail to join | The auth key passed its expiry | Mint a fresh key in the pipeline |
Several of these rows look alike in logs, so the next sections separate them by stage.
Tailscale authentication and permission errors (401, 403)
Rotate for 401, widen the scope for 403. A 401 means the credential is wrong; a 403 means it's right but too narrow.
Count the tag-not-owned error here too, since it's an ownership failure, not a syntax one. Pre-declaring owners in a shared template is the cheapest lever, because every new team inherits the fix instead of rediscovering it.
Always fetch before you write, because a 412 is a safety feature: it stops you overwriting a colleague's edit. A failed policy test means the guardrail is working, so resist deleting the test to ship.
Tailscale plan limits and API rate limits
According to Tailscale's pricing page, ACL group ceilings jump sharply by plan. Personal allows 3 groups, so a three-team organisation is already at the limit.
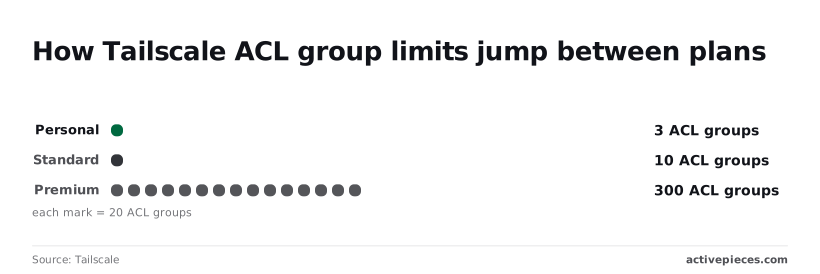
Standard allows 10, enough for a department-level model. Premium allows 300, a 30-fold jump, so per-project groups become practical only there.
I give no request-rate figure; if you receive a 429, back off and retry rather than looping.
As of November 2026, Shattered's seat comparison lists Tailscale Premium at $18 per user per month against Twingate's upper tier at $10. That's $8 more per user, or $400 a month for 50 users.
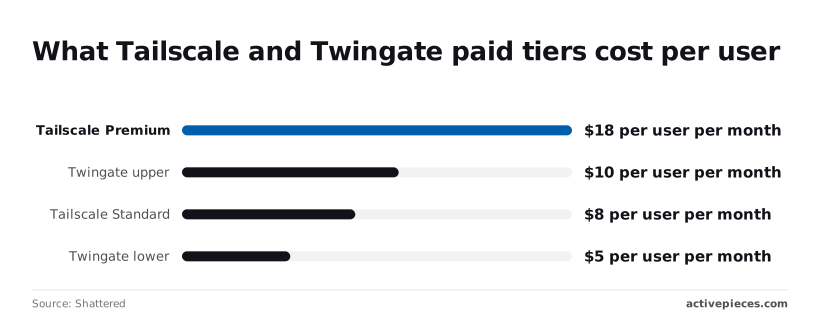
At Standard the gap is smaller: Tailscale is $8 against Twingate's lower tier at $5, a $3 gap that comes to $150 a month at the same headcount. Pay the premium only if you need the group count.
- Rotate any credential that returns 401 and record its expiry, which means services won't stay broken due to expired authentication.
- Trim each credential to the narrowest scope that stops 403s.
- Confirm every tag has a named owner.
- Add fetch-before-write to your policy pipeline to prevent 412s.
- Count your ACL groups against your plan's ceiling.
Frequently asked questions
Is Tailscale automation available on the free plan?
Yes for the first stage: you don't need the premium to start. Auth keys, OAuth clients, tags and the policy file are all available on the free plan, so credentials and tagged devices can be built and proven there.
Check Tailscale's pricing page for webhooks and for how many users and devices you need before you commit to stage three, because plan limits matter later.
That check costs a few minutes and avoids designing an event pipeline for a feature your plan may not include.
Can Terraform manage a tailnet?
Yes. Tailscale publishes an official Terraform provider that manages the policy file, auth keys, device tags and DNS settings. This is the natural second stage.
Once credentials and tags exist, put the policy file in version control and let Terraform apply it, so every access change is a reviewed commit rather than an edit in the admin console.
Don't start here. Terraform needs an OAuth client or API credential to authenticate, and without stage one you'll end up pasting a personal token into a pipeline.
How do I remove ephemeral devices automatically?
Register them with an ephemeral auth key and Tailscale removes each device itself after it goes offline. Nothing needs to run on your side.
Use this for CI runners, containers and short-lived cloud instances, which would otherwise pile up as stale entries and clutter your policy.
Pair the ephemeral key with a tag, so the devices that vanish also inherit the right access rules while they exist. For long-lived machines that were registered without the ephemeral flag, delete them through the API.
Do OAuth clients expire?
Not on a schedule. The client itself doesn't expire, but the access tokens it issues are short-lived and are requested again each time your automation runs.
This is why OAuth clients suit unattended jobs better than auth keys, which do expire and need rotating. The risk moves from forgetting a renewal to forgetting a client exists.
Scope each client narrowly, give it a purpose in its description, and revoke it when the job it served is retired. A client with broad scopes and no owner is the credential most likely to be left behind.