Kajabi Automation: Set Up Offer Triggers and Emails

Nov 17, 202615 min read
In about 20 minutes you can have a workflow running and test it quickly, because Kajabi automation is a trigger followed by actions, the same basic pattern you'll see in general-purpose tools like Activepieces.
Kajabi automation in 20 minutes: the fastest path
When someone buys an offer, Kajabi tags them and sends a welcome email without you touching it.
That single flow covers the first follow-up most course creators build, and it's built from native features alone.
Every automation has two parts: the trigger is the event Kajabi watches for, here an offer purchase, and the actions are what happens next, here applying a tag and sending an email.

Because the tag is attached to the contact record, later automations and segments can use it, so one clean tag now saves rebuilding logic later.
Which plans include automations (checked 17 November 2026)
$179, $249 and $499 a month: that is Basic, Growth and Pro on monthly billing, from the three plans Kajabi's pricing page lists, so the gap between Basic and Pro is $320 monthly.

Because the tag is attached to the contact record, later automations and segments can use it, so one clean tag now saves rebuilding logic later.
Annual billing drops those to $143, $199 and $399 a month. That's $36, $50 and $100 less each month, so if you're committed to the course, annual billing is the cheapest way to get the same features.
Automations do not separate the tiers; contact and product limits do. The table shows what each plan allows.
| Plan | Monthly price | Contacts included | Products | Automations included |
|---|---|---|---|---|
| Basic | $179 | 2,500 | 5 | Yes |
| Growth | $249 | 25,000 | 50 | Yes |
| Pro | $499 | 100,000 | Unlimited | Yes |
Choose a plan by how many buyers and products you expect, not by automation access. If you have one course and a few hundred students, you fit comfortably inside Basic's 2,500 contacts.
If you expect to pass that figure, price Growth from the start, since contacts beyond the limit are what force the upgrade.
Gather four things first:
- The offer you are triggering on, already created and priced.
- A tag name decided in advance, such as
bought-course-1, so you don't end up with near-duplicates. - A written welcome email: subject line, body, and the access link or login steps.
- A clear basis for contacting the buyer. A welcome email that delivers what they purchased is a different matter from promotional follow-up, which needs the buyer's consent under GDPR Article 6 and Article 7 where it applies.
If Kajabi's triggers can't reach it, the job goes to Activepieces, which counts 750 integrations from its open-source monorepo, but a purchase-to-welcome flow never needs one.
Everything below works on Activepieces' free plan. Start without code or a credit card.
Stage 1: Build the offer-purchase trigger
In Kajabi, go to Marketing > Automations, choose New Automation, pick the offer-purchase trigger, select your course offer and save. Nothing downstream fires until this trigger is saved against the right offer, so get it exact before adding any actions.
Open the builder and choose the trigger
From Marketing, open Automations. The list shows any automations you already have, and New Automation starts a blank one. The first thing the builder asks for is a trigger, the event that sets everything else running.
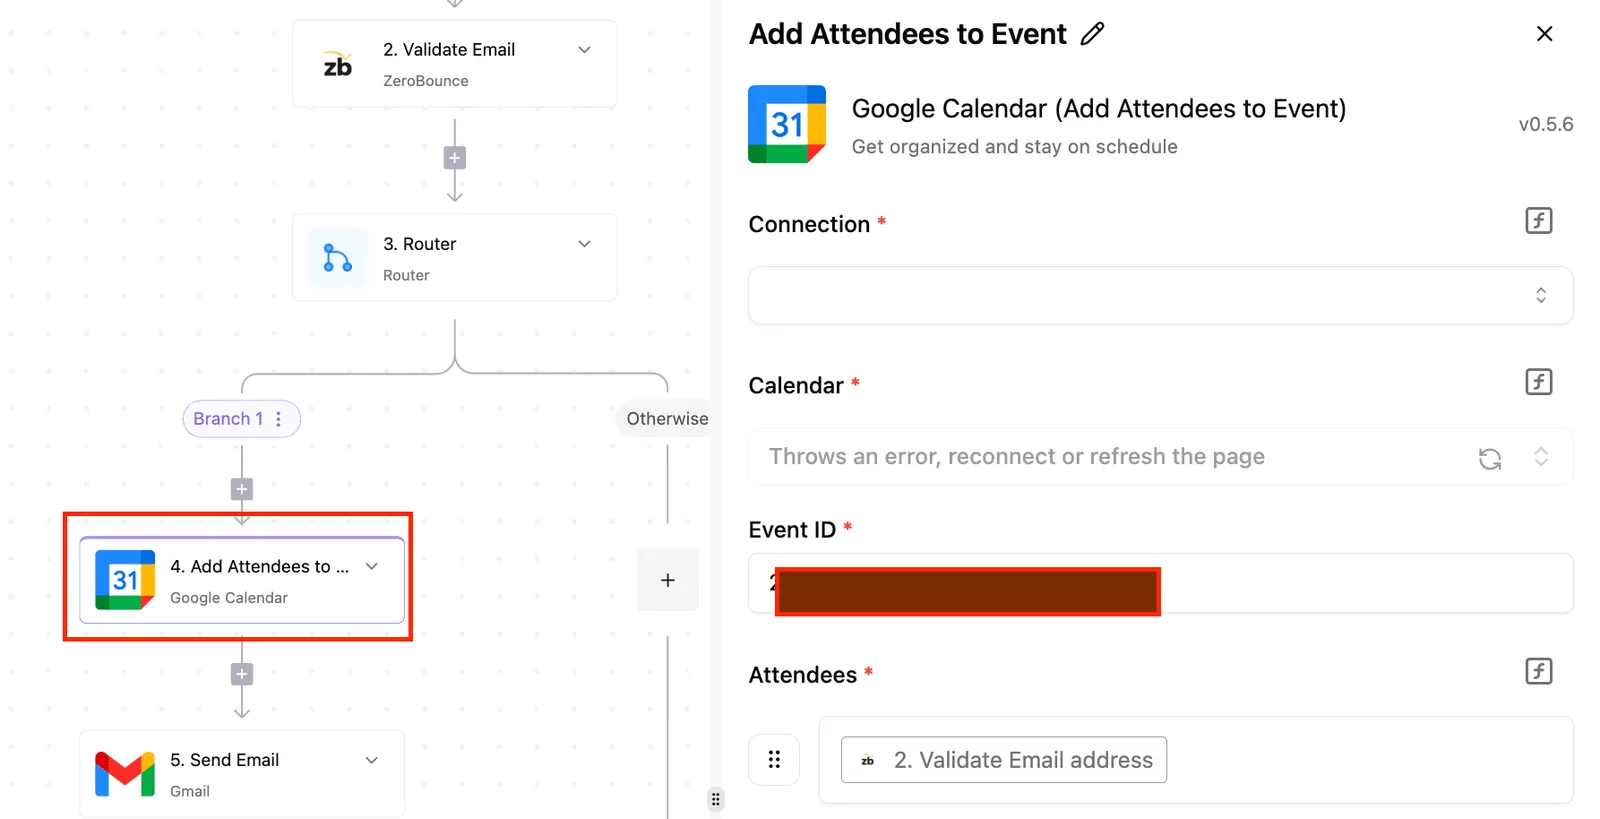
Read what your account's picker offers rather than relying on a copy from an article, because the list can change as Kajabi updates the product.
Kajabi's documentation lists several trigger types, including form submissions, tags being added, and offer-related events such as a purchase or an offer being granted.
For course follow-up, choose the purchase trigger, not the "granted" one. A purchase means money changed hands, while a grant can come from a manual action or another automation. If your welcome email is written for buyers, you want it tied to buyers.

Select the offer and confirm the setting
After you choose the trigger, a dropdown asks which offer it applies to. Pick the specific offer that carries your course.
Leaving it unscoped, or choosing the wrong offer, produces one of two failures: buyers of the offer you meant get nothing, and buyers of a different offer get a welcome message for a course they never bought.
Neither throws an error, so you won't be told.
Check the offer name against your product list, particularly if you keep a monthly and an annual version of the same course. Each is its own offer and needs its own trigger. Then save.
One compliance point belongs here. A welcome message confirming access fits under performance of the contract, GDPR Article 6(1)(b), because the buyer needs it to use what they paid for.
A promotional sequence attached to the same trigger needs its own lawful basis, usually consent. Keep the two separate when you add actions in the next stage.
Test the trigger with a test purchase
Saving proves nothing; a purchase does. Run a test transaction against the offer using a test email address you control, ideally one that isn't already a contact, so the result is not muddied by existing tags or records.
Then check two places. The automation's activity record should show the contact passing through the trigger, and the contact's own record should reflect the purchase.
If neither shows it, recheck the offer selection first, since a mismatch there is the most common cause. A trigger that fires on a test purchase is ready for actions.
Stage 2: Add the email and tag actions
Under your purchase trigger, add a Send Email action and then an Add Tag action, publish the automation, and confirm both fired on a real contact's activity feed. Order matters, because the email is what the buyer sees and the tag's your record of it.
Add Send Email and write the message
Click the plus beneath the trigger, open the action picker, and choose Send Email. Pick an existing email or write a new one, then set the sender name, the reply-to address, and the subject line.
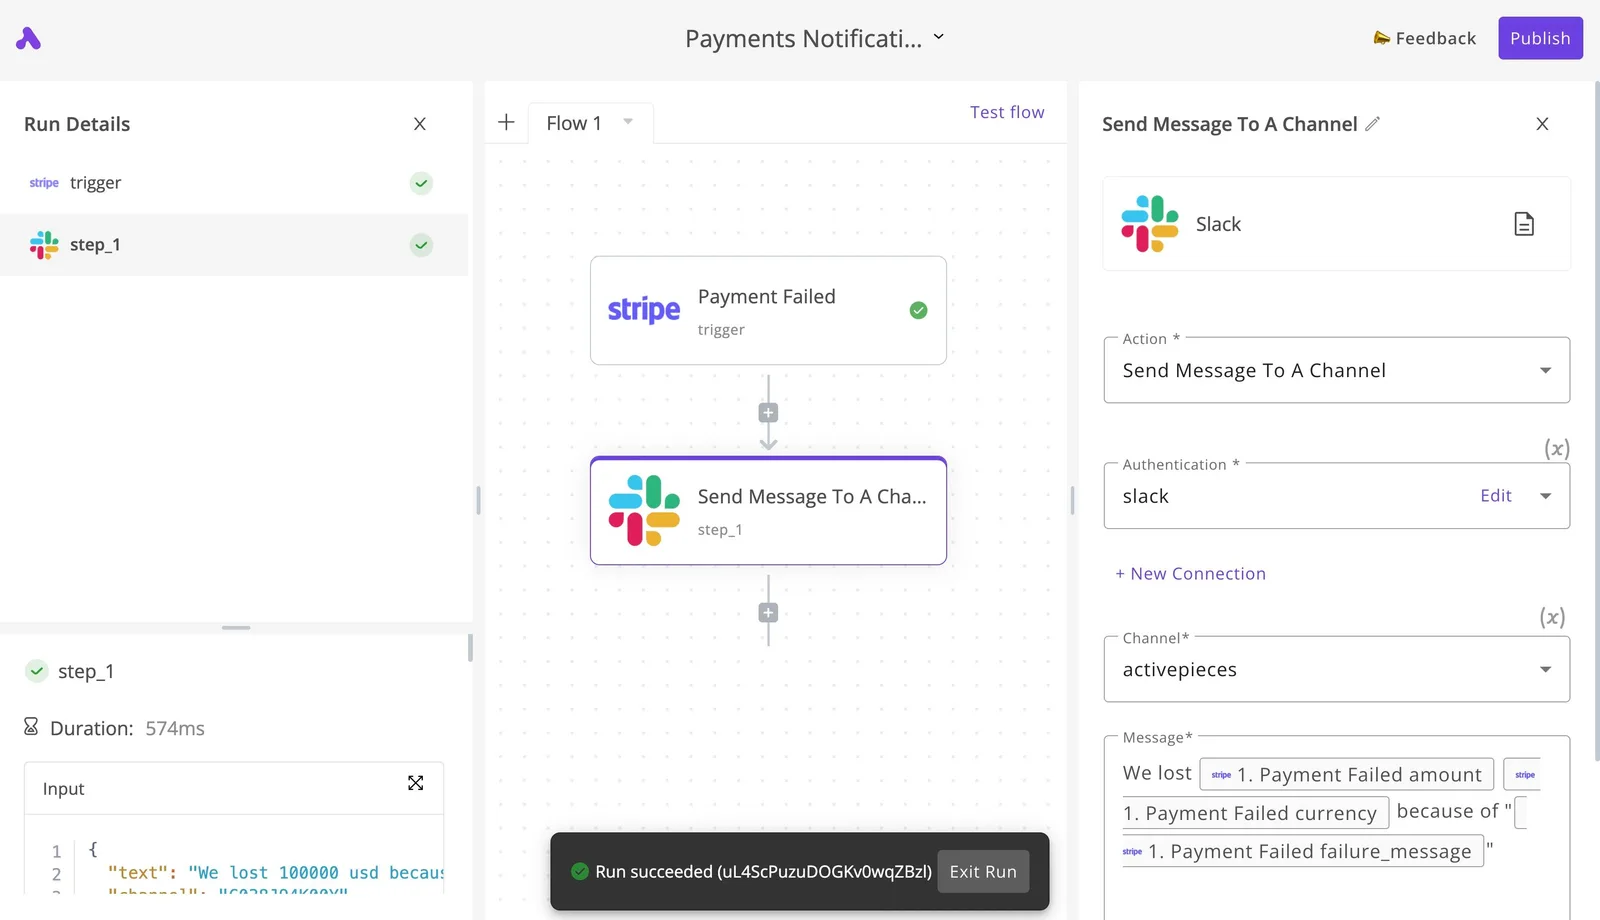
Keep this first message transactional:
- Confirm the purchase.
- Say where the course lives.
- Give a support contact.
Under GDPR Article 6(1)(b), a message needed to perform the contract the buyer just entered into rests on a different lawful basis than promotional mail.
Marketing content sent on the strength of a purchase invites the consent questions in Article 7 and national rules on electronic marketing. A plain welcome email avoids both. Put promotions in a later, separate automation.
Add a Kajabi tag to segment buyers
Add a second action and choose Add Tag. Name the tag for the offer and the event, for example a purchased-course tag, so you can filter by it later without guessing what it meant.
When a buyer later asks what you hold on them and why, a tag recording the purchase is a precise, defensible answer under the access right in Article 15. That makes the tag your evidence.
Create tags deliberately. A tag called "interested" tells you nothing about the basis for contacting someone.
Publish and test your Kajabi automation
Switch the automation on with the publish toggle. A draft does nothing, and a trigger that fires on a draft is the most common reason a flow seems broken. Then verify:
- Make a test purchase using an address you control, ideally one that isn't already a contact, so the result is unambiguous.
- Open that contact's record and read the activity feed.
- Confirm the purchase, the sent email, and the applied tag appear, in that order.
- Open the email in your inbox and check the sender name, subject, and links.
- Fix anything wrong and republish before a real buyer finds it.
If the tag is missing but the email went out, the second action was usually never saved. If the email is missing but the tag is present, look at the email selection.
Either way, the activity feed tells you which step failed, so you aren't guessing.
Easier to see it running than to read about it: set it up free, no card.
Fix Kajabi automation limits and errors
When a Kajabi automation fails, it comes down to one of four faults almost every time. The trigger never fired, the email never landed, the actions ran in the wrong order, or the plan stopped you.
The table below shows what I could confirm and where the help docs say nothing.
Treat every "not documented" cell as a prompt to test in your own account rather than assume. The table separates what Kajabi documents from what it leaves out.
| Symptom | Documented cause | Fix | Kajabi help article date | |---|---|---|---|---| | Trigger not firing | Not documented | Open the activity feed, confirm the automation is switched on, and check that the trigger names the right offer | Not documented | | Email not arriving | Not documented | Check the contact's status and the activity feed, then ask the recipient to look in spam | Not documented | | Action order and delays | Not documented | Reorder the actions and place any wait step before the email it should delay | Not documented | | Plan caps | Not documented | Compare your plan's automation allowance on Kajabi's pricing page | Not documented |
Because the cause and date columns are empty, the fixes above are checks I can stand behind, not quotations from Kajabi. Read the dated help article before you rely on any of them.
Start with the trigger itself, because a mismatch between the trigger and the offer a customer actually bought is the cheapest fault to rule out. Run a test purchase and watch the activity feed. If nothing appears there, the trigger never saw the event.
The email does not arrive
Not every missing email is a failure. Under GDPR Article 7(3), withdrawing consent must be as easy as giving it, so a contact who unsubscribed shouldn't receive your sequence.
Check the contact's status before you debug anything else. If the contact is subscribed and the feed shows the send, the problem sits with inbox placement, not the automation.
If a wait step sits after the email, it delays nothing the reader will notice, because actions are a sequence and position is meaning. Move the delay above the action it should hold back, then rerun your test purchase.

The docs I reviewed don't state how long a delay can be, so test the timing you need.
Kajabi automation plan limits and undocumented caps
You can't fix this one with a setting: caps tied to your plan. I found no documented figure I can confirm, so I've given none.
Check the current allowance for your plan before you design a long sequence, and note that its absence from the help docs is itself the finding.
Once these four checks pass and a step still fails, you have found a real gap in what Kajabi can do.
Send Kajabi purchases to other tools with Activepieces
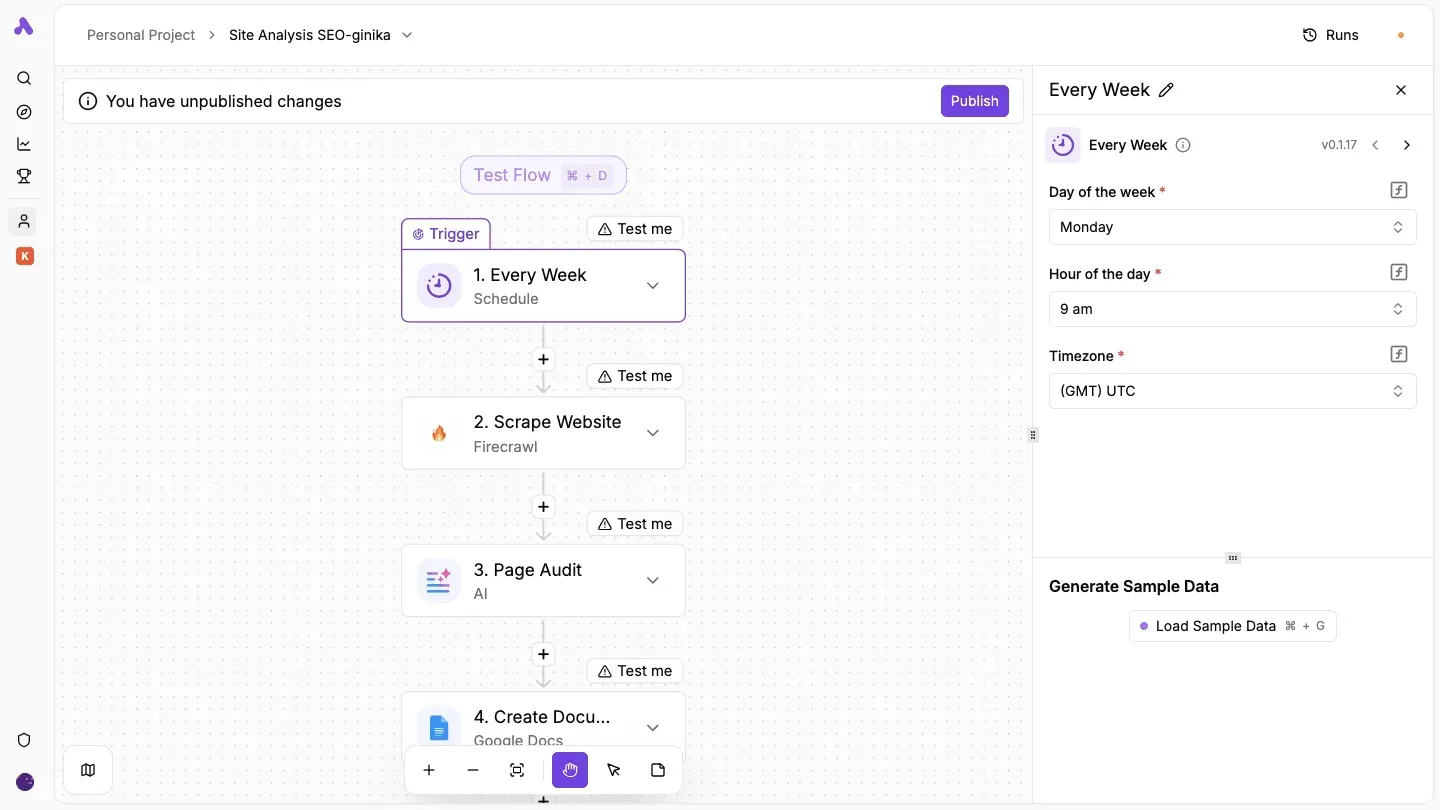
When you hit that gap, it is usually that Kajabi automations can't write to a CRM, a spreadsheet or a chat tool. Activepieces closes it by receiving a Kajabi purchase event and passing the buyer's details onward.
If the follow-up is an email, a tag, or access to another offer, stay inside Kajabi.
Every tool you add is another system holding buyer names and email addresses, and under GDPR Article 28 each one is a processor you must be able to account for.
Reach outside only when the destination is somewhere Kajabi can't write.
Options for sending data outside Kajabi
Zapier's 100 tasks run out first, and a busy launch week can exhaust them quickly, which means you lose automation exactly when demand peaks.
The table compares the five routes by what each does, what its free tier allows, and where it fits; read the free-tier column as a ceiling on how many buyers you can process before you pay.
| Route | What it does | Free-tier limit | Best fit |
|---|---|---|---|
| Kajabi webhooks | Sends event data from Kajabi to a URL you supply | No separate tier | Developers with an endpoint ready |
| Kajabi native integrations | Connects Kajabi to a fixed list of supported services | No separate tier | Needs the list already covers |
| Zapier | Connects apps through triggers and actions | 100 tasks | Occasional, simple handoffs |
| Make | Builds multi-step scenarios on a visual canvas | 1,000 credits/month | Branching logic, several destinations |
| Activepieces | Builds trigger-and-action flows in an open-source tool | 1,000 credits/month | Teams wanting a self-hostable option |
The 1,000 credits on Make and Activepieces give you roughly ten times Zapier's free allowance as a unit count, though the units are not measured identically. Test with a real week of purchases before relying on them.
A fixed list of native integrations only grows when the vendor decides it should, so a missing destination means waiting on their roadmap.
Activepieces counts 750 integrations straight from its public monorepo, roughly 60% of them community-contributed, and if a connector you need isn't there, you can generate one with AI and add it privately to your own instance without waiting on a release, so you're never held up by vendor timelines.
Capture Kajabi purchase events with a webhook
The flow has three steps, built in this order:
- Create a flow in Activepieces that starts with a catch-webhook trigger, and copy the URL it gives you.
- In Kajabi, point a webhook for the purchase event at that URL, then make one test purchase so Activepieces records a sample payload.
- Add a Google Sheets action that appends a row with the buyer's name, email and offer, then a Slack action that posts the same details to a channel.
Check the field names against the sample payload rather than assuming them, since a mismatched field produces a blank column without raising an error.
Keep the sheet's access list as short as the Slack channel's, because it now holds personal data. Once a test purchase lands in both places, the flow is ready to publish.
Frequently asked questions
Once a flow is ready to publish, four questions tend to surface. The answers below reflect Kajabi's help documentation as read in November 2026, and since Kajabi revises its docs, check the date on the page before relying on any of them.
Can Kajabi automations email people who did not buy?
Yes, if the trigger is something other than a purchase, such as a form submission, and the person has agreed to receive that email. Kajabi will send to whoever the trigger captures.
But under GDPR Article 7 you must be able to show consent, and under Article 21(2) a contact can object to direct marketing at any time. Build the trigger around the consent event, not around a list you happen to hold.
Does Kajabi automation work on the Basic plan?
The pricing page is the authority here: automations are part of Kajabi's plan structure, and the number you can run depends on your plan. I won't quote a limit from memory.
Before building, open your account's plan details and compare the count of automations you need with the count your plan allows. If a follow-up sequence needs several, you'll hit a ceiling at the point of publishing, not at the point of designing.
Can I edit an automation after it is published?
Yes, and the safe assumption is that edits govern what happens from the next trigger onward. People already past the trigger should not be expected to be re-processed.
Treat a published automation as live processing of personal data. Change one step at a time, then run a fresh test purchase, as in the previous section, and confirm the result in both places before you walk away.
How do I stop an automation running for old customers?
Existing customers aren't swept in just because the automation now exists, since automations fire on new events after publication.
The risk comes from events you trigger yourself, such as bulk-adding a tag or re-granting an offer to a past buyer, which can start the flow for them.
Before any bulk action, check which automations listen for that tag or offer. If old customers must be excluded, point the trigger at an event only new buyers can produce, or pause the automation while you run the import.