Build an SMS ChatGPT customer service agent in 10 minutes
If you fell in love with ChatGPT like the hundreds of millions of users who use it, you might want to offer your own version of ChatGPT to your customers.
Think about it, how cool would it be if ChatGPT is wearing the hat of a customer agent at your organization. You feed this agent with your organization specific data, and it will respond to the customer accordingly.
Is it possible to create my customer service agent with ChatGPT?
The short answer is yes! However, you can't do this using the ChatGPT interface since this interface requires step by step interactions with you.
To do this, you need to build a custom solution for yourself using ChatGPT's API. This is not straightforward, so we'll use Activepieces, an automation tool that will make our life much easier working with ChatGPT through the API.
How to build my own ChatGPT customer service agent?
We'll use a prebuilt template to use on Activepieces, then we'll make some configurations to make it work for us. This template will use 2 third party services that you need to be set up with.
Prerequisites
To enable your customer service agent over SMS, you need to have the following first:
- An Activepieces account: This is the business automation tool that will create the agent for us and connect all our tools together.
- An active Twilio account and number: We will be sending and receiving SMS using Twilio. So you'll need a working Twilio account with a number that can receive and send SMS.
- An OpenAI account and API key: We'll generate responses using ChatGPT, an OpenAI product. So you'll have to get an account on OpenAI and generate an API Key (keep it in a safe place).
Steps to create an SMS ChatGPT customer service agent
Let's get to business. These are the steps to create our ChatGPT-powered customer service agent over SMS:
1. Copy the template of the SMS ChatGPT customer service agent.
Use this template on Activepieces to create the base flow to your new customer service agent powered by ChatGPT. You will create an Activepieces account while copying the template as this is a template for an automation flow built on Activepieces.
2. Understand the flow of your new customer service agent.
When you copy the template, you will see something like this:
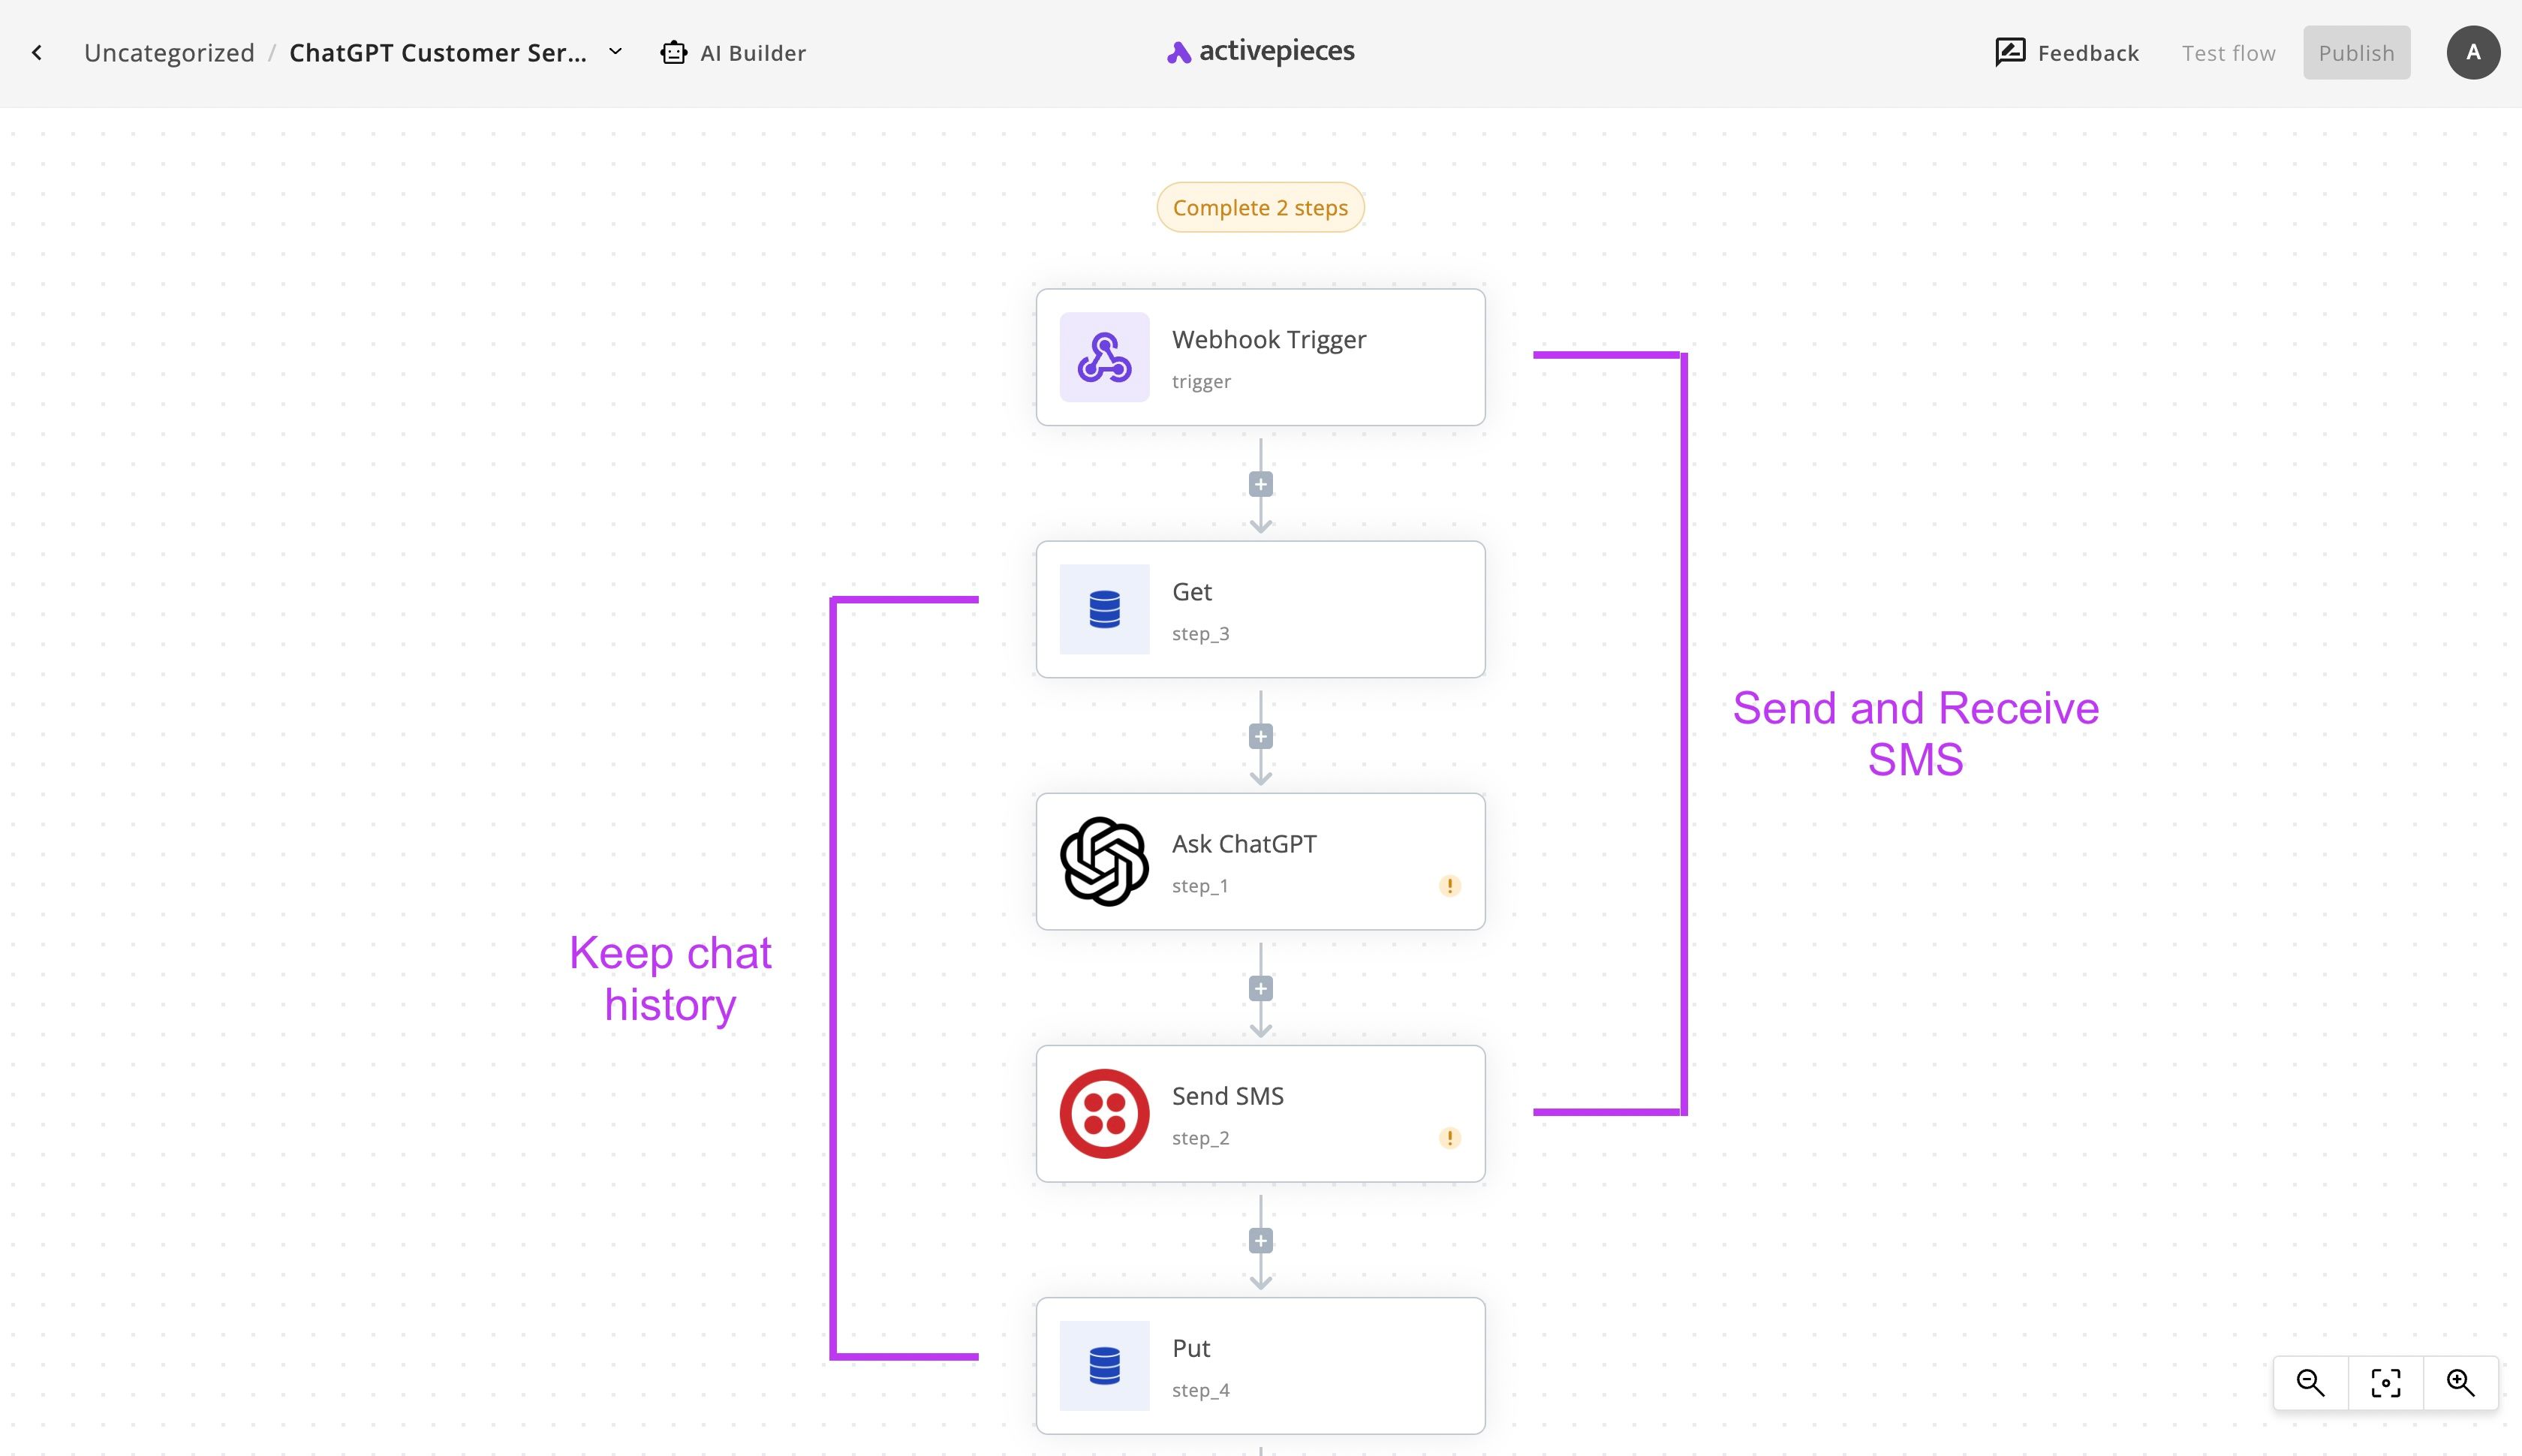
The flow starts with a Webhook Trigger. This means that the flow has a unique link, once requested by another service, the flow will run. We will add this link later to our Twilio account to get notified of new SMS messages to our number. So the first step is the one responsible for receiving new SMS texts from our customers.
Then you will see the Get and Put steps, these ones will store and retrieve the chat history between our agent and the customer. While these are not necessary for a basic customer service agent, these are what make our flow so powerful. Our new agent will always have context of previous chats with this customer while responding, it's like having memory rather than forgetting about the old messages every time it responds to them!
In the middle of the flow, you'll see the Ask ChatGPT step. This one is obviously the step that sends requests to ChatGPT's API with our prompt, business details and the chat history for some context. We'll ask ChatGPT to respond like it's our customer service agent.
The Send SMS step is the one that takes ChatGPT's response and sends it back to the user via Twilio. Don't forget to keep your Twilio account charged so your new virtual agent doesn't fall short.
3. Configure your new SMS ChatGPT customer service agent.
The flow won't work immediately, you have to connect your accounts and make some configurations to put it to work. Let's do it.
(1) Add the Webhook URL to your Twilio number
Click on the Webhook Trigger step and find your unique Webhook URL in the right side panel. Copy this URL and go to your Twilio account. From your Active Numbers, choose the number you'd like to assign to the new agent.
Click on that number and scroll down to the Messaging Configuration section, under the "A message comes in" title, choose Webhook and paste the Webhook URL you copied earlier into the text field like in this screenshot:
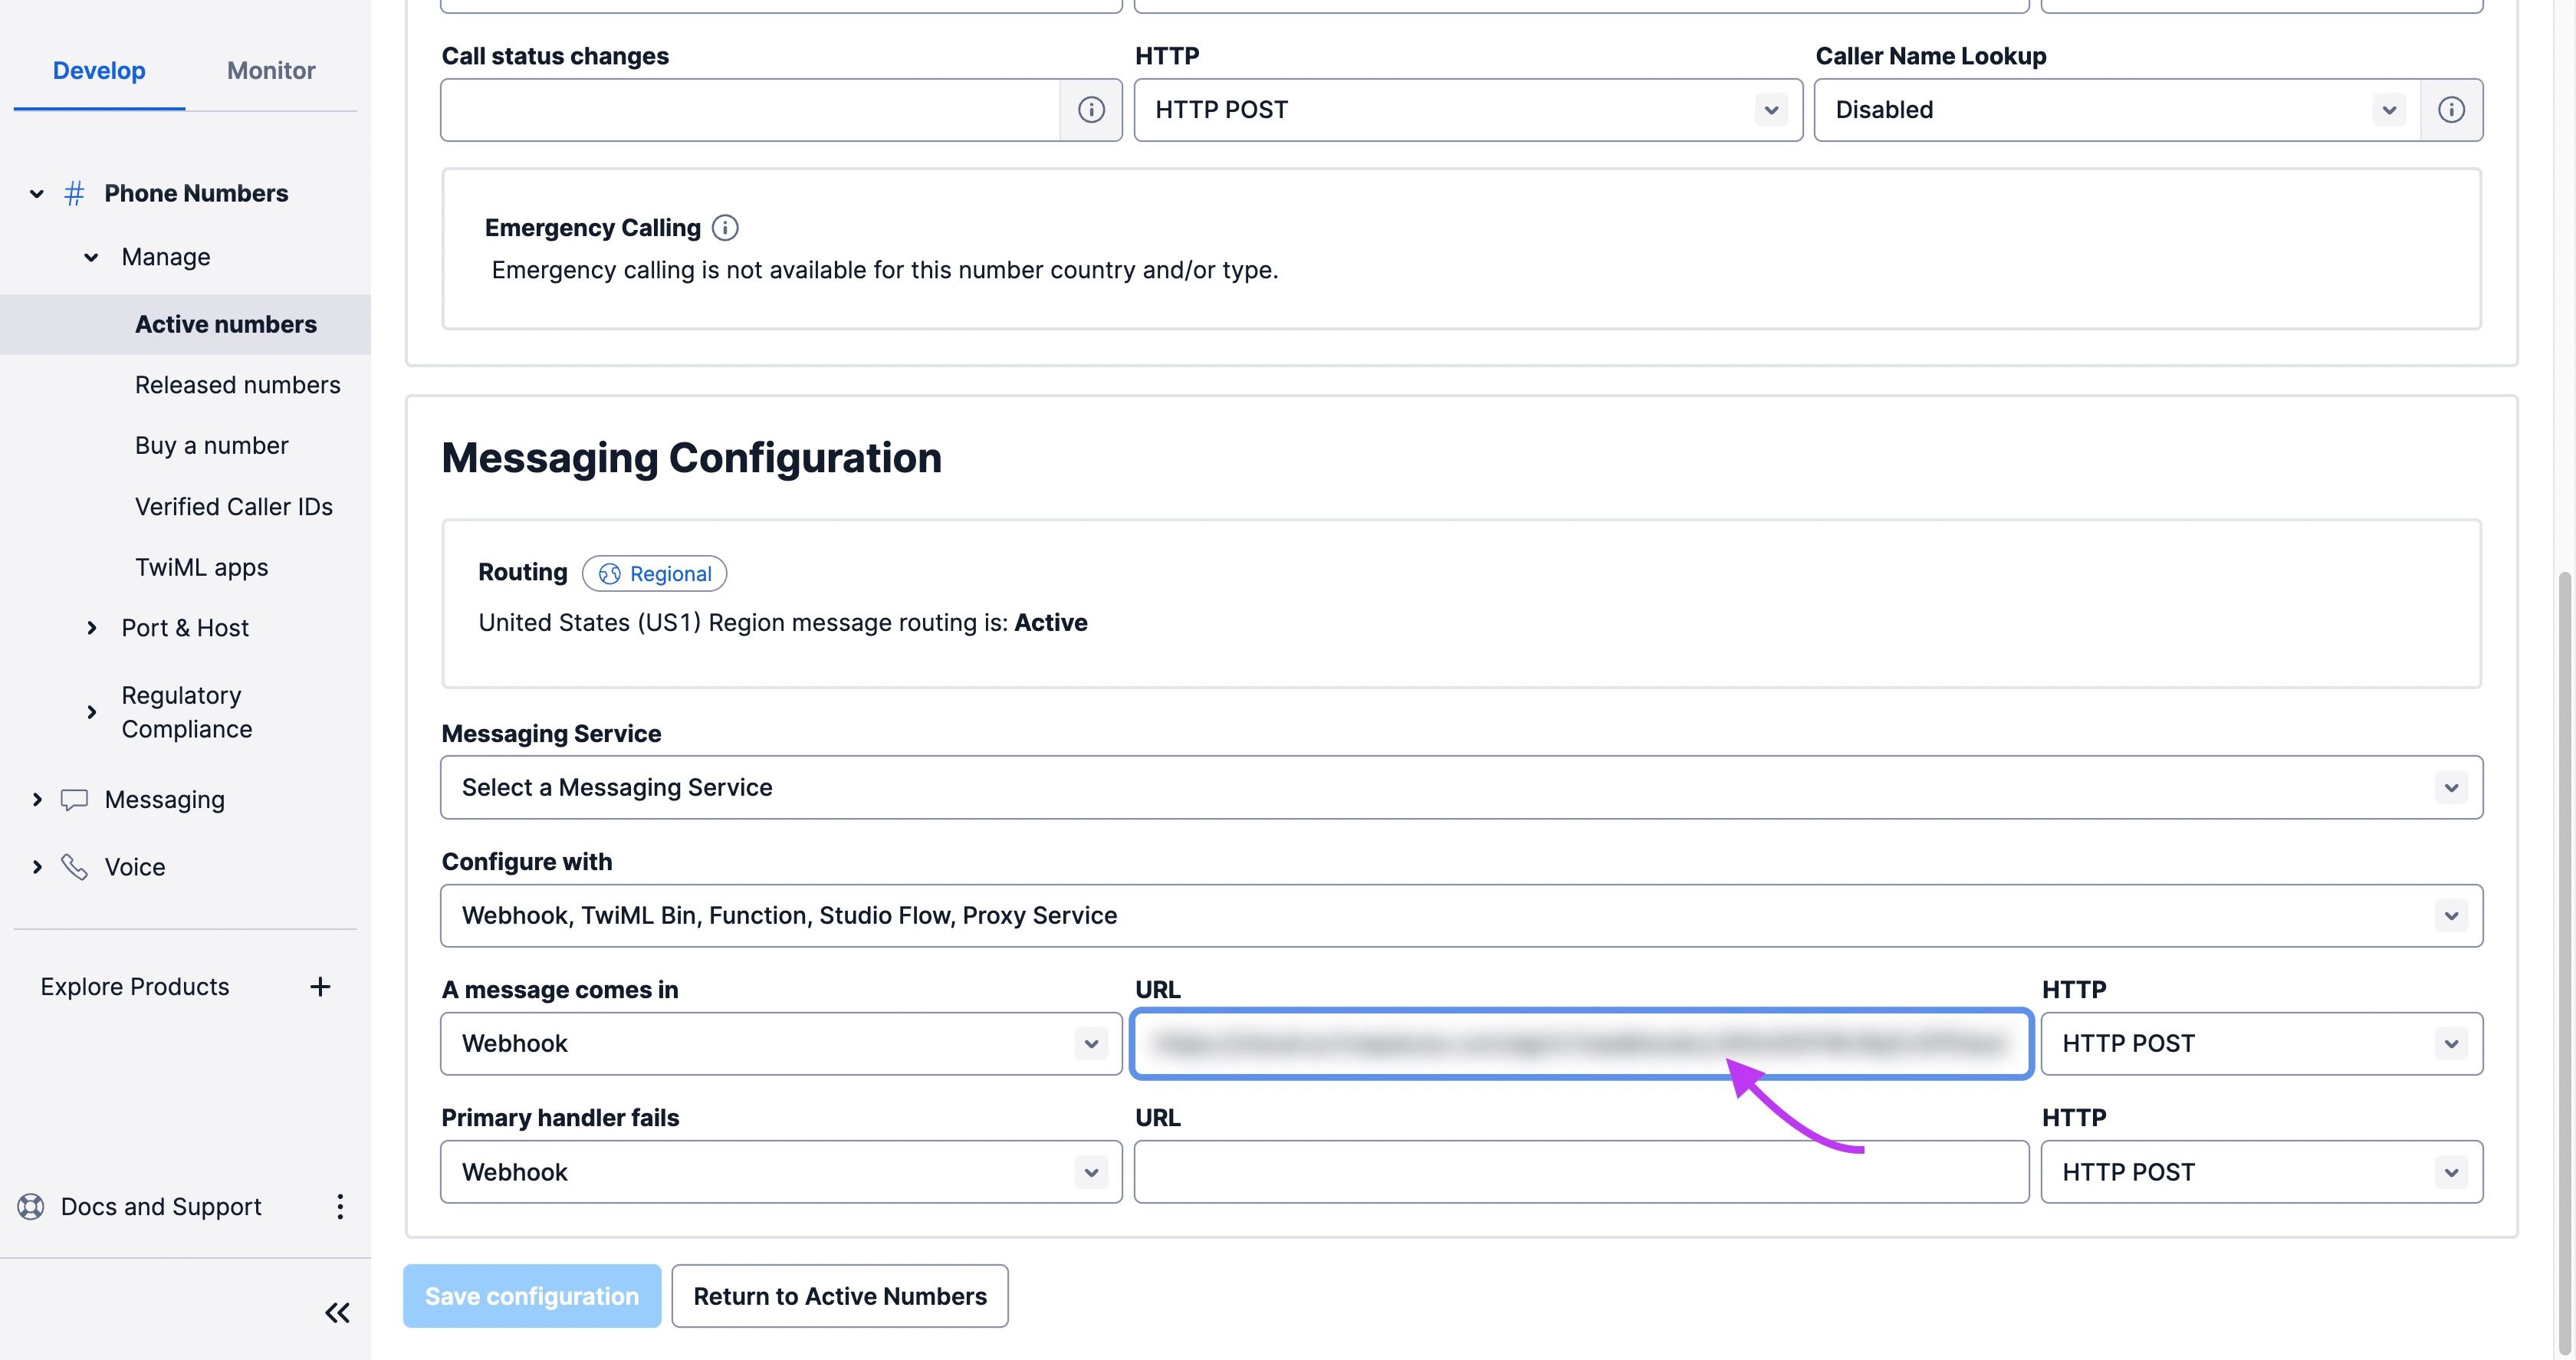
Save your configuration and go back to your flow on Activepieces. You can test the trigger step in the bottom part of the sidebar while selecting the Webhook step, click on Send Data. If you initiate the testing, send an SMS over to your Twilio number and you'll see the sample data generated in the same box.
(2) Configure ChatGPT to respond as your customer service agent
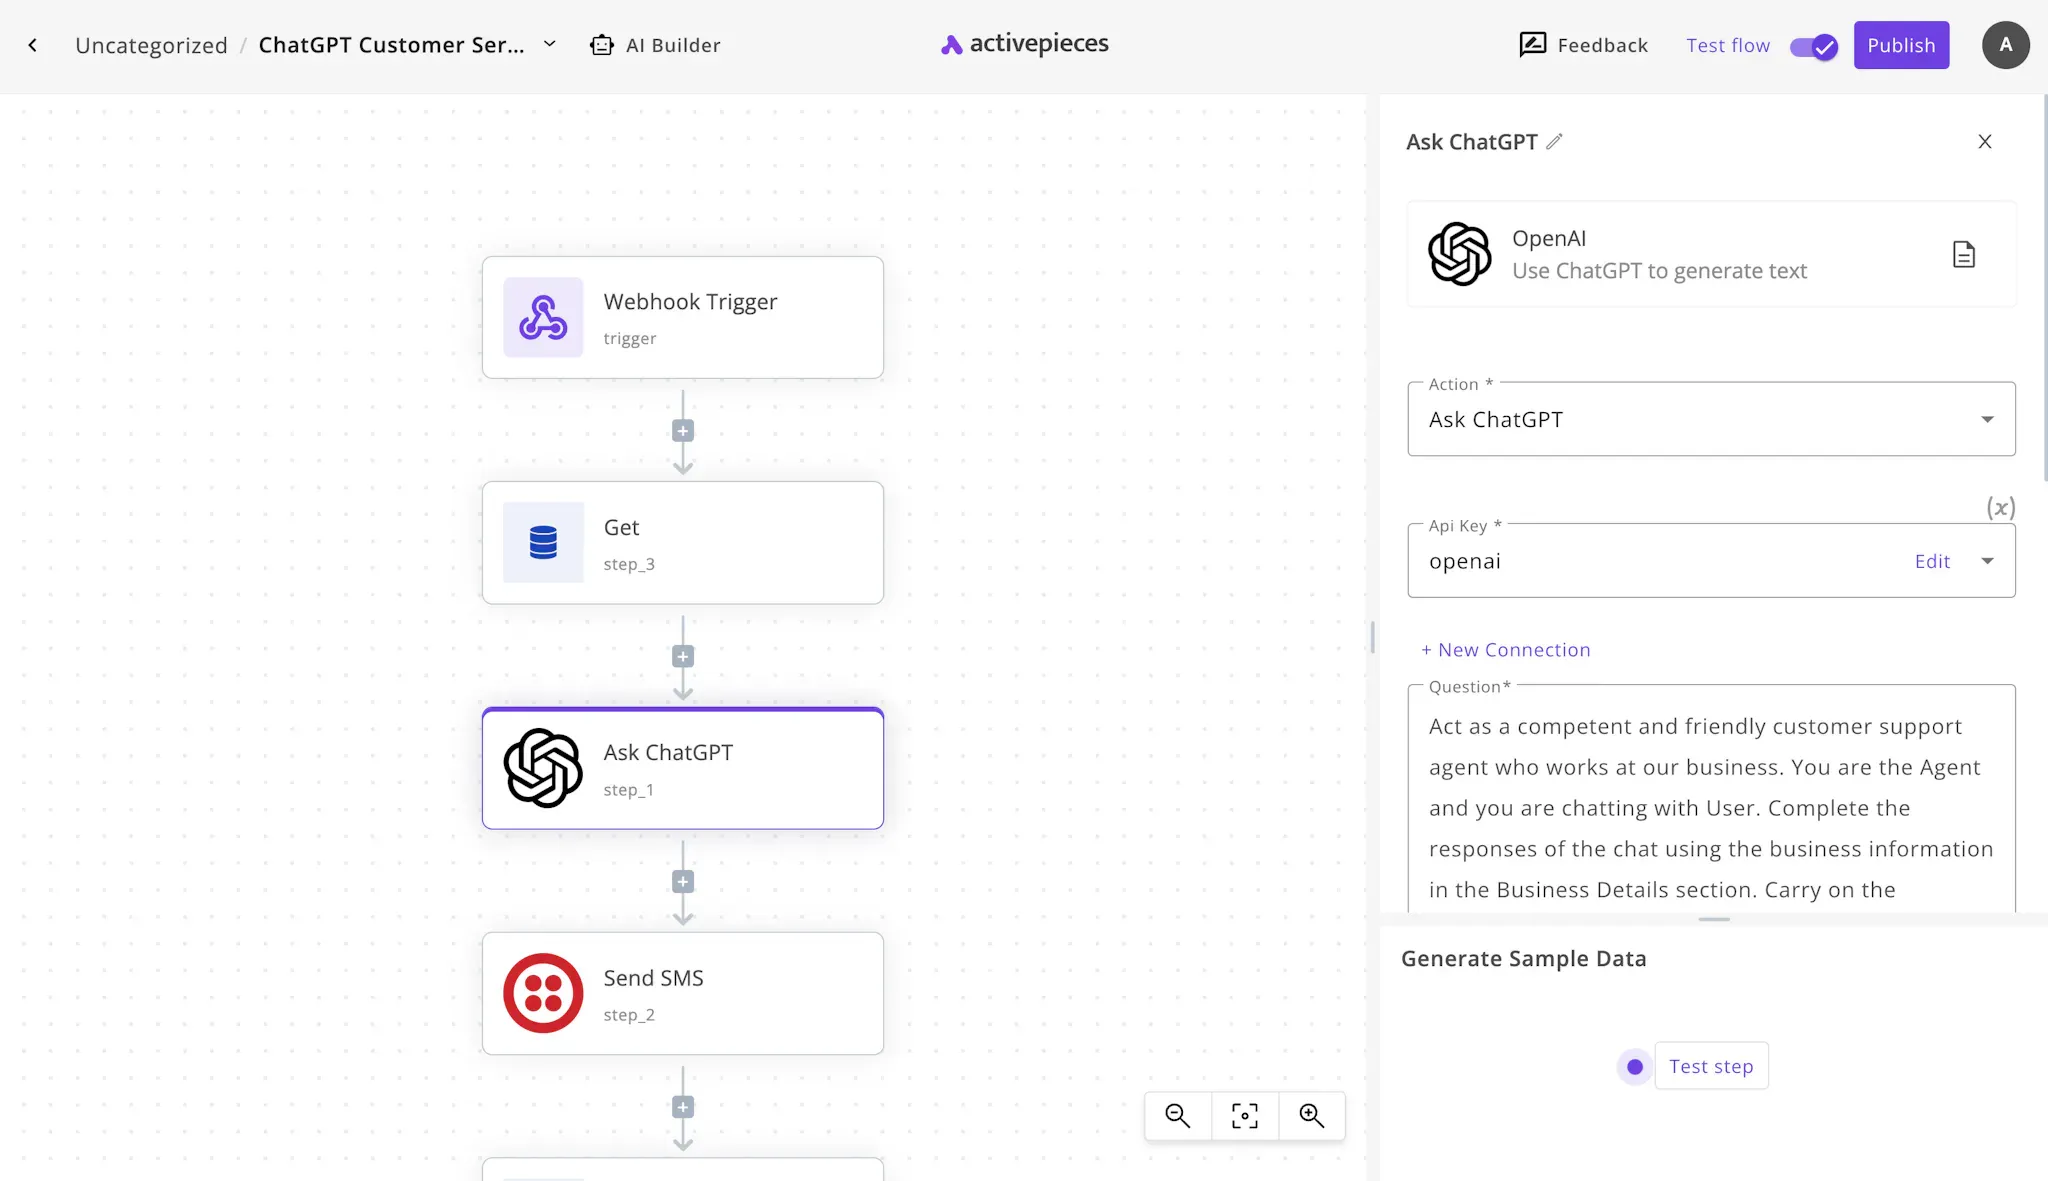
Click on the Ask ChatGPT step in your flow. In the sidebar, click on + New Connection to connect your OpenAI account. For this, you need to have an API Key on OpenAI and a credit card in your OpenAI account. You can generate an API Key from this page.
Now go to the Question field, you'll see a preset prompt that asks ChatGPT to act like a customer service agent. Keep it but edit the section of it that says Business Details, this one:
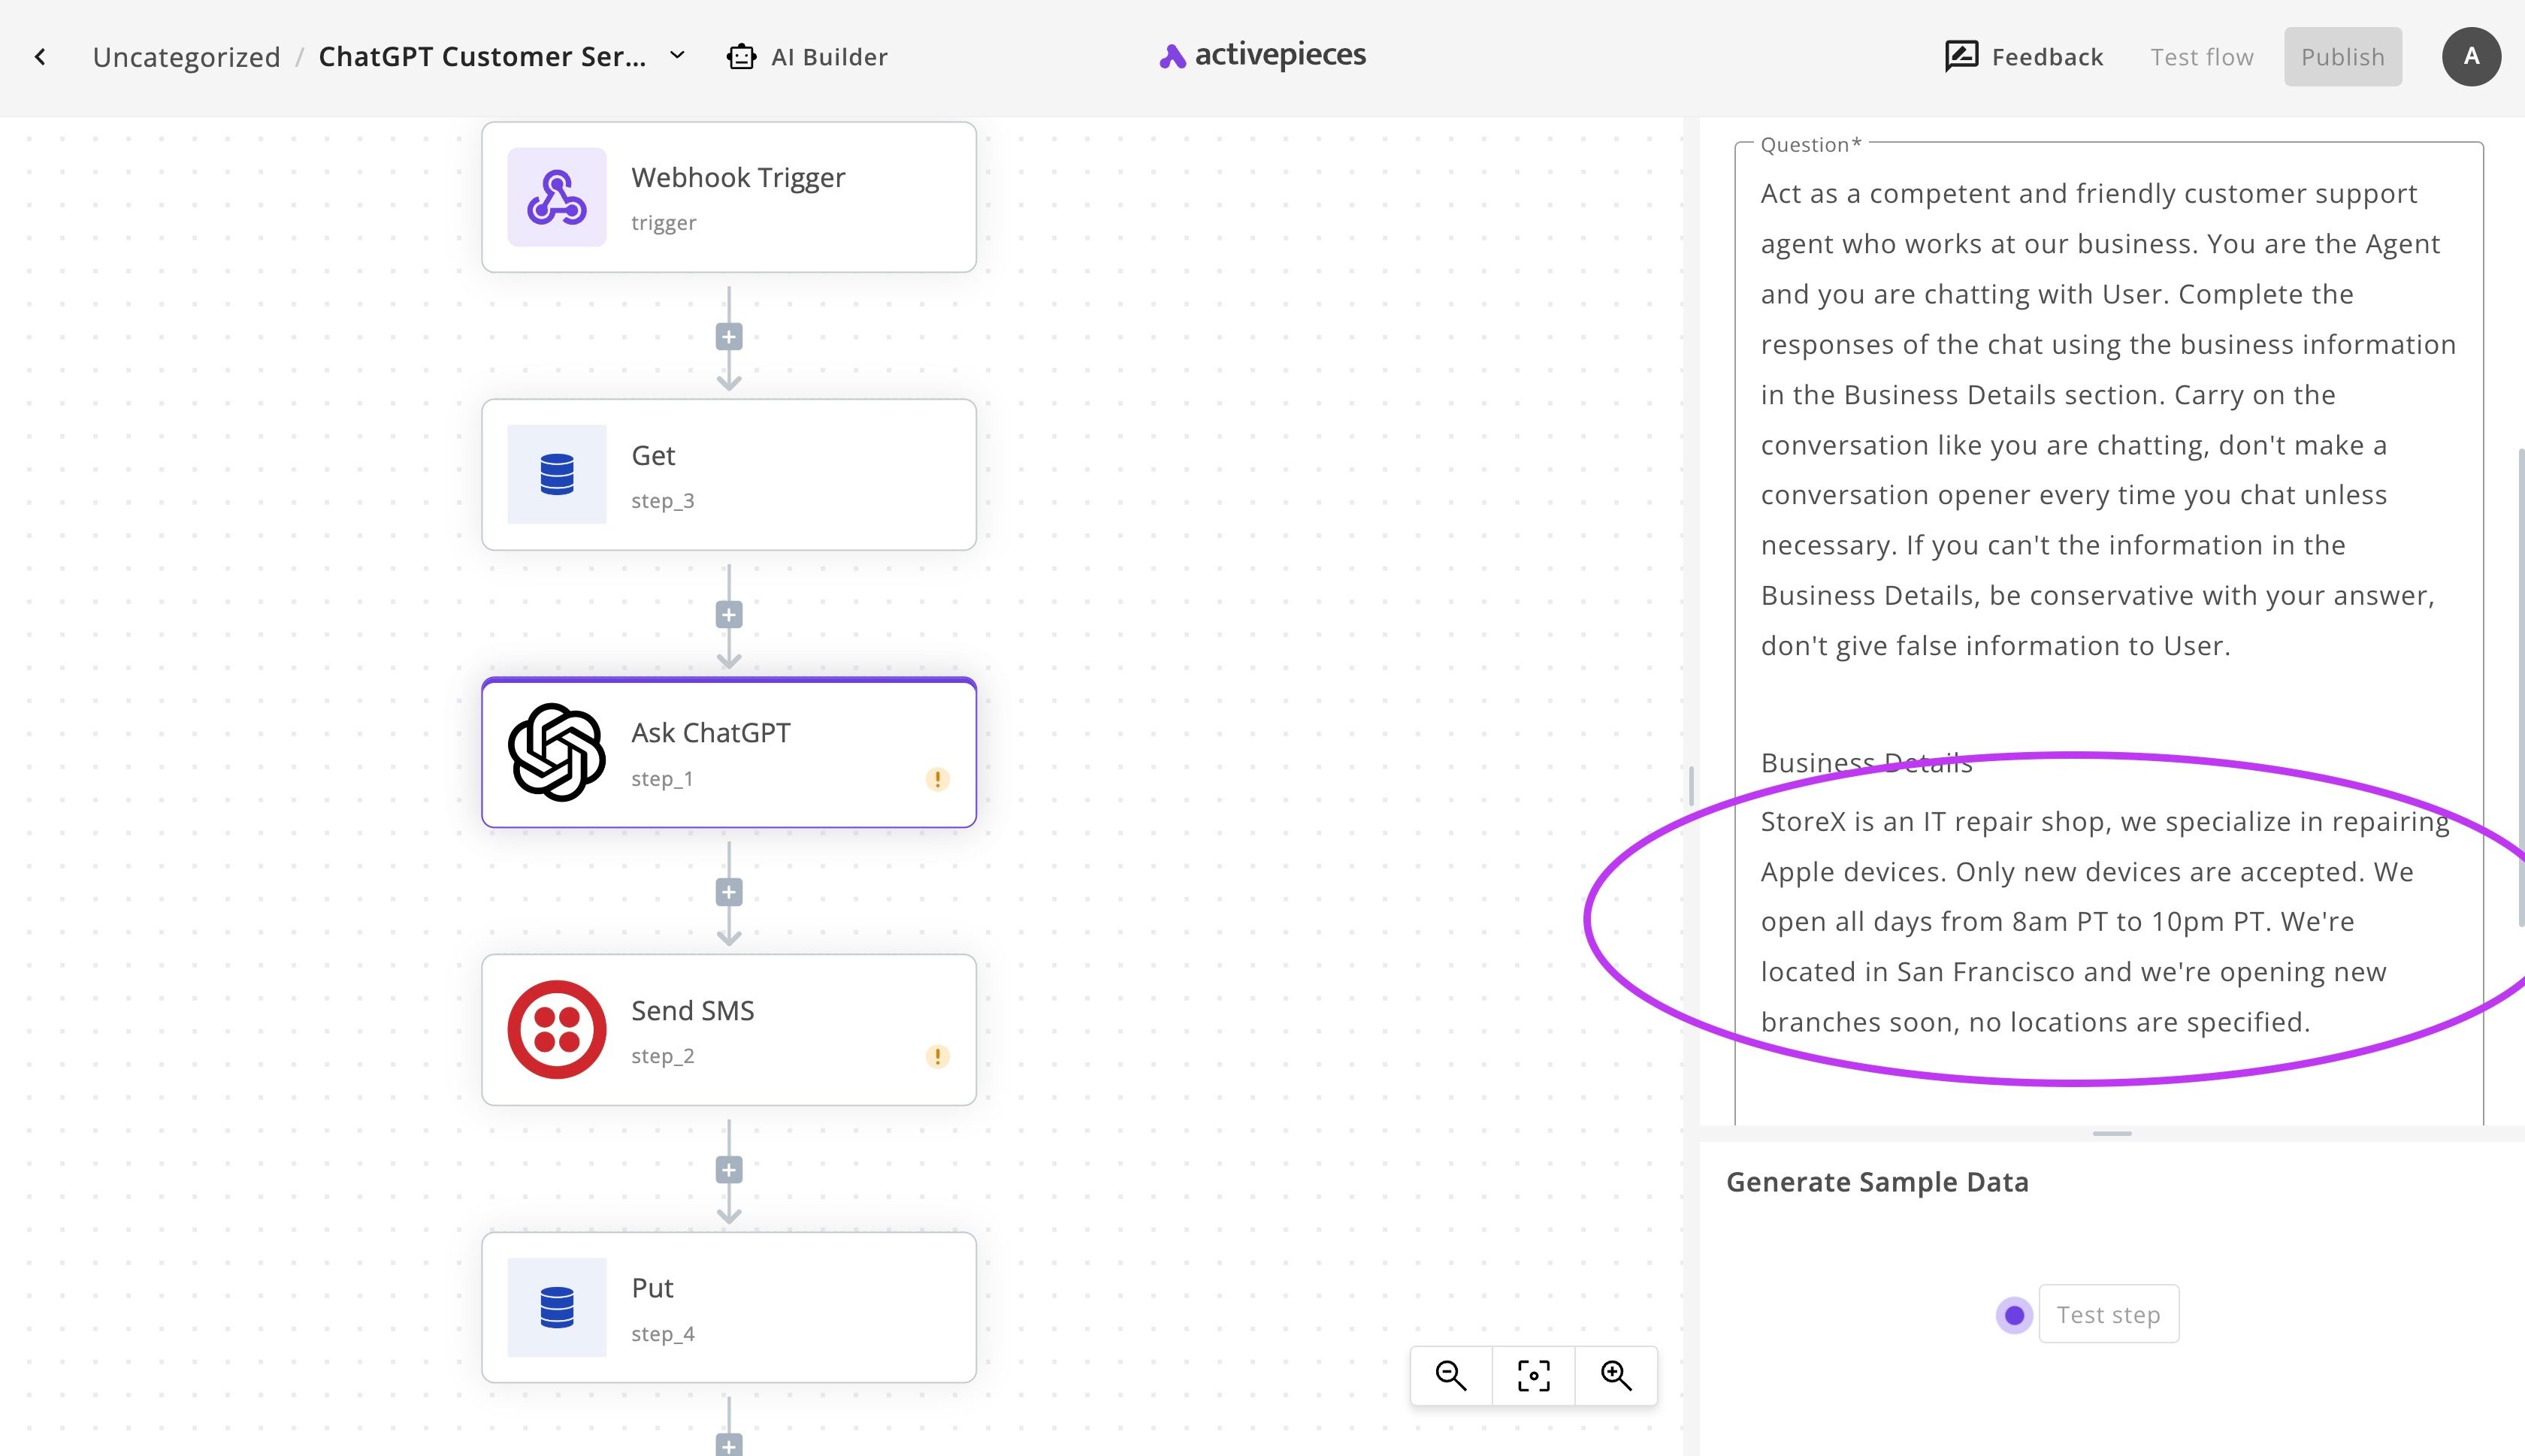
Provide as much information as you'd like about your business to allow ChatGPT to make better responses on behalf of you.
(3) Set up the Send SMS step
Click on the Send SMS step. Click on + New Connection, add your connection to your Twilio account as described in the connection popup.
Once your account is connected, you'll see the available numbers from your account in the From dropdown. Select the same number you assigned to the webhook earlier, so that all the communication goes to and from the same number.
(4) Try out your customer service agent!
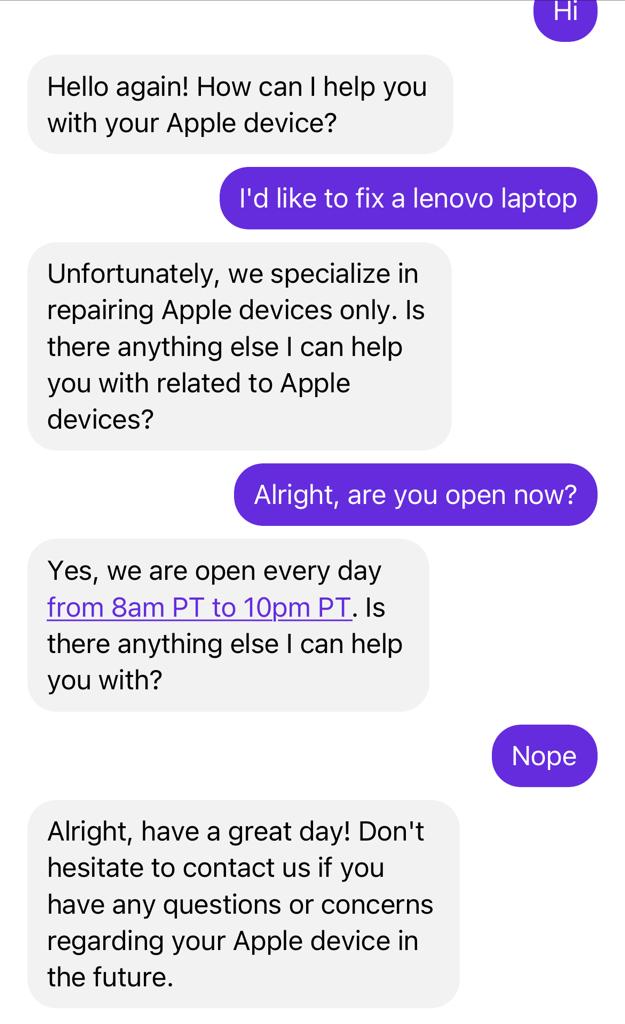
Now click on Publish to release your first version of the SMS ChatGPT customer service agent. You can now text it from your number, this is an example chat with my agent of StoreX:
