What Are Third-Party Integrations? Definition and Types
Ashraf Samhouri
Mar 5, 20269 min read

You start using a platform and quickly realize you want it to do more. Maybe you want to accept payments, send automated emails, track visitors, or connect a customer support tool.
Then you see an option to integrate other apps and wonder what that actually means. Why do platforms rely on these connections, and how do they work?
In this guide, you’ll learn what third-party integrations are and the different types commonly used today.
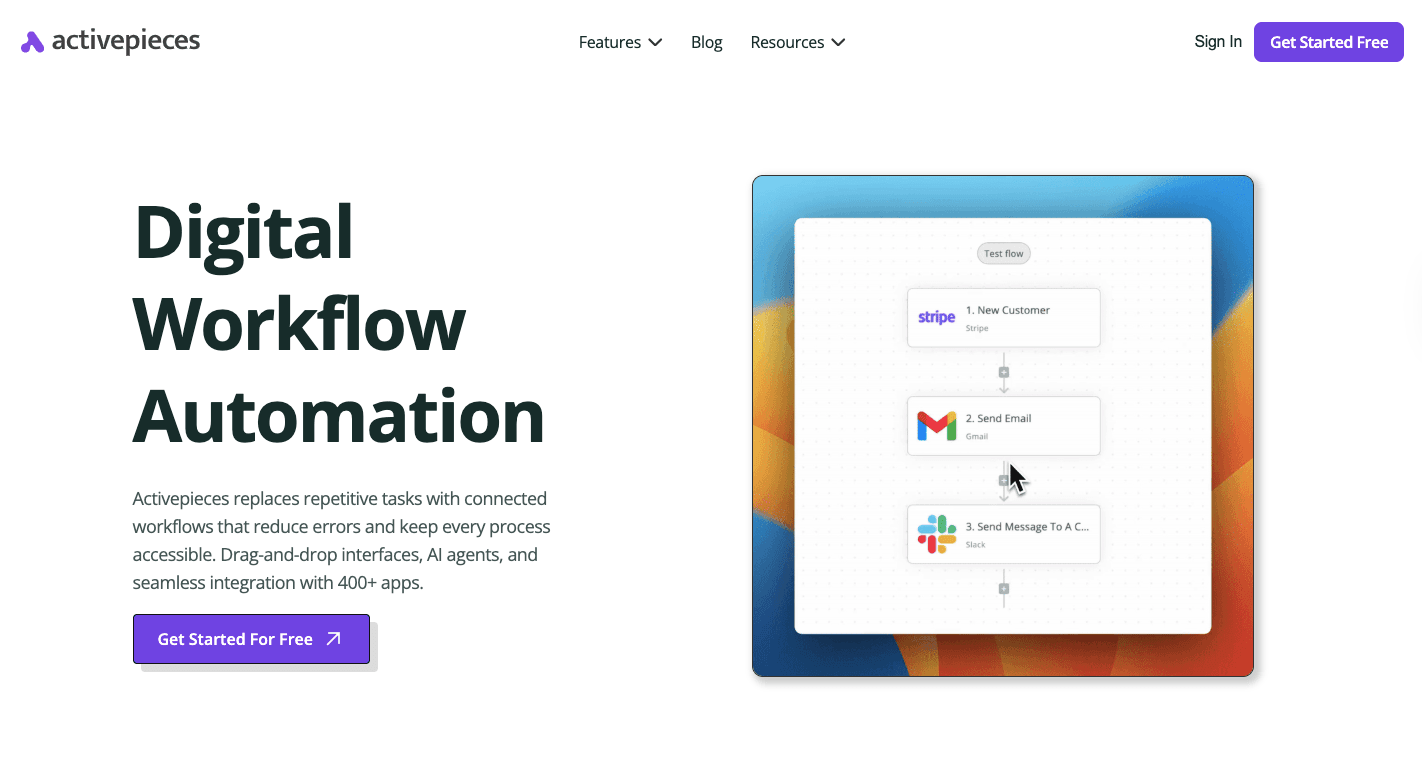
Give your developers full control over your integration layer. Sign up for Activepieces now!
TL;DR
- Third-party integrations connect your software to external services so you can extend features without building everything yourself.
- They rely on APIs, authentication, and structured data requests to move data between systems automatically.
- Common types include one-way, two-way sync, embedded iPaaS, and AI-powered integrations.
- Activepieces offers 642+ pre-built pieces and custom TypeScript support to build and scale integrations from one platform.
What Are Third-Party Integrations?
Third-party integrations let your software connect to a third-party service (e.g., your monitoring tool or a payment app) to extend functionality and not build every feature on its own.
Most integrations rely on an application programming interface (API), which serves as a rulebook for communication. That API allows your app to request specific data or actions from another system.
To set everything up, you receive API keys or OAuth tokens from the provider to confirm identity. Then you write code or use an integration solution to map how data flows between systems.
Integrations built with an enterprise integration platform as a service (iPaaS) are also qualified as third-party integrations because they depend on outside platforms to connect software securely.
Third-Party Integrations vs Native Integrations
Native integrations come directly from the software vendor, which limits how far you can customize the behavior. The company writes the code specifically to make those two apps work perfectly together. Setup usually requires logging in and approving access.
Third-party integrations, on the other hand, enable a third-party application to communicate with your main system. You define how fields match and how data moves between systems.
Third-Party Integrations vs APIs
An API is like a technical doorway that a software company provides so that other systems can talk to it under defined rules. Developers interact with that interface directly through code. API integrations focus on that low-level communication layer.
There are also unified APIs that standardize data and functionality of distinct systems into one API, so you don’t manage separate formats for every provider.
A third-party integration represents the finished result built on top of that infrastructure. You interact with buttons and forms instead of raw endpoints.
How Do Third-Party Integrations Work?
Each integration follows a sequence:
Step #1: Authentication and Authorization
Before two systems can talk, they should verify identity and define permission boundaries. Authentication confirms who you are, and authorization defines what you can access.
Most setups rely on OAuth 2.0, which you’ve probably seen when selecting the “Sign in with Google” option. The platform redirects you to Google’s login page. Credentials stay on Google’s side, and the third-party app never sees your password.
Once logged in, Google shows a consent screen. After approval, Google returns a short-lived code. The platform exchanges that code for an access token.
API keys differ because they copy a long string from one app and paste it into another. No redirect or consent screen.
Step #2: Data Requests and API Calls
Once identity is confirmed, the systems exchange data through structured requests.
Every API call includes four parts:
- Endpoint: Tells the request where to go.
- Method: Defines the action type, such as GET or POST.
- Headers: Carry credentials like the access token.
- Body: Contains the actual data being sent.
Apps rely on JSON to structure information. JSON keeps labels attached to values so systems understand what each piece represents.
Step #3: Error Handling and Retries
Even well-built integrations encounter errors. Handling them properly keeps systems reliable.
Servers respond with status codes:
- 200 means success
- 201 confirms creation
- 400 signals invalid format
- 401 points to expired credentials
- 429 warns that requests arrived too quickly
- 500 indicates a provider issue
Hard failures require defined paths. Some workflows pause and notify a team member. Others redirect failed records into a backup location, such as a spreadsheet.
Meanwhile, advanced setups store failed payloads in a dead letter queue so your developers can inspect and replay them later.
Different Types of Third-Party Integrations
You can choose different integration options based on your business needs, such as:
One-Way Integrations
A one-way setup is a connection where data flows in only one direction. When a trigger fires in the source app, an action runs in the destination app.
For example, a new lead in a customer relationship management (CRM) platform can push contact details into an email platform. Edits made later in the email tool will not return to the CRM.
Since only one side writes data, the conflict risk stays low. Setup also takes less effort because you only map fields in one direction.
Collaboration becomes limited, though. If two teams need to edit the same record in separate systems, a one-way model leaves one side out of date.
Two-Way Sync Integrations
Two-way sync allows both systems to update each other.
As a record changes in system A, the update appears in system B. Once someone edits that same record in system B, the change reflects back in system A.
Both systems monitor activity through webhooks or scheduled checks.
Embedded iPaaS
An embedded integration platform as a service is what you place directly into your product. Instead of building hundreds of connectors yourself, you integrate a pre-built engine that handles connections for you.
Behind the scenes, the embedded iPaaS provider maintains connectors, authentication, and execution logic, so you can implement new connections more easily.
Compared to unified APIs, it supports the configurability of complex workflows, not just standardized endpoints. Your developers can offer branded automation tools without managing every API change manually.
Low-code software often powers these builders, which lets you configure flows.
AI-Powered Integrations
Traditional automation follows a fixed “if-then” logic. AI-powered integrations go further by interpreting data before passing it along.
For instance, a lengthy email can be analyzed to extract intent, sentiment, and key details. The integration then routes the message to the correct team. AI can even recognize that two differently named fields represent the same concept and map them.
Common examples include:
- Automatic CRM updates from voice notes
- Content generation from uploaded videos
- Automated support replies drafted from internal documentation
How Activepieces Simplifies Third-Party Integrations

Activepieces is an AI workflow automation platform that keeps integrations simple by breaking everything into pieces. A piece is basically a pre-built connector to other products or systems.
Each piece has triggers and actions. A trigger watches for something, such as a new deal in your CRM. Then, an action is performed based on that trigger, such as sending a message or updating a record.
The platform features 642+ pre-built pieces and adds new ones daily. That means your tools can share data with CRMs, AI models, finance apps, analytics tools, and more.
When something is missing, you can create your own piece using TypeScript, too.
Create Third-Party Integrations Using Activepieces
To build your custom piece, you need to:
- Clone the Activepieces repository to your local environment. The CLI is included in the repository and handles the build process.
- Make sure the piece you want to build exists in the “packages/pieces/” directory. The CLI reads the package.json file inside the folder to identify the piece name.
- Open your terminal and execute:
npm run build-piece - When prompted, type the folder name of the piece you want to build. For example:
? Enter the piece folder name: google-drive - The CLI compiles the piece and packages it into a .tgz archive. Once finished, it shows the path to the archive:
Piece 'google-drive' built and packed successfully at packages/pieces/community/google-drive/dist - (Optional non-interactive build) You can skip the prompt by passing the Piece name as an argument:
npm run build-piece google-drive
Publish Your Custom Integrations
To publishyour integrations, you need to:
- Go to the Admin Interface. Navigate to “Settings” and generate your API key. You’ll need this to authenticate the upload.
- Clone the Activepieces repository to your local machine. The CLI is included in the repo.
- In your terminal, execute:
npm run publish-piece-to-api - When prompted, type the folder name where your piece lives inside “packages/pieces/.” Example:
? Enter the piece folder name: google-drive - Provide the API endpoint where the piece should be published. Example:
? Enter the API URL: https://cloud.activepieces.com/api - Select how the CLI should access your API key:
- Env Variable (AP_API_KEY) → Uses the key stored in the .env file inside packages/server/api
- Manually → You will type the API key directly into the prompt
Give your product serious integration power. Book a demo with Activepieces!
Run Third-Party and Native Integrations Without Limits With Activepieces
Activepieces offers both third-party and native integrations from a single platform. You can connect 642+ pre-built data integrations, so you can integrate other apps without building connections from scratch.
These are the common platforms you can connect with:
- Artificial intelligence: OpenAI, ElevenLabs, and other AI services
- Productivity and collaboration: Microsoft Excel 365, Slack, Discord, and ClickUp
- Marketing: ActiveCampaign, WordPress, and Total CMS
- Business intelligence: Microsoft Power BI
- Finance and accounting: Zoho Books and Zoho Invoice

Each piece manages triggers, actions, authentication, and data mapping. Developers can create custom pieces in TypeScript and share them with others. The system then validates inputs and structures outputs, so your workflow always knows what data it receives.
Overall, you can expand functionality and access new resources without a steep learning curve.
FAQs About Third-Party Integrations
What is an integration tool?
An integration tool is software that connects different apps so they can exchange data automatically. It handles authentication, mapping, triggers, and error handling in one place, which helps you save time.
How to build integrations?
Start by defining the trigger and action. Authenticate both systems, map the right fields, and test how data moves between them.
Developers may write code against an API, while others configure logic in a visual builder without going hands-on. After testing, monitor the process and fix issues quickly.
What are customer-facing integrations?
Customer-facing integrations let users connect their own tools directly inside a product.
For example, a SaaS company might allow customers to link a CRM or payment system from the dashboard. This reduces pressure on support teams and gives users more control.
What are the benefits of using third-party integrations?
Third-party integrations expand what your software can do without rebuilding features from scratch. They reduce errors, connect systems faster, and give businesses an advantage when adapting to new needs or client demands.

Written by
Ashraf Samhouri