Step by Step Guide: Automating Gmail Emails for New Shopify Customers
Ashraf Samhouri
Aug 18, 20236 min read

Running an online store on Shopify doesn't mean you have to be hands-on about every minor detail, like sending welcome emails. Let's leverage automation, shall we? 🧑💻
By automating the process, not only are you saving time and energy but also ensuring a seamless experience for your customers. You're basically killing two birds with one stone here!
In this guide, I'll be walking you through how to automate sending Gmail welcome emails to new Shopify customers. Buckle up, it's going to be a super smooth ride!
Essentials for automating Gmail emails for new Shopify customers
To dip your toes into the world of automation, particularly for sending out welcome emails to your shiny new Shopify customers, you'll need a couple of things:
- A mate called Activepieces. It's kind of like that handy friend who knows how to fix everything. This is where we're going to create the automation magic.
- A Gmail account. This is where those warm, welcoming emails will be coming from.
- A Shopify account, naturally. This is where you're getting your new customers from.
And there you have it! With these tools in your arsenal, you're all geared up to start the automation. So, let's dive right in!
Steps to automate sending Gmail welcome emails to new Shopify customers
Step 1: Copy the Shopify + Gmail template
Kick off this automation process by copying this template on Activepieces. This template is your starting point, it will create a flow in your account that you can customize later. It comprises of the trigger (new Shopify customer) and an action (send an email via Gmail).
As you copy the template, you'll be prompted to sign up or log into your Activepieces account. Once you're sorted with that, a copy of the flow will be created in your account. And voila! You're all set to start customizing.
Step 2: Understand the Shopify + Gmail automation structure
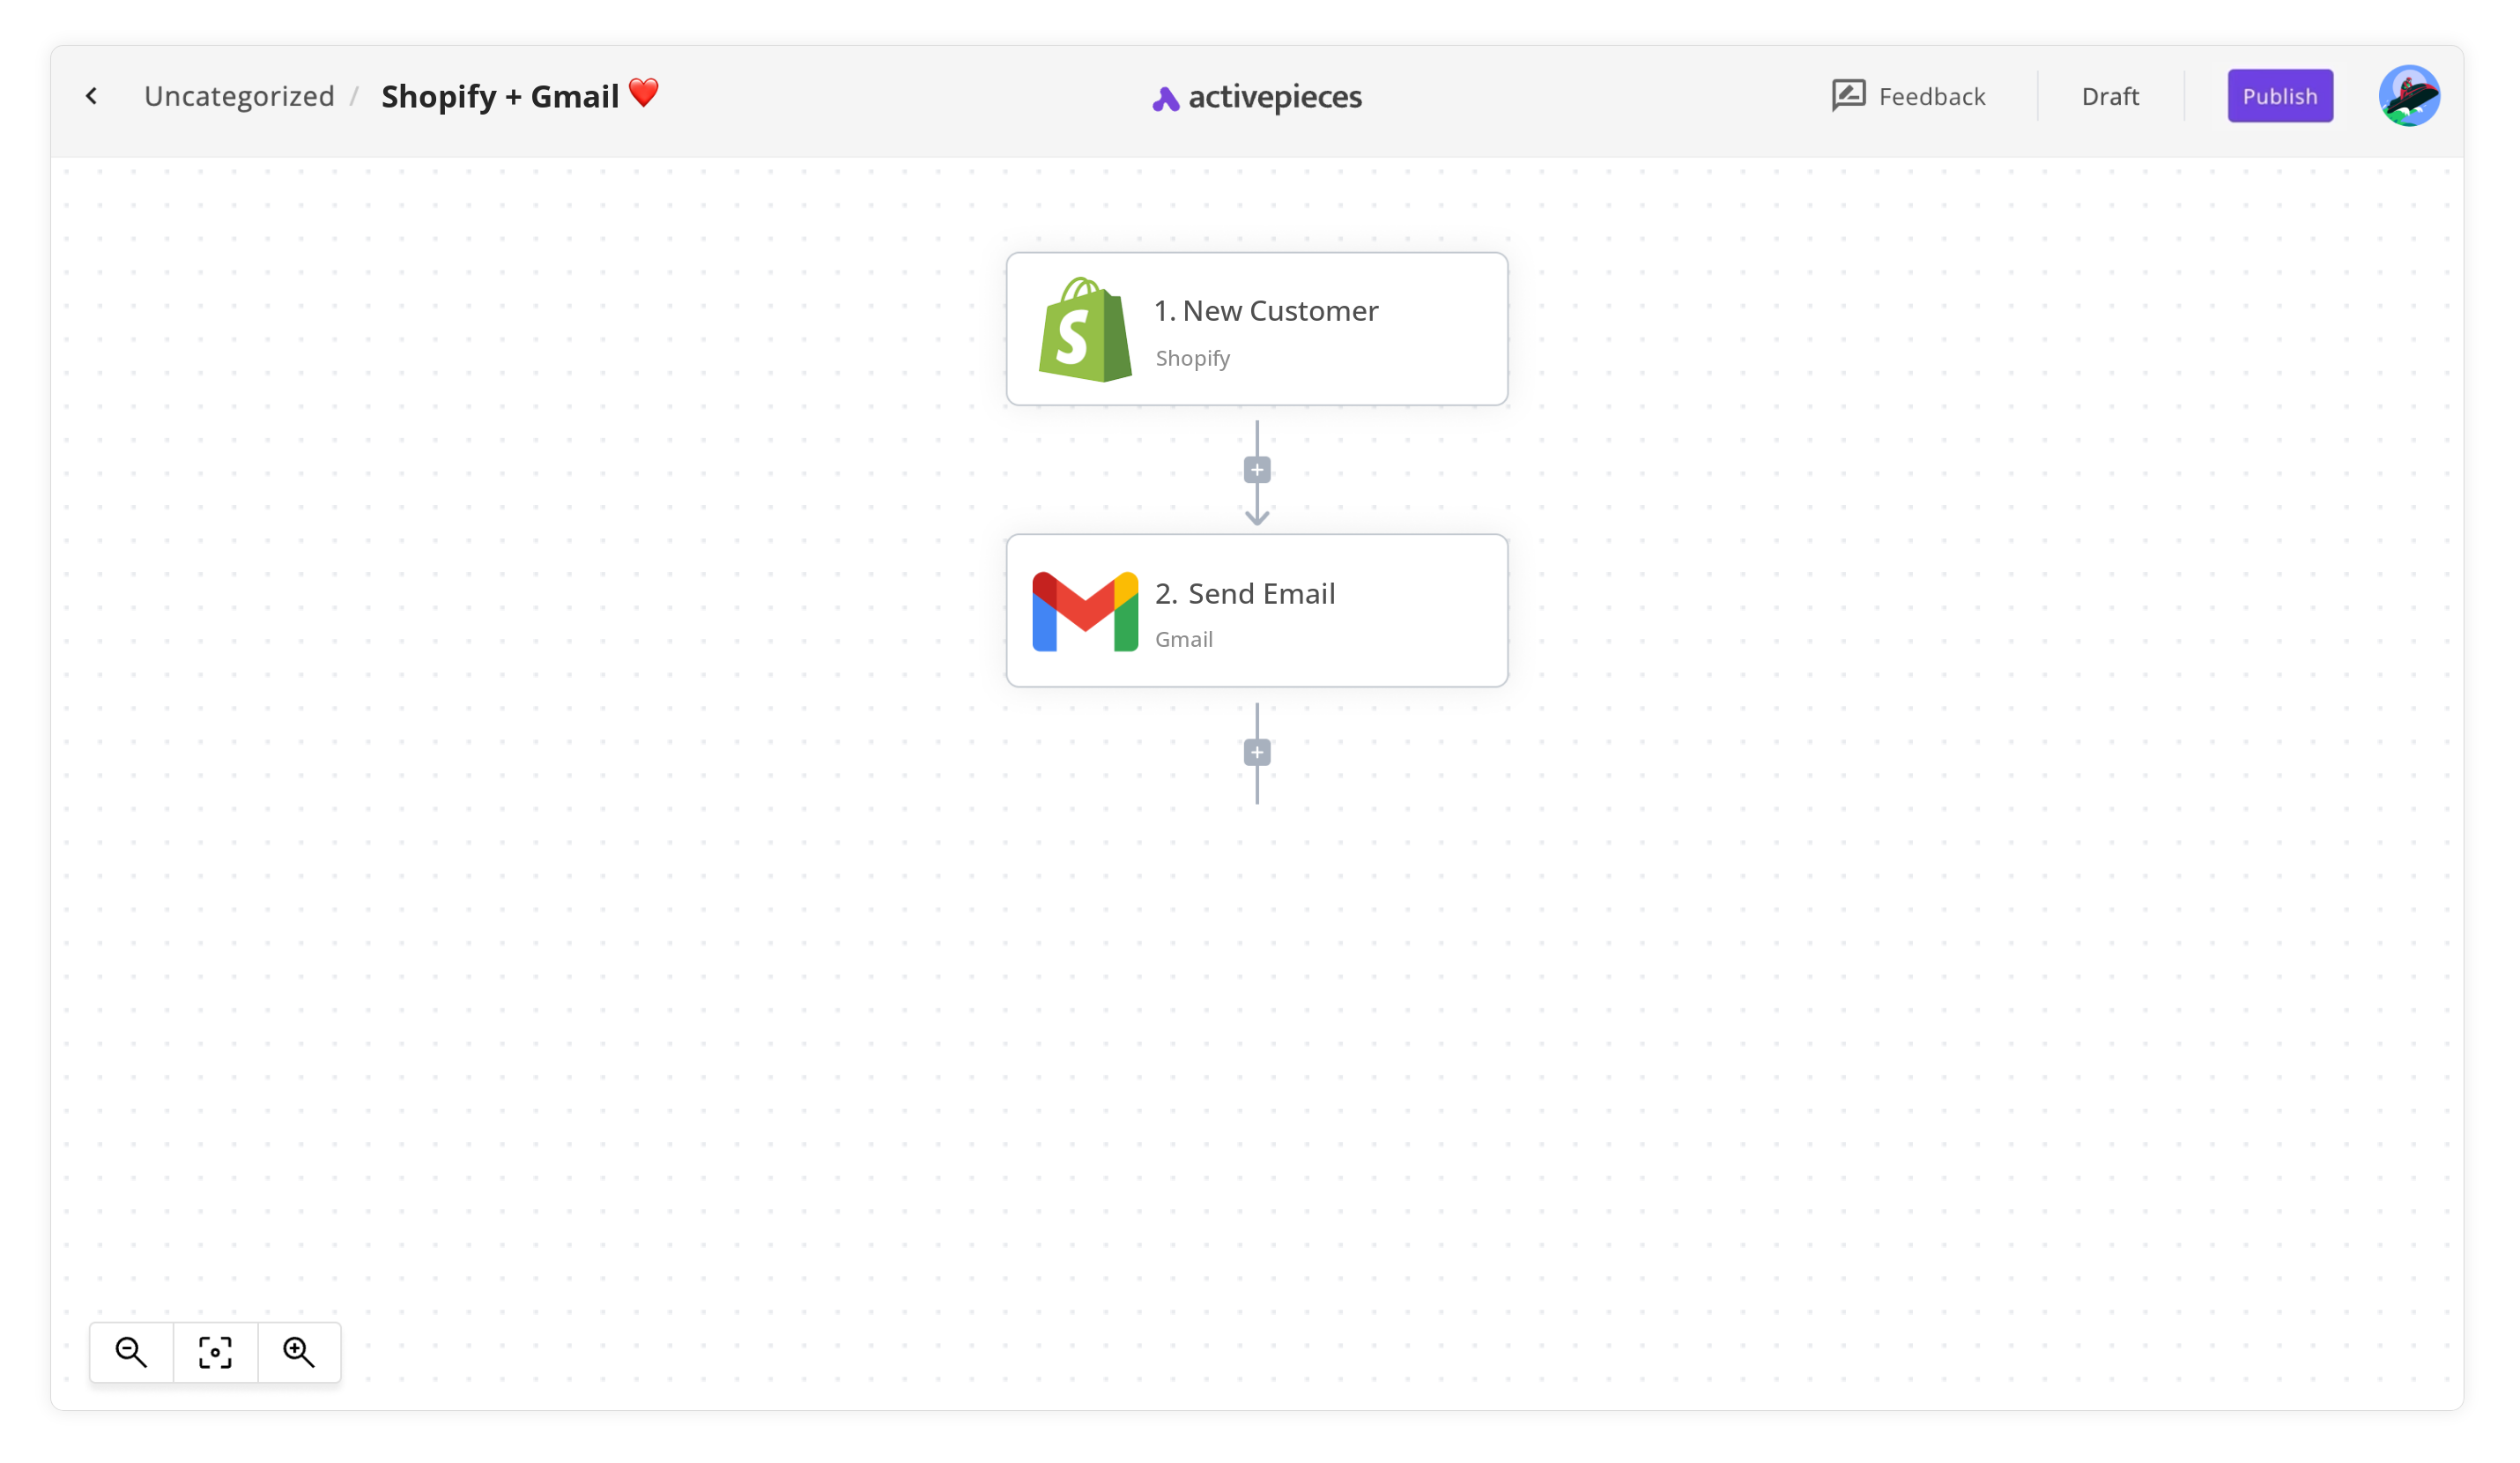
Once you've got the automation flow copied to your account, you'll see it right there on your screen. Now let's go through the structure of this flow so you know what's happening.
The first step, known as the trigger, initiates the automation flow whenever a new customer signs up on your Shopify store. Essentially, it's your flow's whistle-blower for new Shopify customers.
When the trigger goes off (a new customer signs up), the flow then runs the next step, which is sending the welcome email via Gmail. So basically, this flow ensures that every time you get a new customer on Shopify, they receive a warm, welcoming email from your Gmail account. Pretty neat, right?
Step 3: Configure your Shopify + Gmail flow
Now that you've got a good grasp of your automation flow, it's time to fine-tune it to suit your needs. Here's how you do that:
Click on the "New Customer" trigger. Here, you'll need to add a new connection to your Shopify store. Just follow the prompts and you're good to go.
Next, head over to the "Send Email" step. Click on "+ New Connection" to connect your Gmail account. Again, just follow the instructions in the pop-up window.
Once you've connected your accounts, customize the email content to match your brand's tone and language. Remember, this email is often the first point of contact with your customers, so make it count!
And there you go! With these steps, your Shopify + Gmail automation flow is ready to roll.
Remember, automation isn't about replacing the human element but amplifying it. By automating routine tasks like sending welcome emails, you're freeing up more time to focus on creating personalized experiences for your customers. So, give it a go and start automating today!
Other Automation Ideas for Shopify
Idea 1: Keeping track of new orders with Google Sheets
Ever wished you could have all your Shopify orders neatly organized in one place? Well, the universe has heard your call! With a little bit of automation magic, you can get every new order on Shopify inserted as a new row on Google Sheets.
So how do we make this happen? Easy peasy:
- We start by setting up a trigger on Activepieces for whenever there's a new order on Shopify. This is like our alarm bell that'll go off when a fresh order comes in.
- Next, we set up an action to insert a new row in your Google Sheets. This row will contain all the juicy details about the new order.
And voila! You've got yourself a handy, real-time tracker for all your Shopify orders. And guess what? You can set up the same automation for Airtable too. Trust me, once you taste the sweet power of automation, you won't look back!
Idea 2: New Customer on Shopify, New Entry in Xero
One of the things business owners have to grapple with is managing financials. How about an automation that syncs your new Shopify customers with your Xero accounting software? Sounds like a life-saver, doesn't it?
Here's how you can set this up on Activepieces:
- Create a trigger for whenever there's a new customer on Shopify. Think of this as your virtual assistant who alerts you every time someone new walks into your online store.
- Next, set up an action to create a new customer in Xero. This is like your virtual accountant who meticulously enters each customer's details into your accounting system.
And boom! Your Shopify store and Xero app are now in perfect sync. And the best part? You can whip up a similar automation for QuickBooks, FreshBooks, or other accounting services too. Talk about taking multitasking to a whole new level!
Idea 3: When New Customer in Shopify, Create Contact in Google Contacts
Steering a thriving online store means dealing with a growing customer base. How about a nifty tool that automatically adds every new Shopify customer to your Google Contacts? It's like having your own virtual Rolodex!
On Activepieces, here's how you can build this automation:
- Set up a trigger for every new customer on Shopify. This will act like an alert system, giving you a heads-up every time your customer base expands.
- Follow it up with an action to create a new contact in Google Contacts. Like a diligent personal assistant, this step ensures the contact information of every new customer is safely stashed.
And there you go! Your customer database is now instantly updated across platforms. And the best part? This same hack can be done for other contact management services too. Pretty rad, huh?
Idea 4: When New Customer in Shopify, Add Subscriber in Mailchimp
If you're not keeping your new customers in the loop about your latest offers or news, you're leaving money on the table. But who's got time for manual updates? Let's put that good old mate Activepieces to work and automate this process.
Kick off this process by setting up a trigger on Activepieces for every new customer on Shopify. Think of it as your virtual siren, alerting you every time you bag a new customer. Next, set up an action to add this new customer as a subscriber in your Mailchimp list. Just like that, your email marketing is auto-piloted!
And hey, this same trick can be pulled off for Intercom too. Automation is your best bud, trust me.

Written by
Ashraf Samhouri