How To Build AI Workflows with Activepieces
When I talk about AI workflows, some people immediately picture me coding neural networks in my pajamas at 3 am. While I enjoy the looks on their faces, I quickly tell them that building AI workflows is different from building AI models. Infact building an AI workflow can be as simple as ordering a pizza online, only if you use the right tools.
So in this article, I am going to be showing you how to build your first AI workflow with Activepieces, a no-code AI automation tool that is loved by non-technical people for its ease of use and technical people for its flexibility and security.
What is an AI Workflow?
An AI workflow, also called AI automation or AI-powered workflows, is the process of including artificial intelligence in your automation process so that the workflow can make decisions that normally require human intelligence on its own
Building AI Workflows With Activepieces
In this section, I will show you how to build 2 popular AI workflows with Activepieces
The first one is the AI-written reminders, and the second is the AI receipt reader.
AI Written Reminder
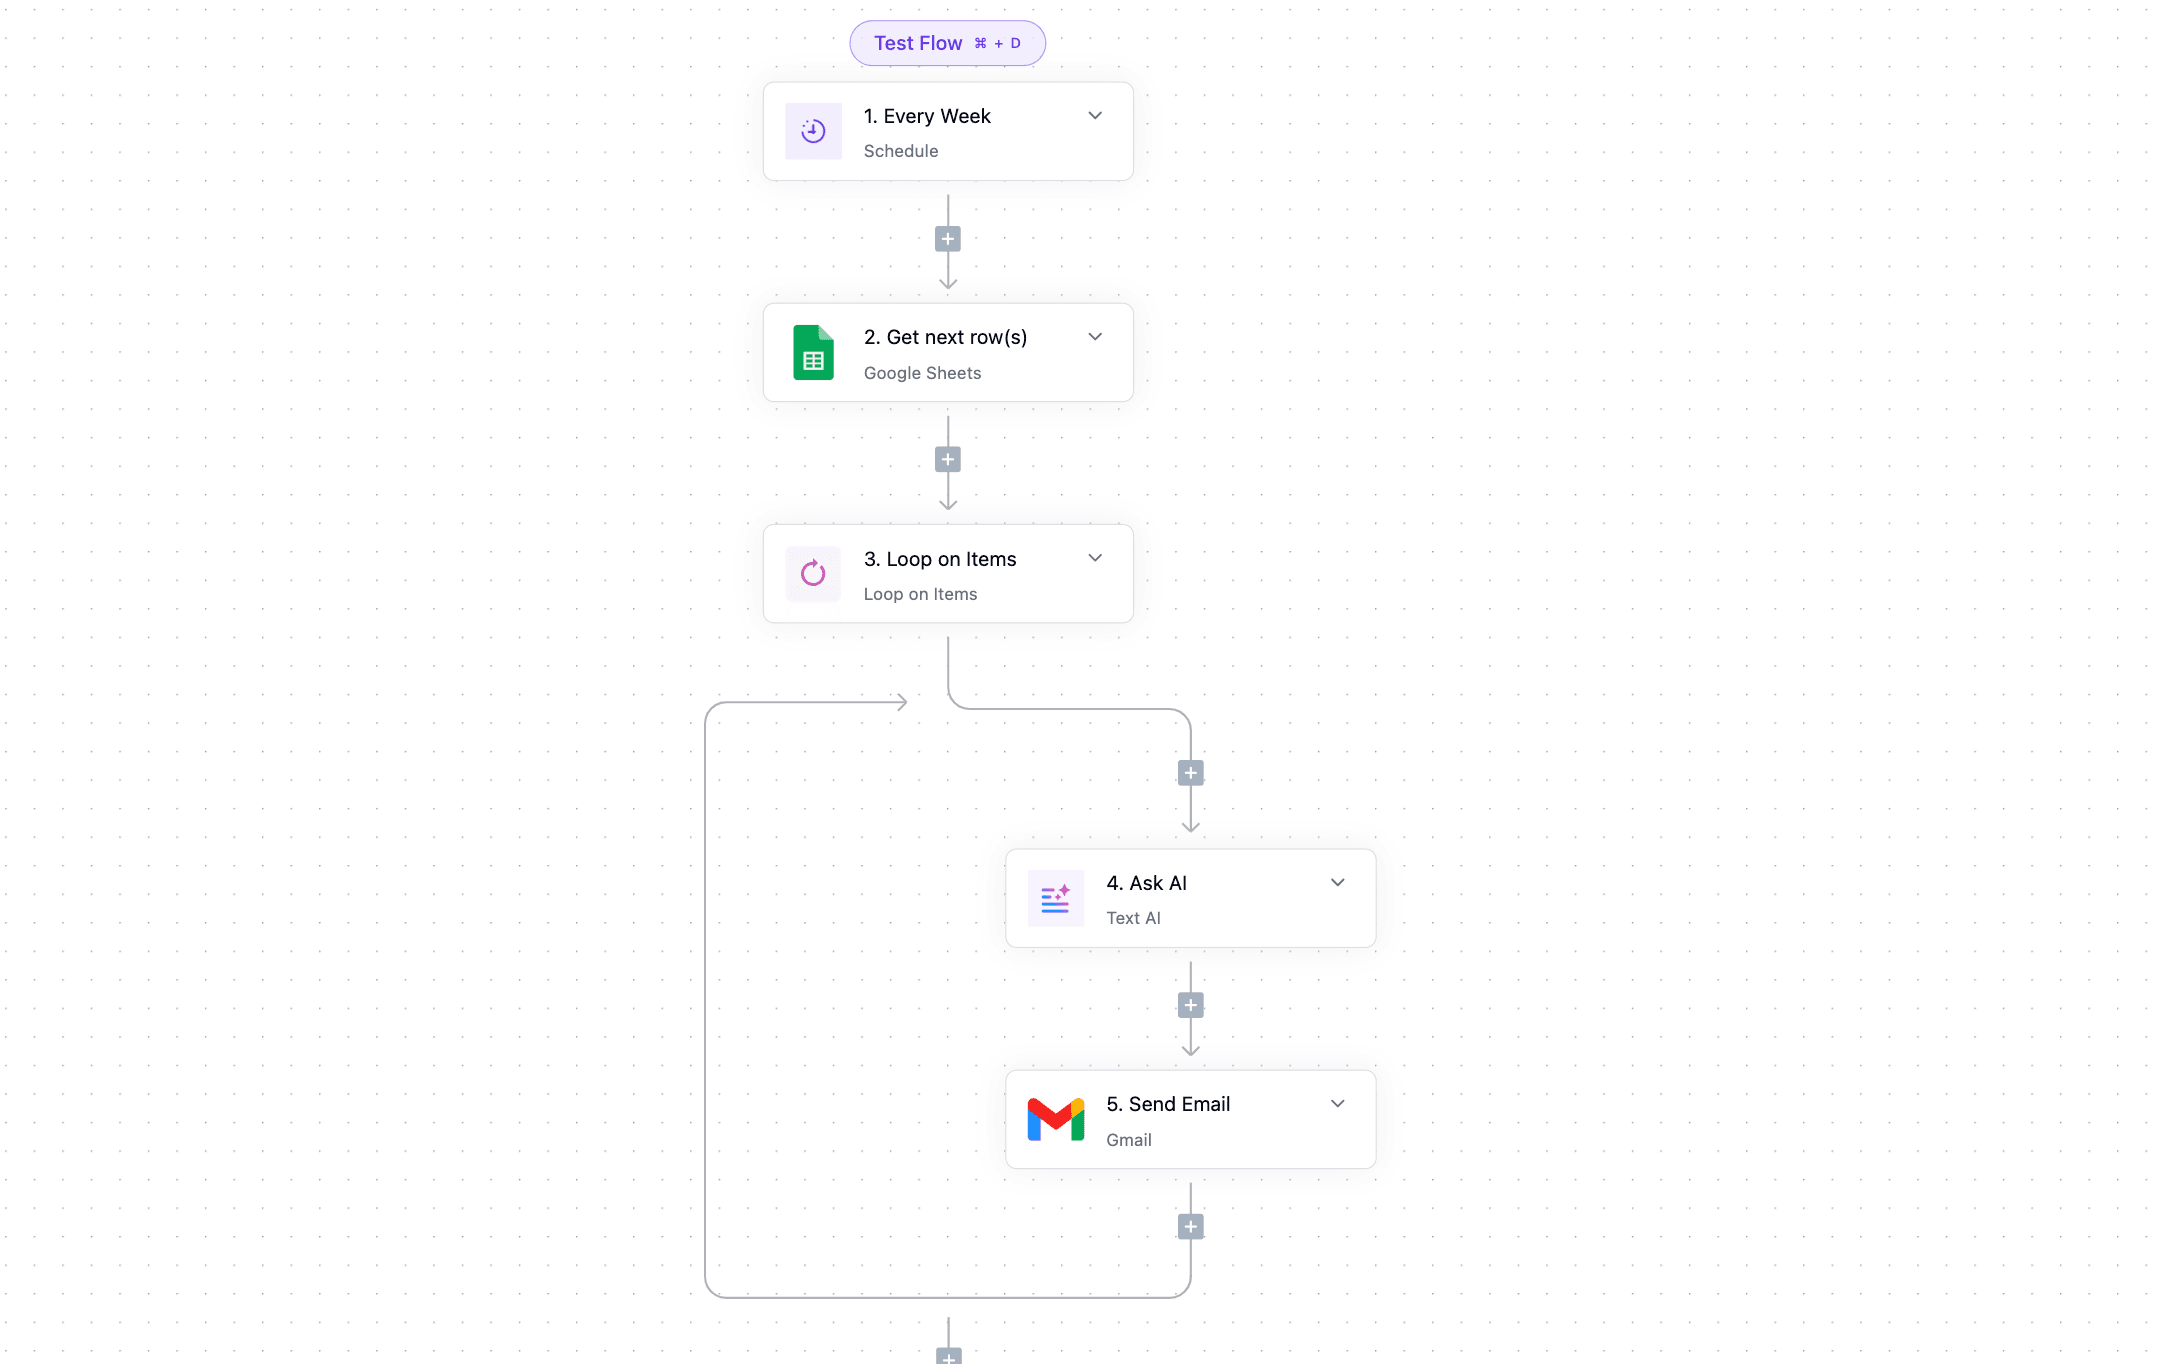
Goal: To send weekly subscription payment reminders to a list of users stored in Google Sheets, personalized using AI, and delivered via email
Step 1: Add your trigger
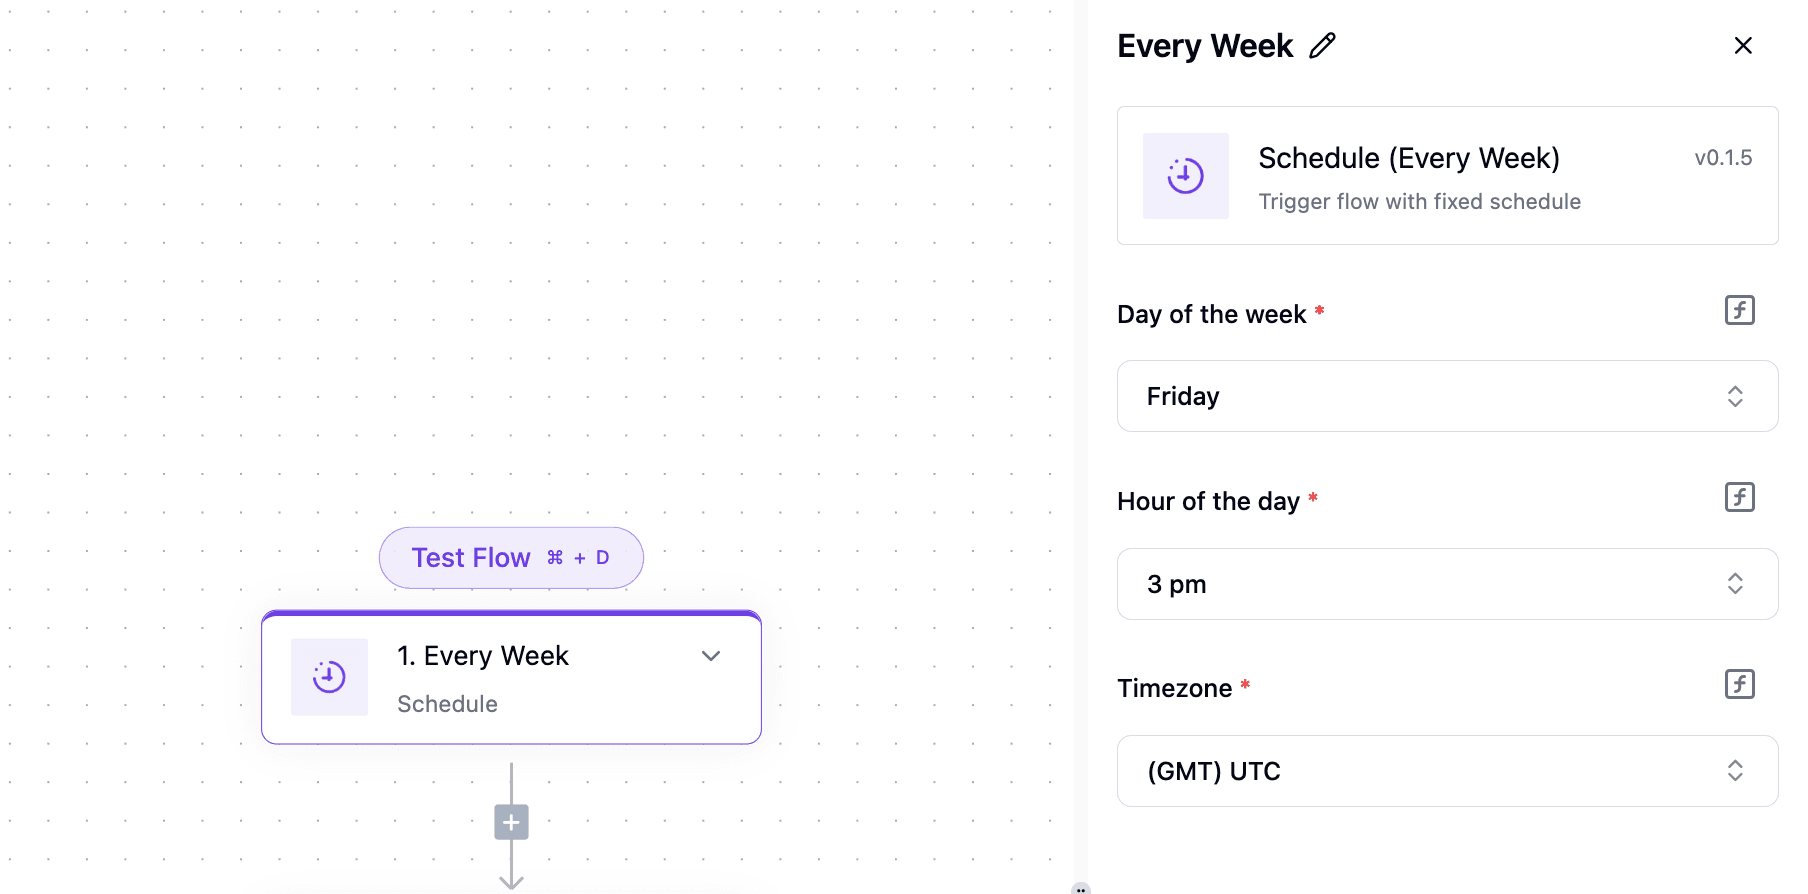
The trigger is also going to be a schedule set to every week or every month, depending on what you want to achieve.
Step 2: Connect Your Google Account and Select Target Sheet
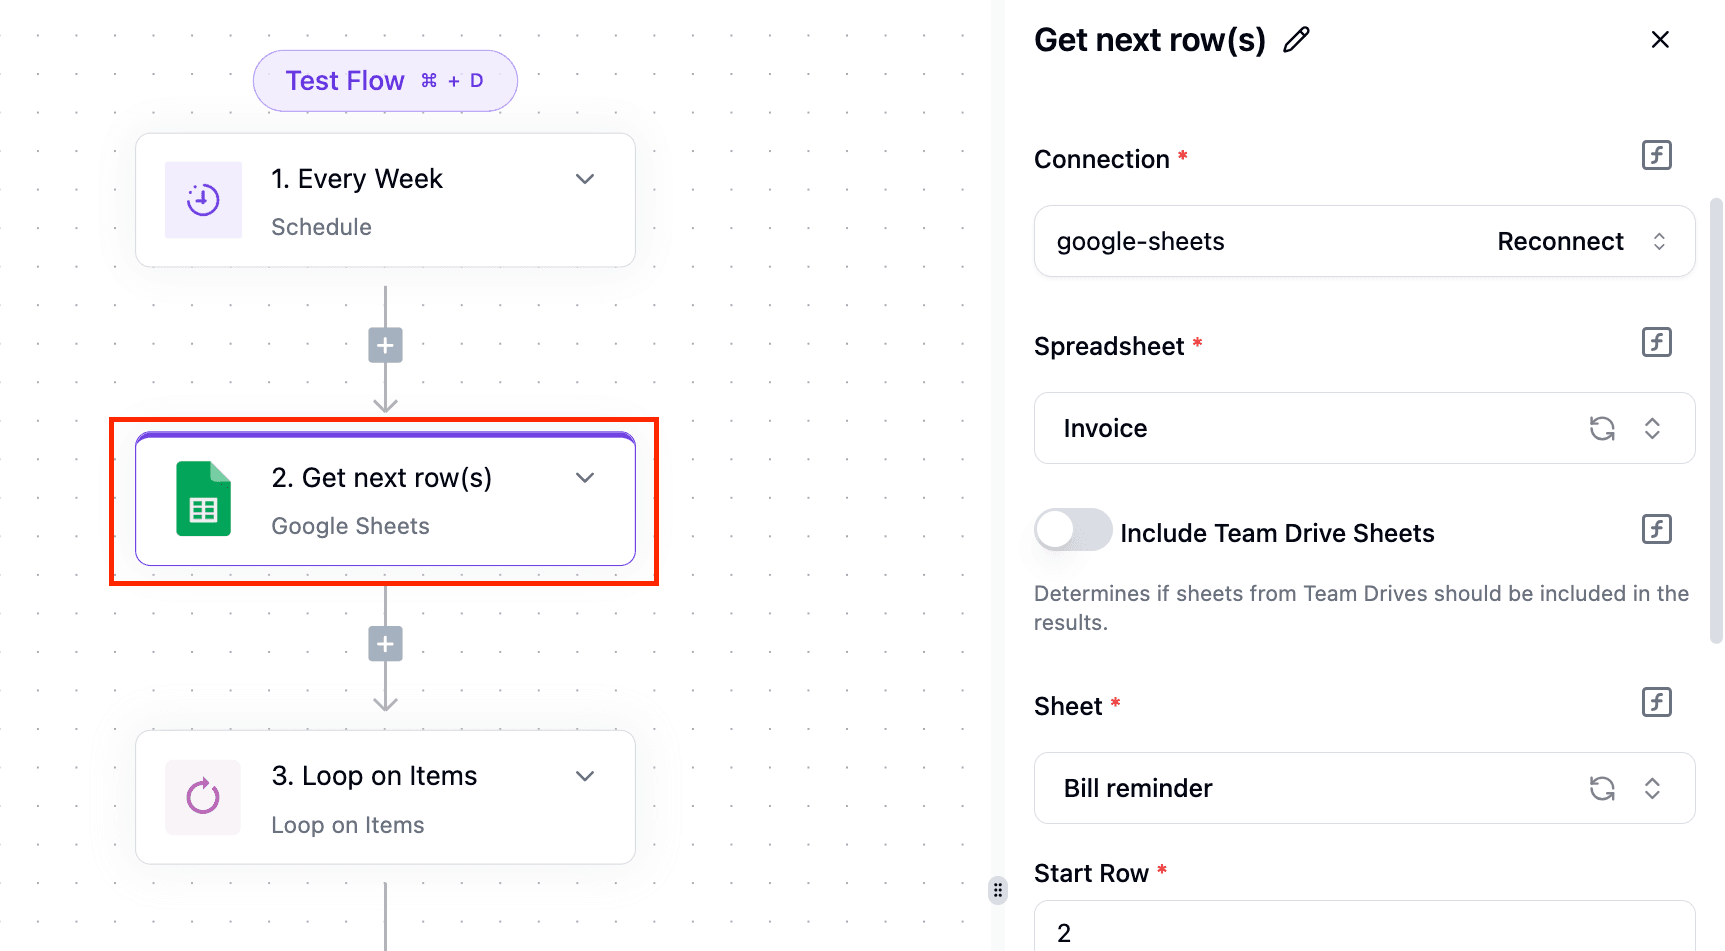
In this step, you need to connect to your Google Sheets account. Once you connect your account, the spreadsheets in that account will be loaded by Activepieces. Once you select the spreadsheet you want, all the sheets in that spreadsheet will be loaded for you to select from
Step 3: Select the Start Row and Group size
The start row is simply the row from which you want to start your data extraction. From the image, you can see that I chose row 2 because row 1 contains the table headers
The group size simply means the number of rows you want to get data from. This is helpful incase you dont want to extract data from the entire sheet, just some rows of the sheet.
Step 4: Loop Through The Row Data
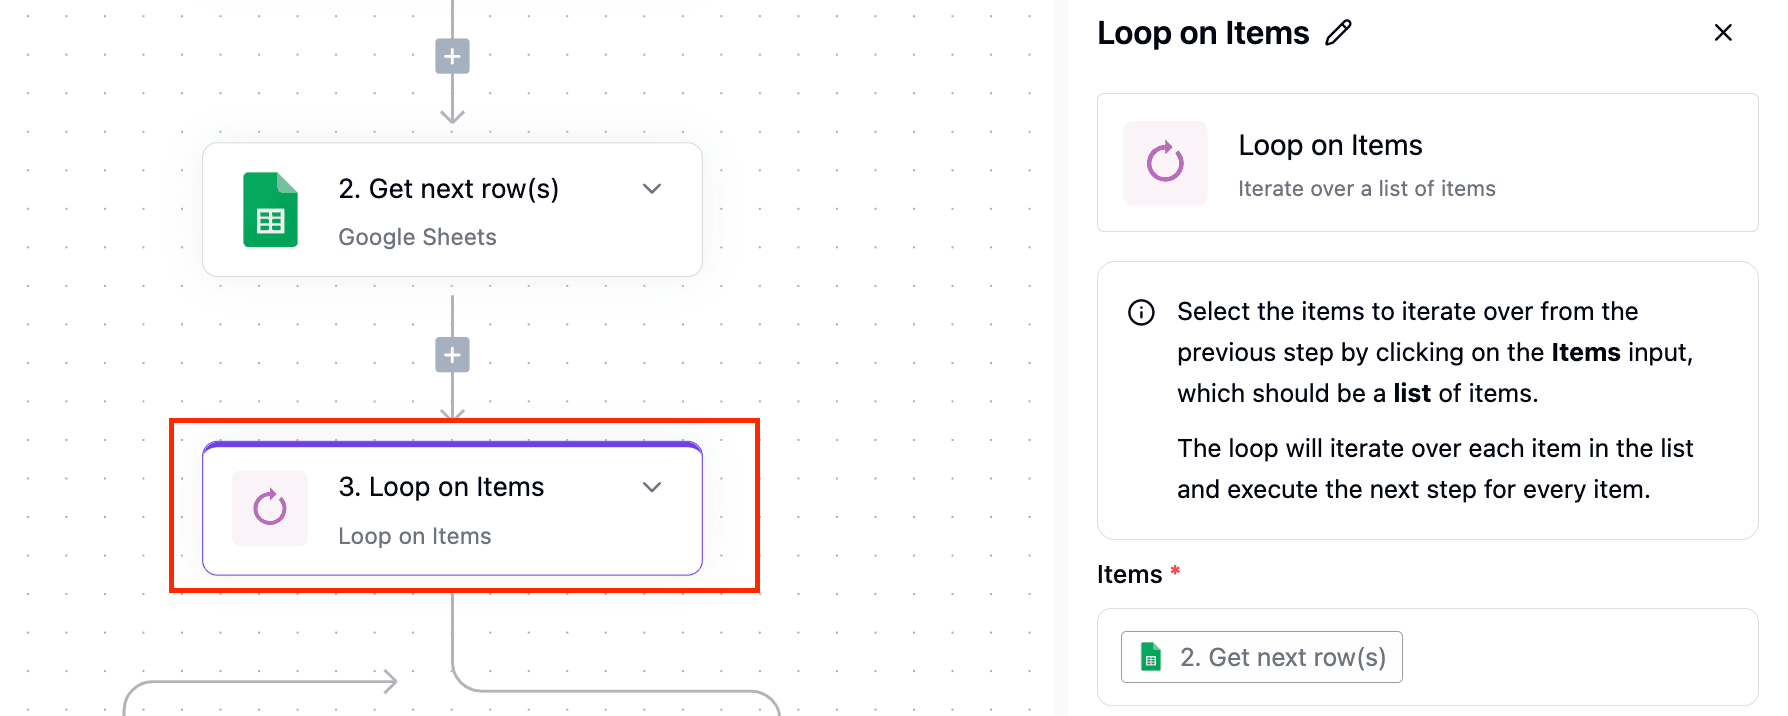
This means taking each data in the row one by one and performing a set of tasks repeatedly
The loop is going to go through the grouped data from the sheet and carry out tasks repeatedly for each data.
Step 5: Add Text AI and Select the AI Provider and Model
Since we want to just create an email reminder, you can use any of the available AI providers.
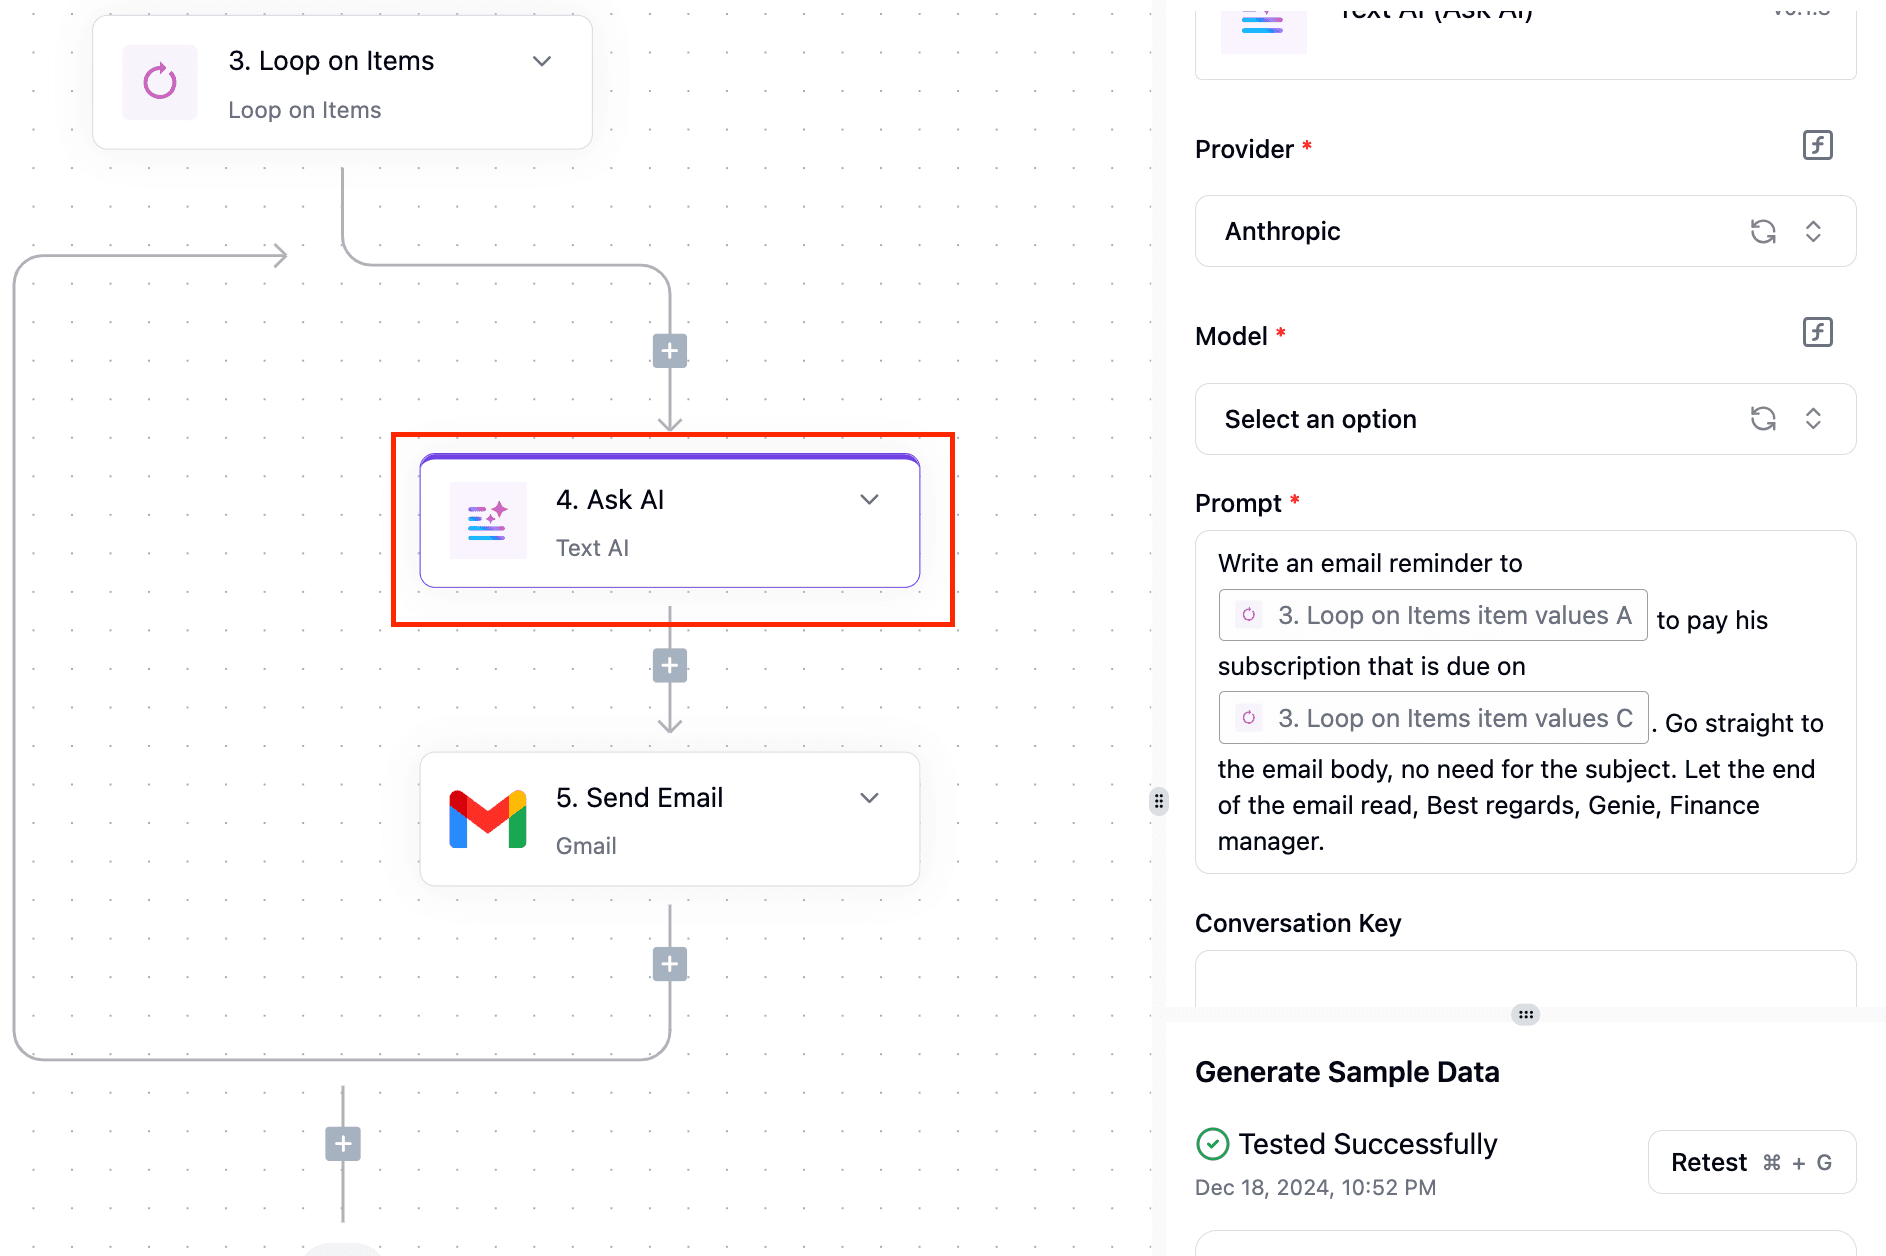
Step 6: Write your prompt
Here you will write your prompt to tell AI the kind of reminder you want to be written. To make it more detailed, you should pass in the due date of the subscription renewal and the name of the customer from the items in the loop.
It is important to ensure that when using the loop feature, you should pass data from the loop to the next step, not from any other steps before the loop.
If you have premium versions of these AI models, you can also add your conversation key to enable you to use your premium access
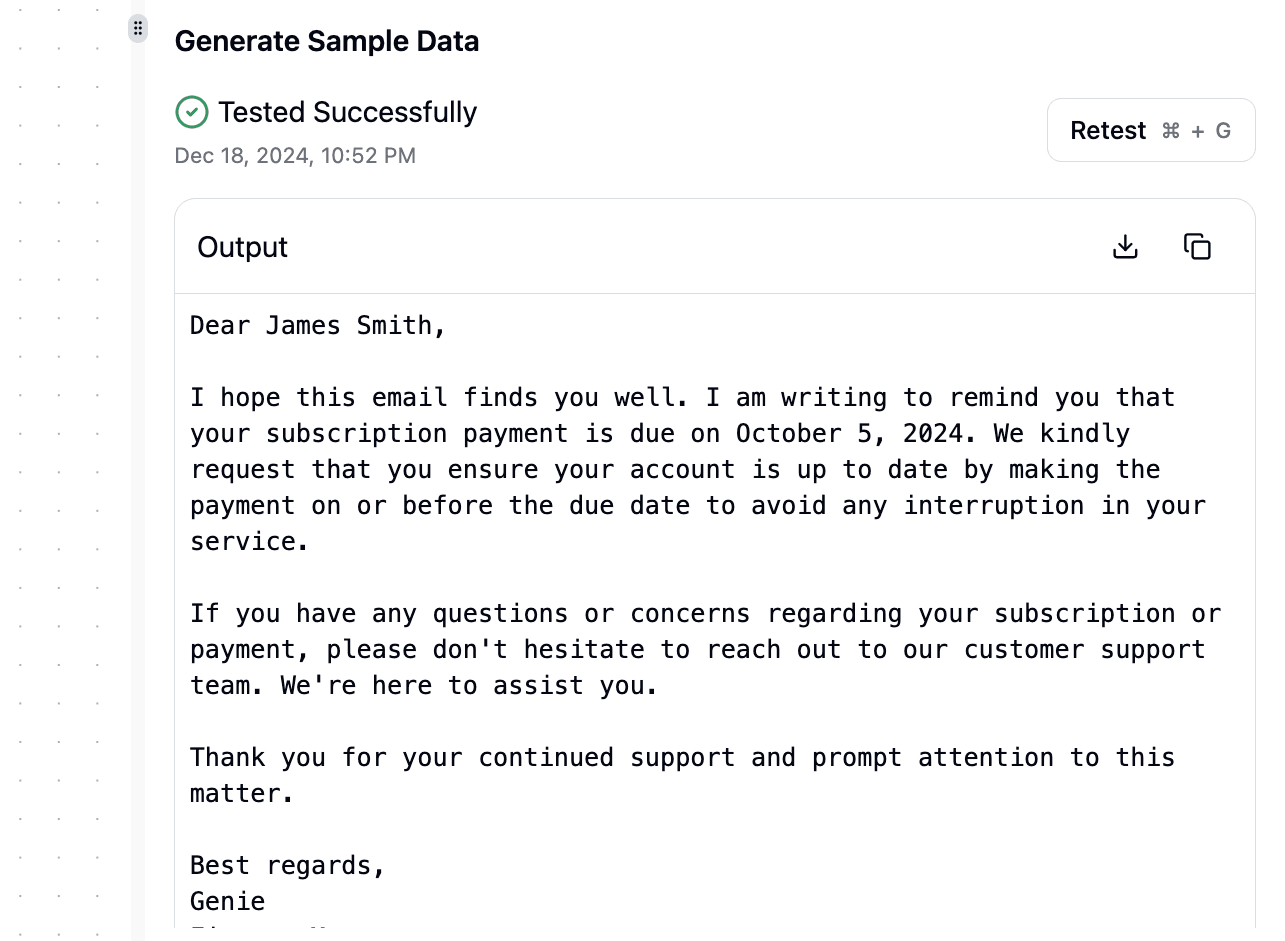
Step 7: Test your step
If your step is successful, it will show the AI output
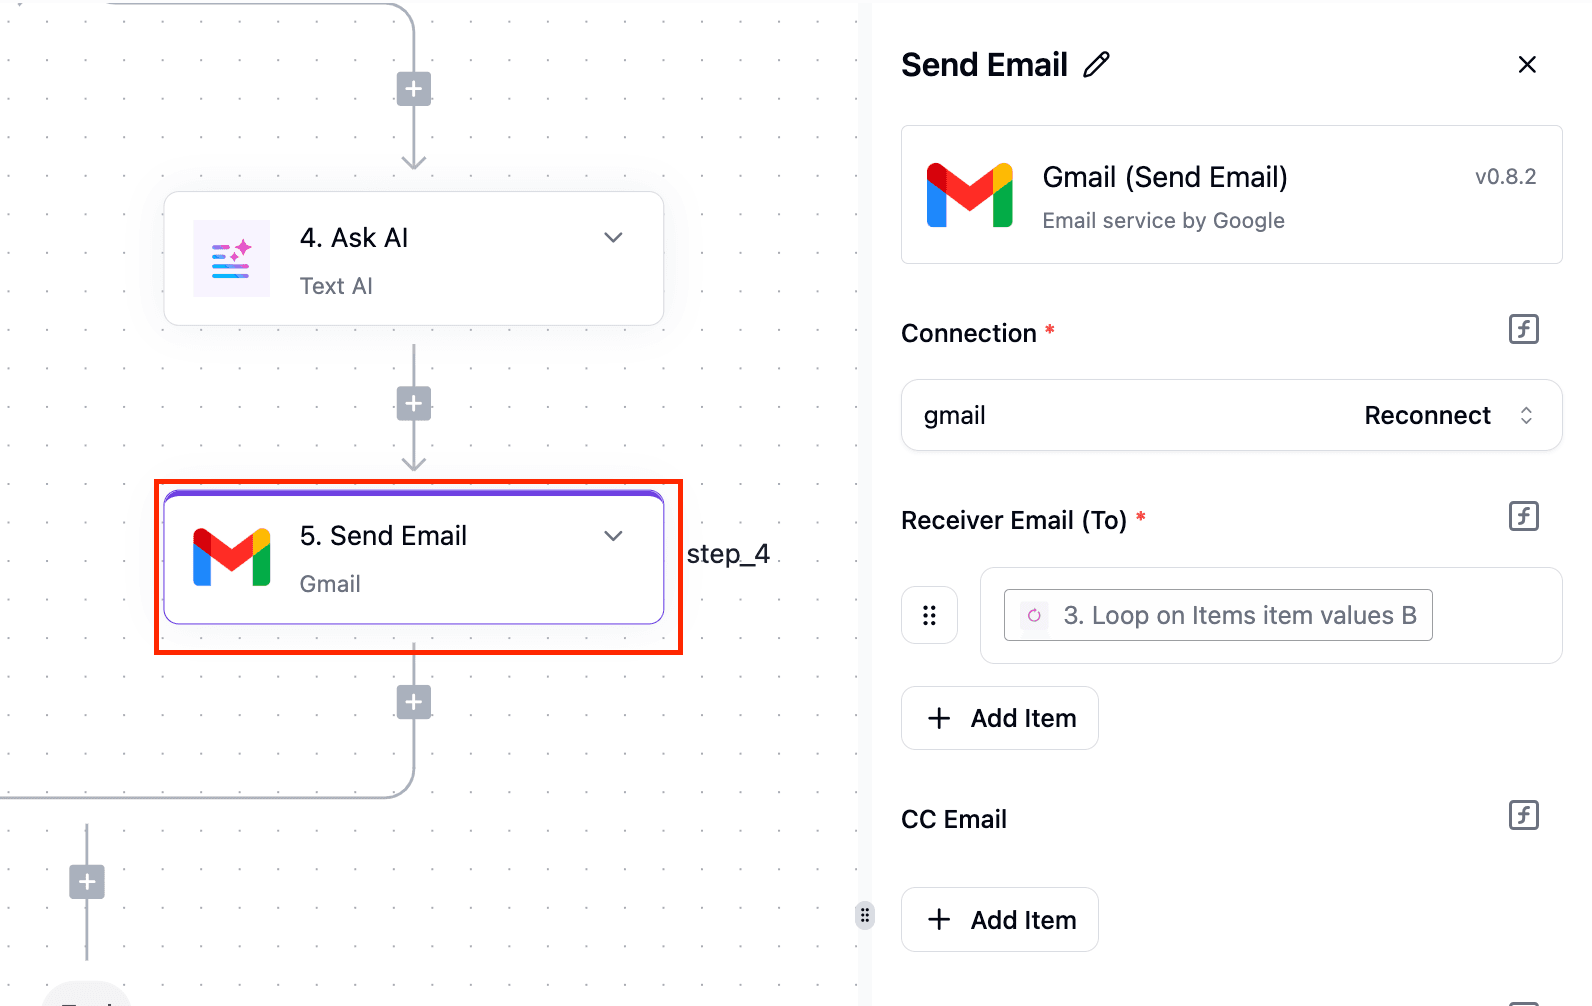
Step 8: Connect your email provider
Step 9: Test your step
AI Receipt Reader
Ask any finance team, and they will tell you how managing invoices can be tedious. One missed entry or a wrong digit, and you’ll have accounting errors that can escalate into reporting issues or lead to the following:
- Lost productivity
- Frustrated employees
- Delayed expense reports
- And worse, financial decisions made on incomplete or inaccurate data
AI + automation and make this process much easier and accurate. I will show you how in the following workflow
Goal: Extract data from invoices/receipts submitted through a chatbot, then enter the extracted data into Google Sheets
Step 1: Add your trigger
The trigger in this case will be the ChatUI. This creates a chat interface for the receipt to be submitted
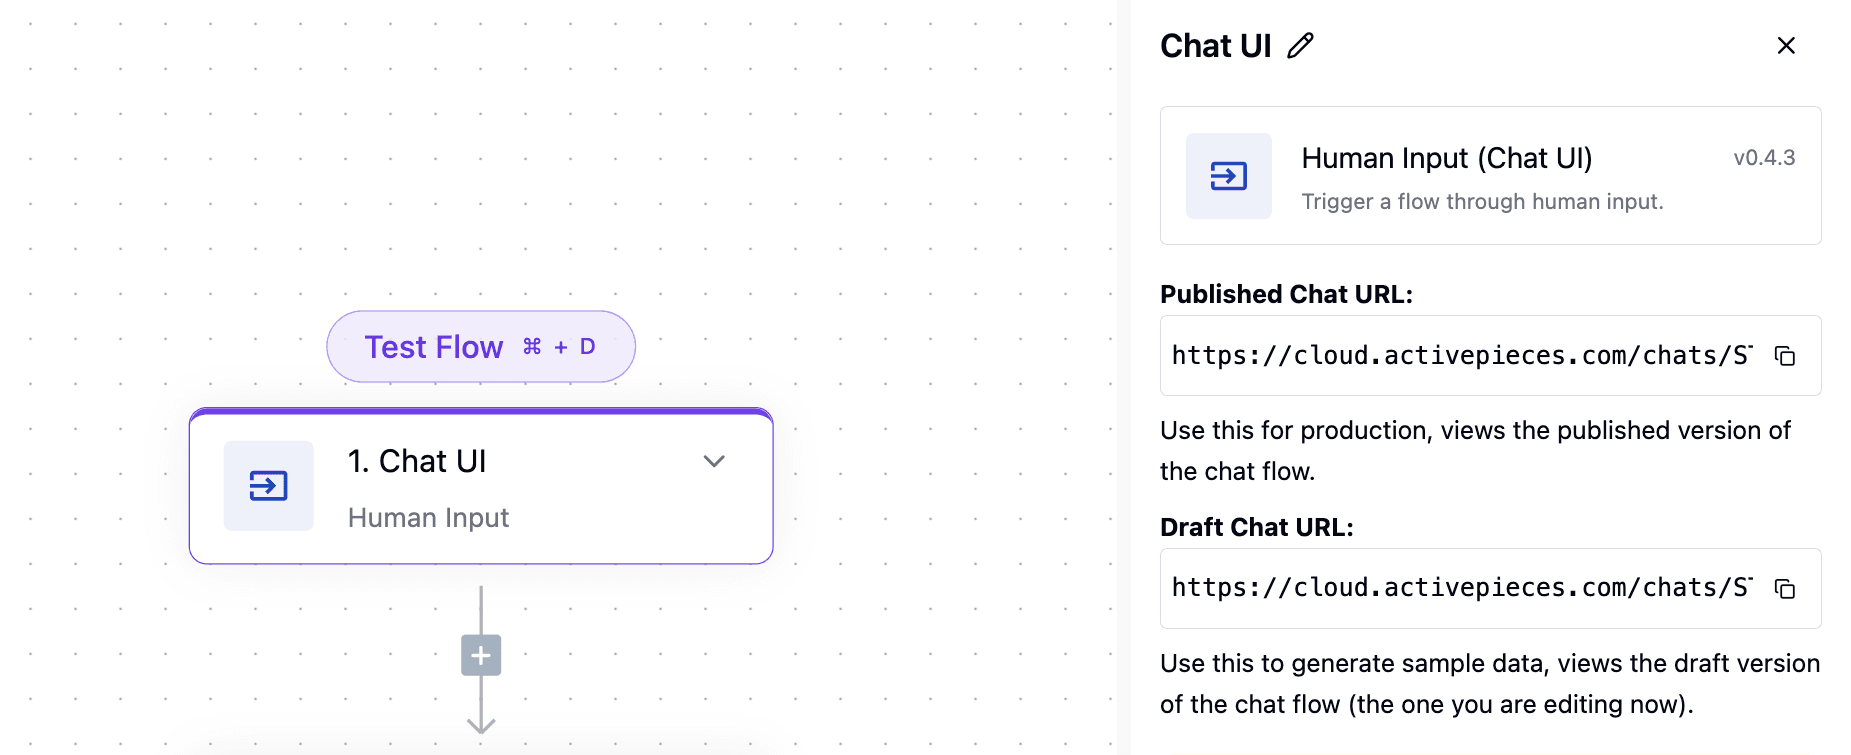
Step 2: Access the ChatUI interface
Since you have not yet published the flow, you can only access the Chat interface from the draft link. So, copy the link and paste it into your browser
Step 3: Upload Receipt to the Chat interface
Step 4: Go back to your builder and test the step
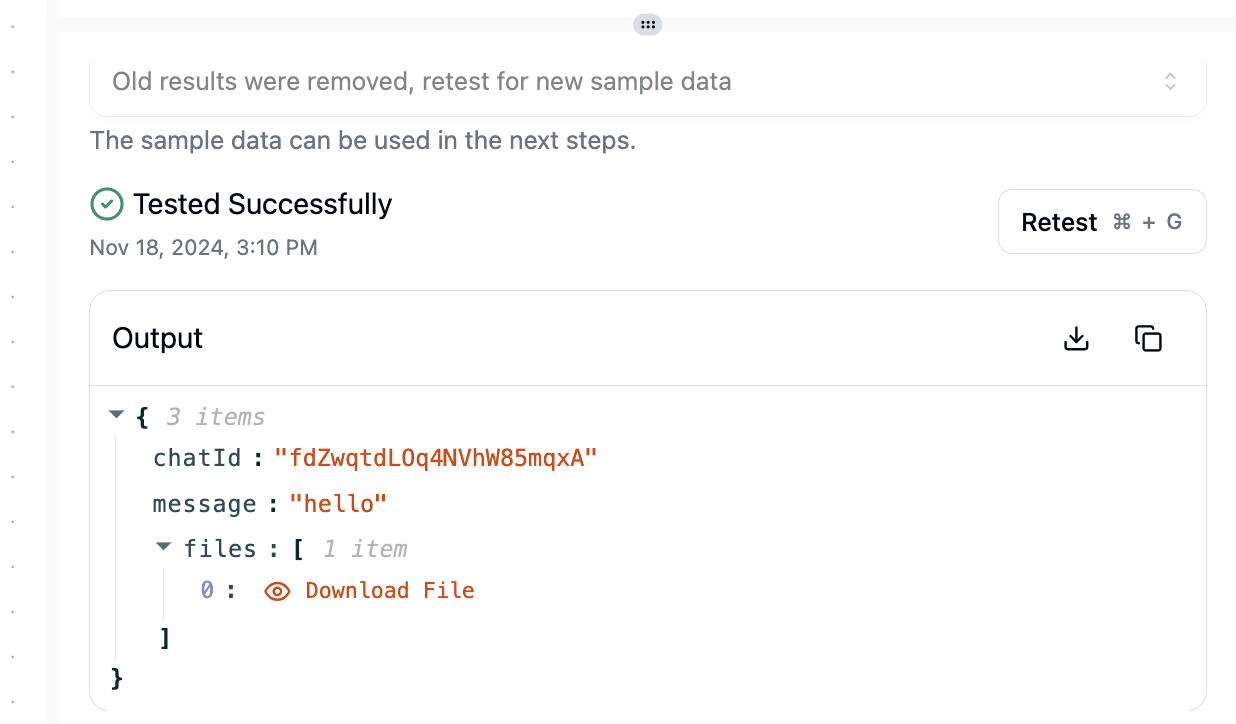
A successful step will return the message and file sent in the chat interface. The Download File highlighted in red is the image you uploaded to the chat and clicking on it will download the file to your computer
Step 5: Add AI to extract data from the receipt
The Extract Structured Data action can be used to extract data from either text or image
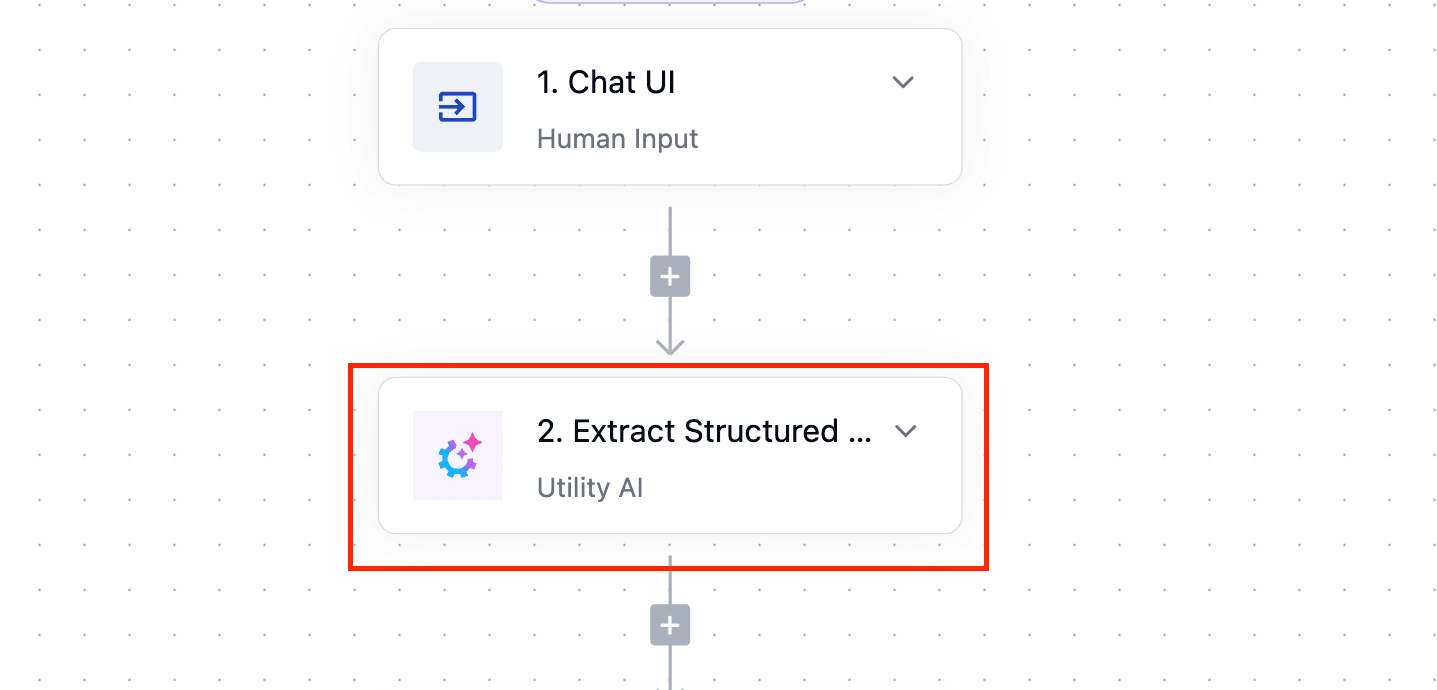
Step 6: Pass the image to AI for data extraction

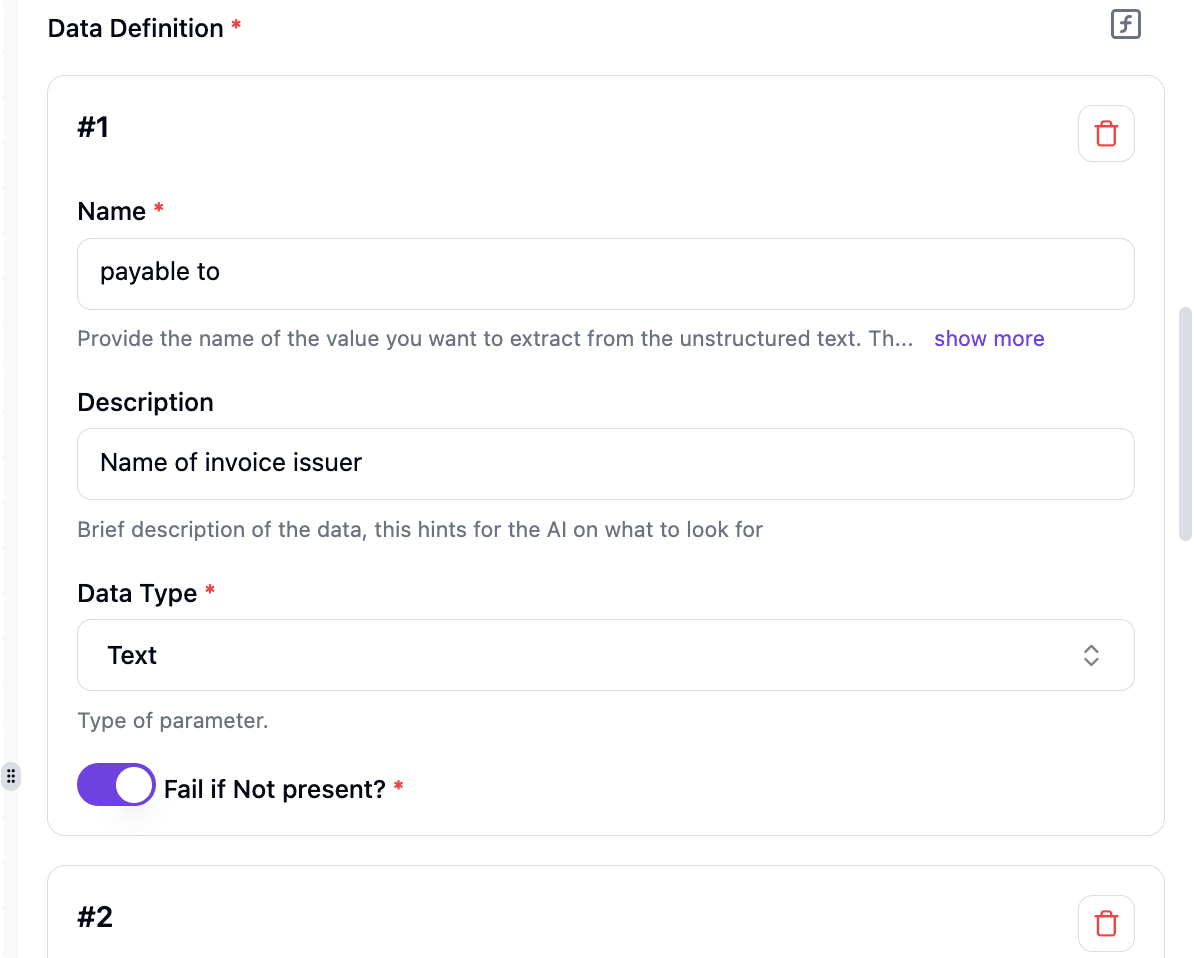
Step 7: Define the data you want to extract
Name: This is the title of the data you are looking for.
Description: This helps the AI to know what to look for
Data type: This part helps you select if you want to look out for a text, number, or boolean. Click on the Add button below to add more data definition
Note: I also advise that you should toggle on the Fail if not present button to help you know when the data is missing instead of returning the wrong data
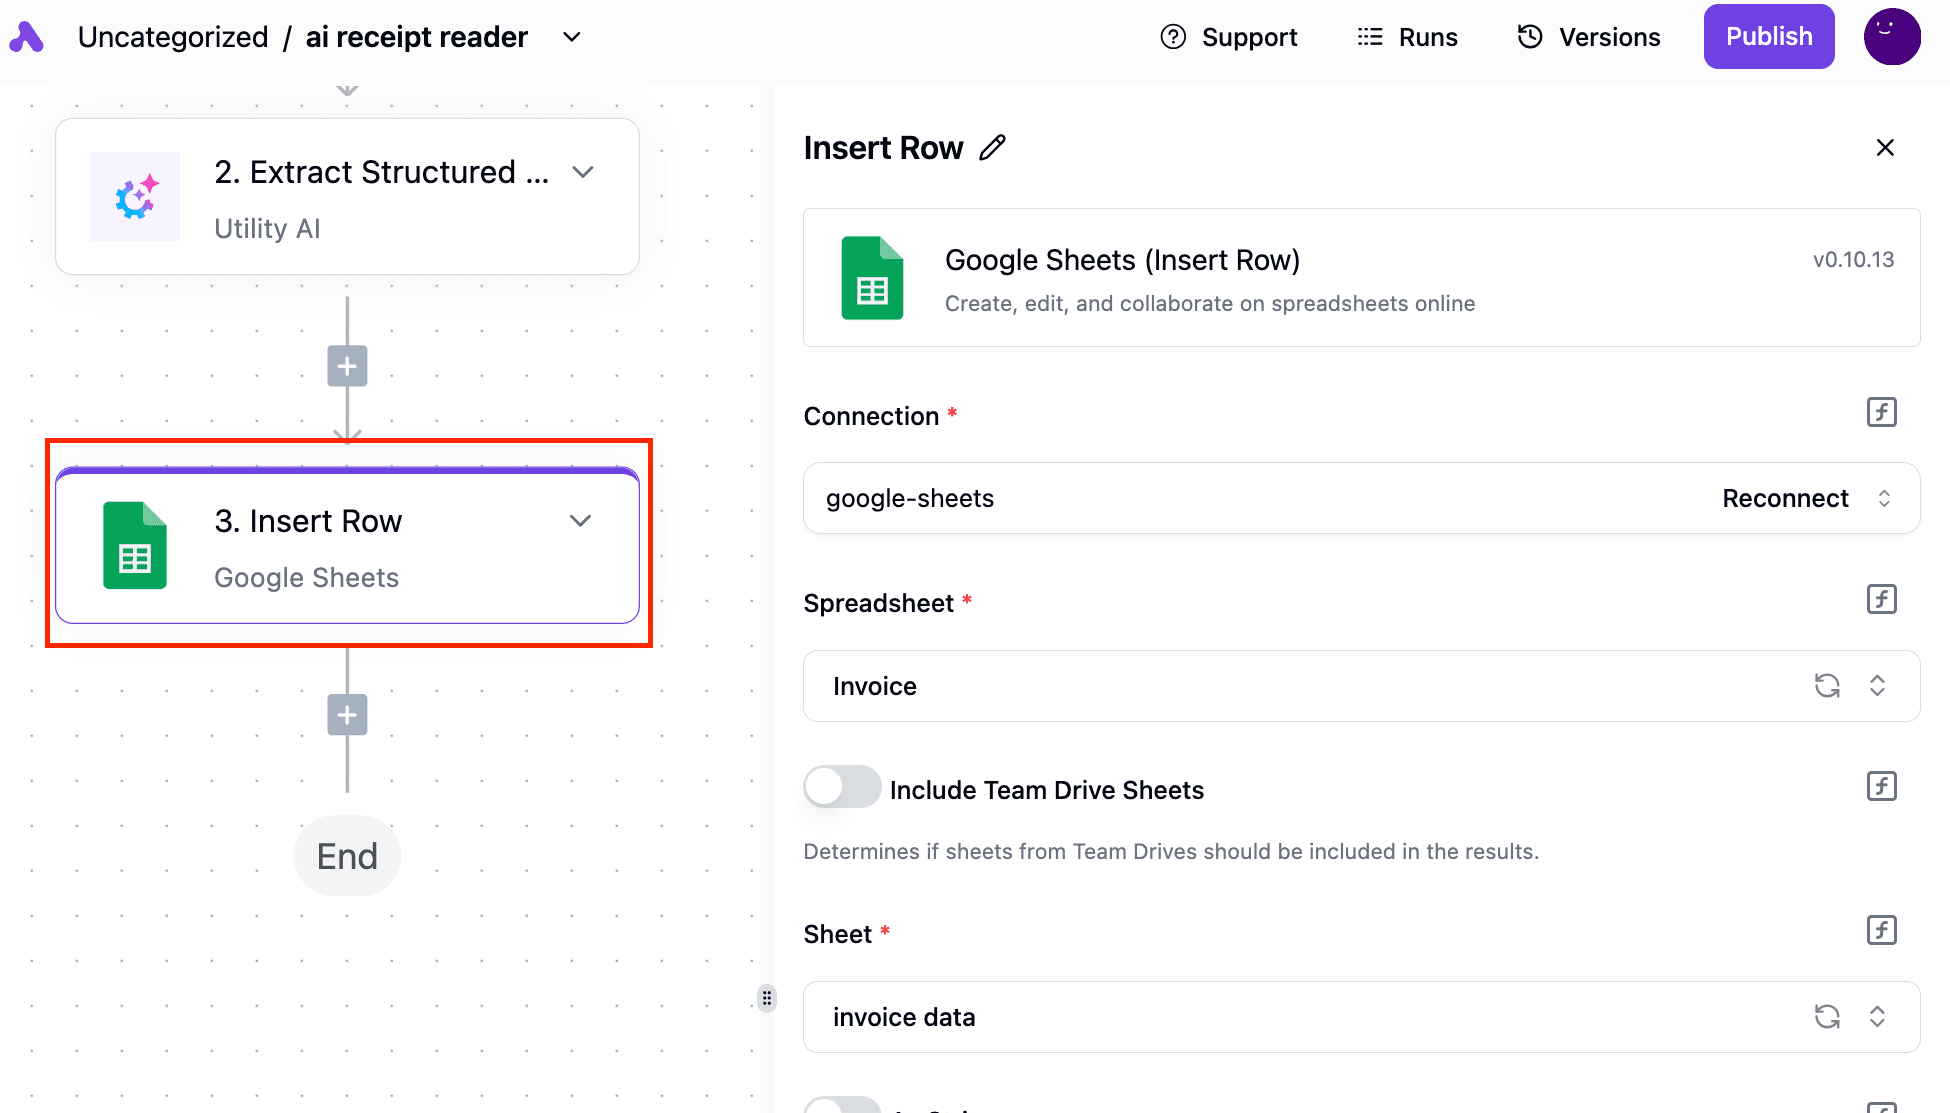
Step 8: Connect your Google Sheets accounts
Connect your account, select the target spreadsheet, and the sheet
Step 9: Set the sheet headers
From the actual sheet, you can see the headers
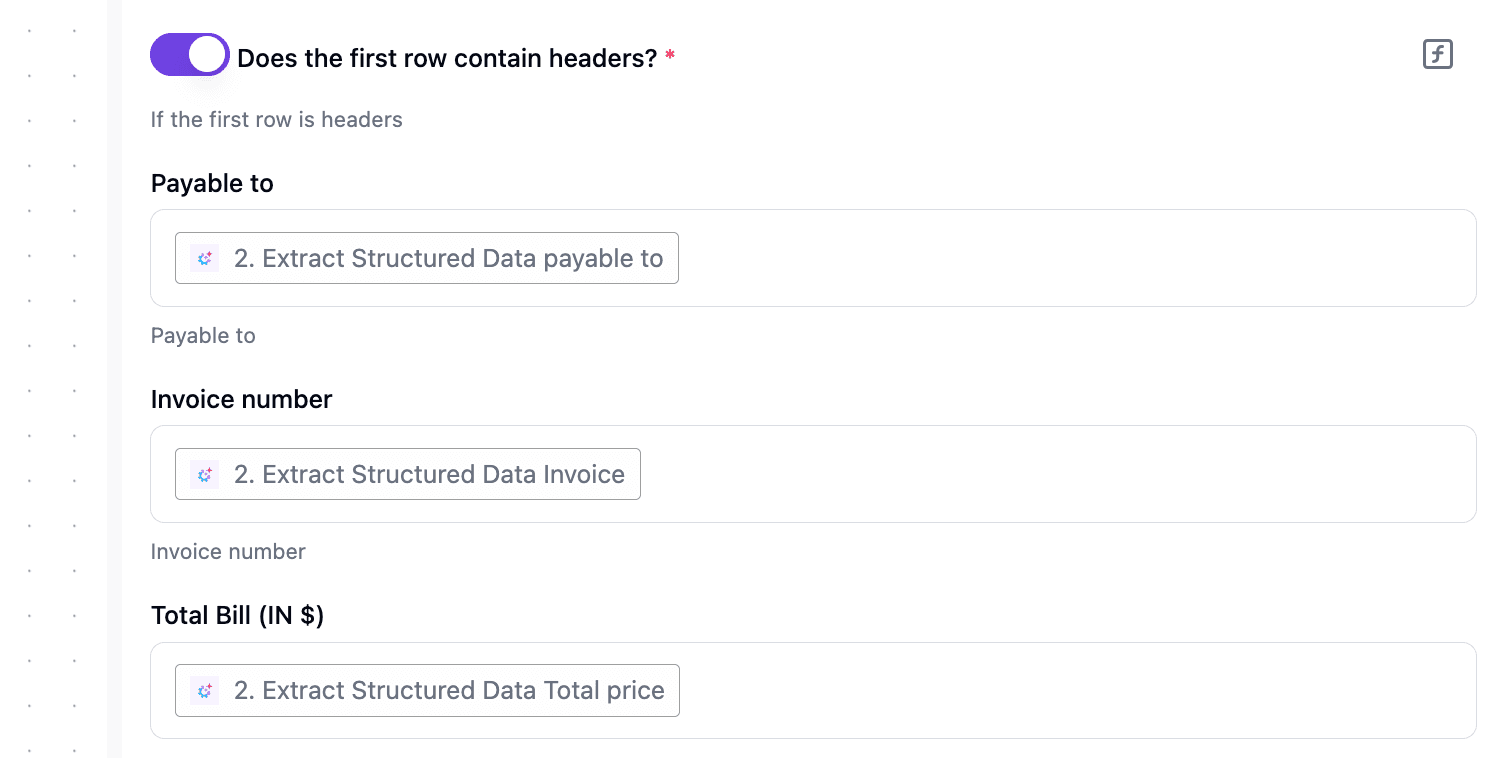
Activepieces automatically reads them and loads them into the builder once you toggle on the “Does the first row contain headers button”
Step 10: Pass the value of the headers
Pass the output of the extracted data into the corresponding row in the Google Sheet. This is called dynamic data selection. This ensures that any data extracted from the receipt/invoice will be added to the sheet under the right heading
Step 11: Test your step


