Automate Topic Cluster Generation From Keywords
Ginikachukwu Nwibe
Oct 7, 20255 min read

This guide provides a comprehensive workflow for automating the generation of topic clusters from keywords using Activepieces. By following the steps outlined, users can efficiently organize and analyze keyword data, ensuring they target relevant topics effectively.
The automation not only saves time but also enhances the accuracy of data handling, making it an invaluable resource for marketers and content creators looking to optimize their strategies.
1. Navigate to https://cloud.activepieces.com/projects/PYEQJnN4o2x6okfrsworQ/flows/sUseqbfS9xLIUcsggFi6p

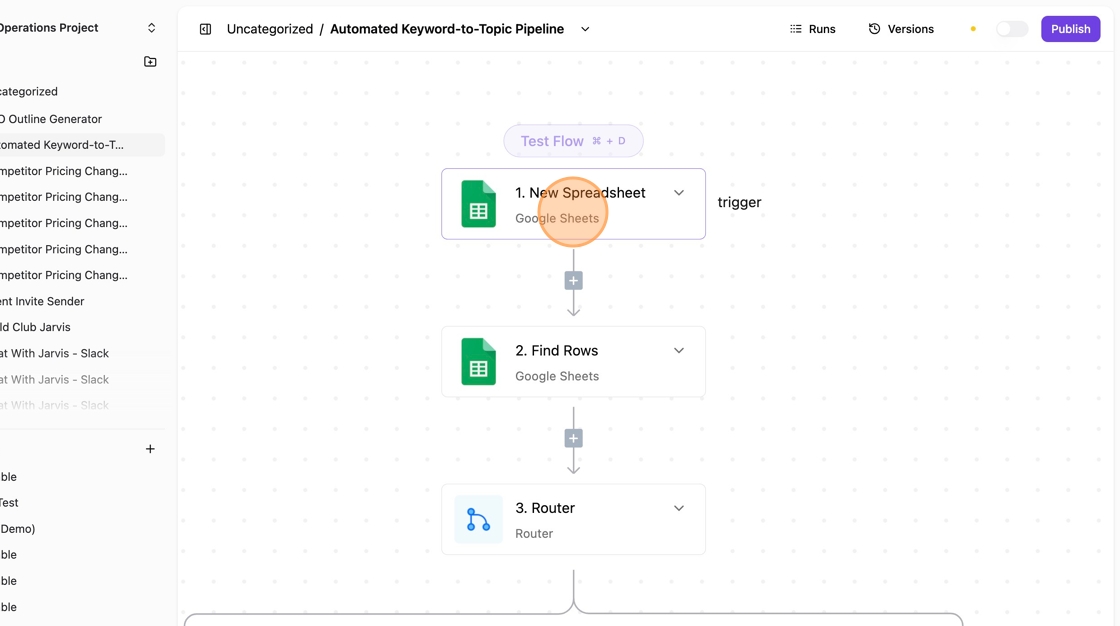
2. Click on Step 1: "New Spreadsheet"
This is the first step of this workflow. It starts once a new spreadsheet is exported from Ahrefs
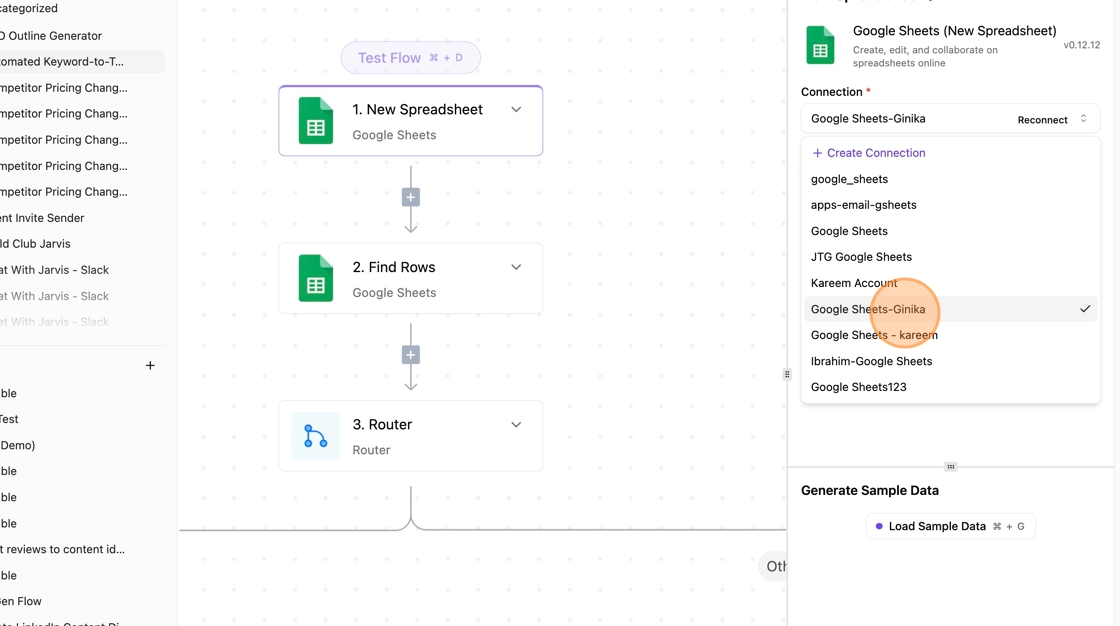
3. Connect your Google Sheet account
4. Test your step

5. Click Step 2: The Find Rows action from the Google Sheet piece

6. Connect your desired Google sheets account

7. Add the ID of the new spreadsheet. This will enable us to easily find the rows

8. Select the name of the column you want to search

9. Test the step

10. Click Step 3: Router.
This is the piece that helps you to add conditions to your automation

11. Test the step

12. Click "Branch 1"

13. Set Conditions for branch 1: The conditions are set to check each row for any presence of the words "keyword" and "Country"
This shows that we are targeting the right spreadsheet and that data on the row is complete

14. Test the Step

15. Click Step 4: Find Row action from Google Sheet piece

16. Connect your Google Sheets account

17. Add the spreadsheet ID

18. Select the specific sheet you want to use

19. Select the name of the column to search in

20. Test the step

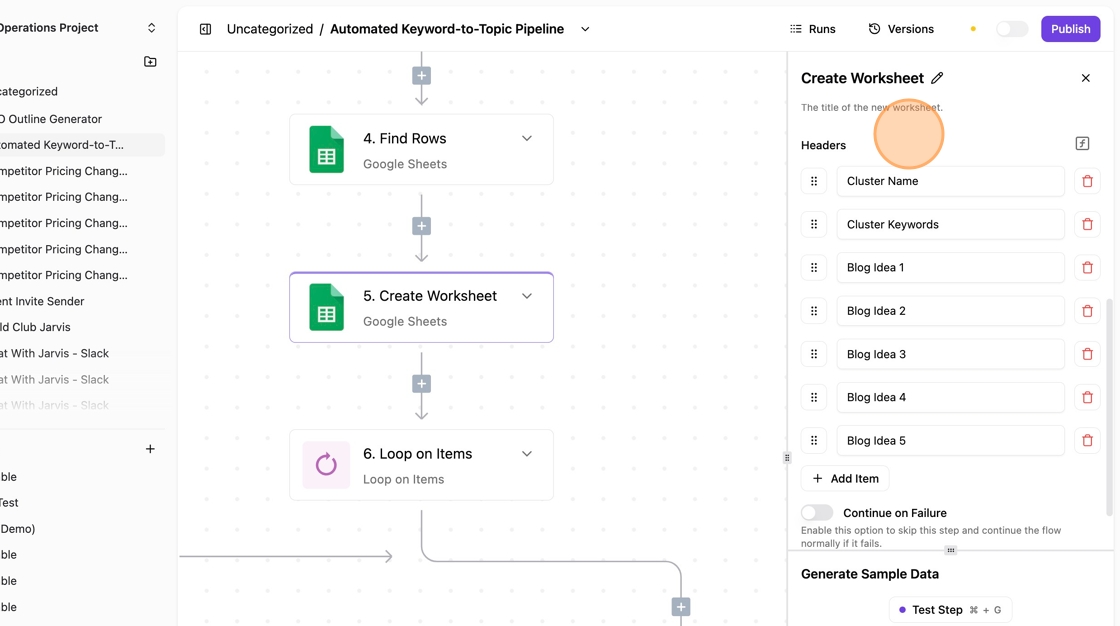
21. Click Step 5: Create Worksheet

22. Connect your Google Sheet account

23. Add the ID of the spreadsheet you want to create the new worksheet in

24. Add the title of the new worksheet

25. Add the headers you want in the new worksheet
26. Test the step
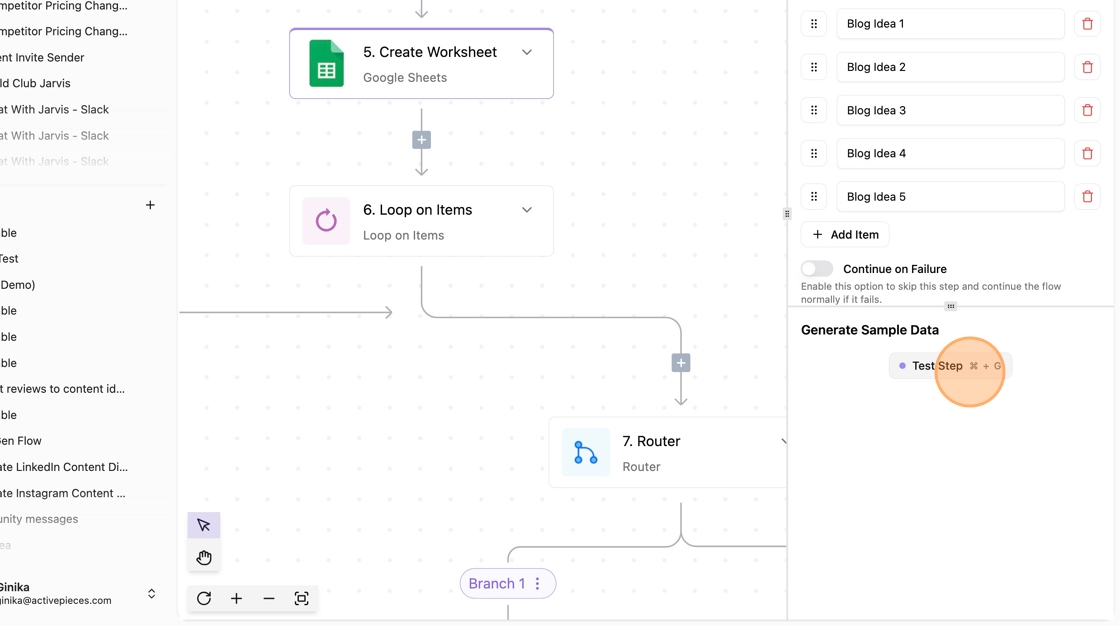
27. Click step 6: Loop on items

28. Pass in the data of the rows we found in step 4

29. Test the step
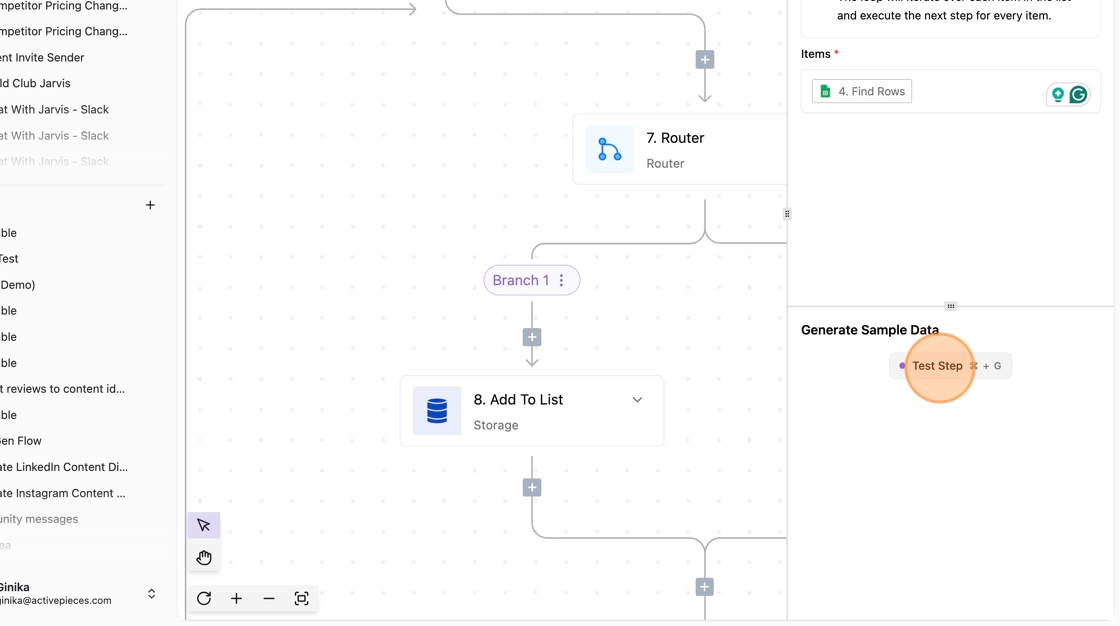
30. Click Step 7: Router
This enables you to add conditions to your workflows

31. Test the step

32. Click "Branch 1"

33. Add conditions for branch 1
This condition checks if the search volume of each keyword that has been looped on is more than 799

34. Test the branch step
35. Click Step 8: "Add To List" from the Storage Piece. This is where we add each keyword that's 799 and above to make a list which will be used later.

36. Add the key, which is where you want to store the data.
Data in storage is usually used in key-value pairs.

37. Add the value. In this step, we are trying to add all keywords that are above 799 into a list so that we can use them in the next steps.

38. Now we need to select what scope we want the storage. for this usecase, we are storing the data to just be used in this project

39. Test the step

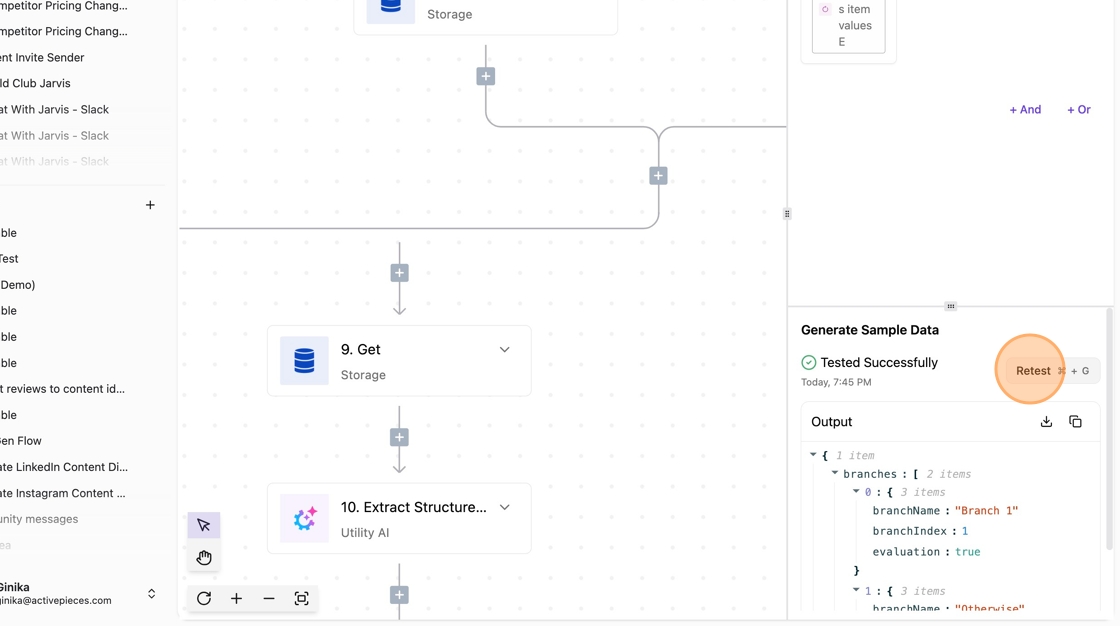
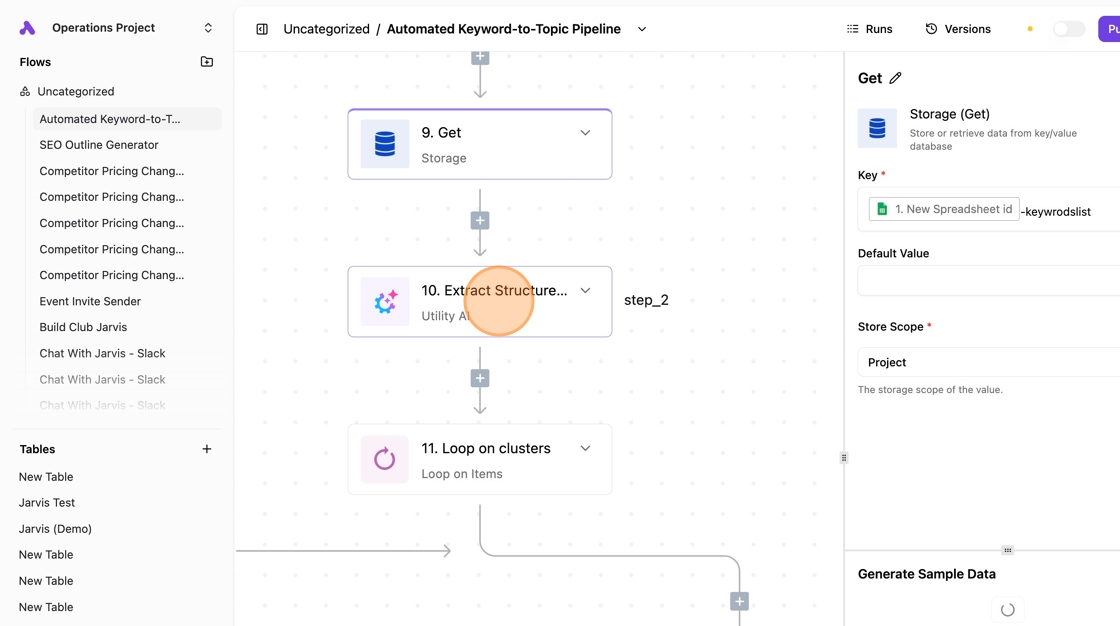
40. Click step 9: "Get " from the Storage piece.
This is where we retrive the data that was stored in a list in step 8

41. Test the step

42. Step 10: Extract structured data
Here we want to extract data from the storage and group them into clusters
43. Click "Test Step⌘ + G"

44. Select Providers

45. Select Model

46. Pass in the text we want to extract structured data from. Here we want to extract structured data from the data stored in the storage piece.

47. Add your guide prompt (This will be available in the template)

48. Test the step
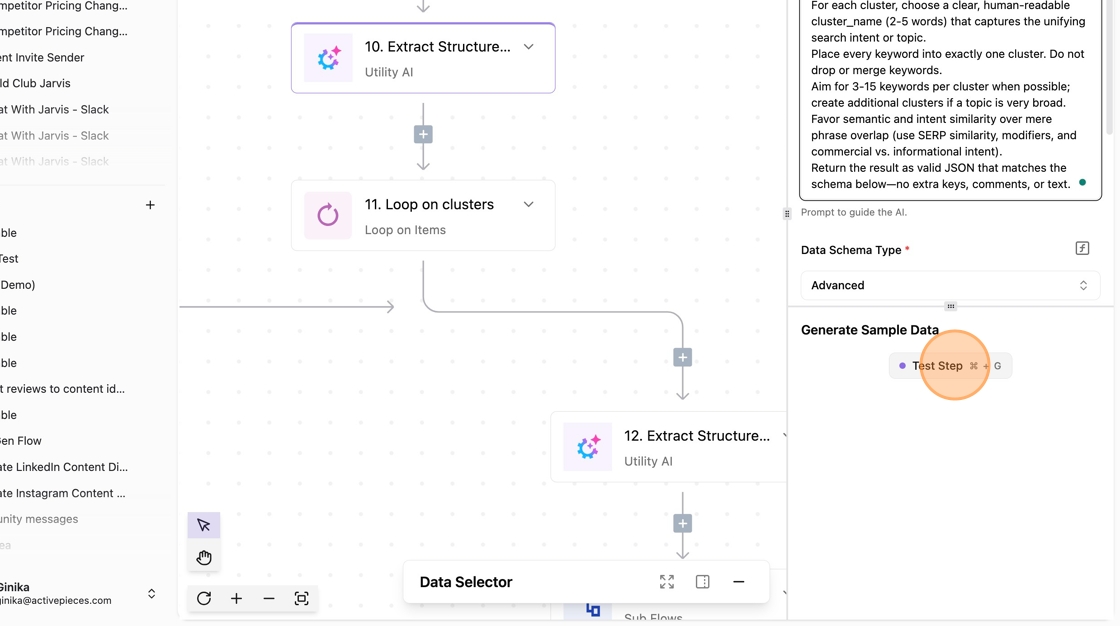
49. Click step 11: "Loop on Items"
Here we want to go over each data in the list of clusters and take individual actions on them.

50. Pass in the data from step 10 to be looped over.

51. Test the step

52. Click step 12: Extract Structured Data

53. After selecting AI provider and model, pass in the clusters you looped on into the text field. We are going to extract the data from each cluster.
After that add your guide prompt (which will be provided in the template)

54. Test your step

55. Click step 13: Call Flow
This helps us to use data from this flow easily in another flow. This is because this workflow is accompanied by an outline generator flow which will use data from this flow.

56. Select the workflow where you want to use the callable flow

57. Click "Simple"

58. Add the data you want to send to be used in the other flow

59. Test the step

60. Click step 14: Loop on keywords
Here we will loop the keywords in the clusters from Step 11

61. Test the step

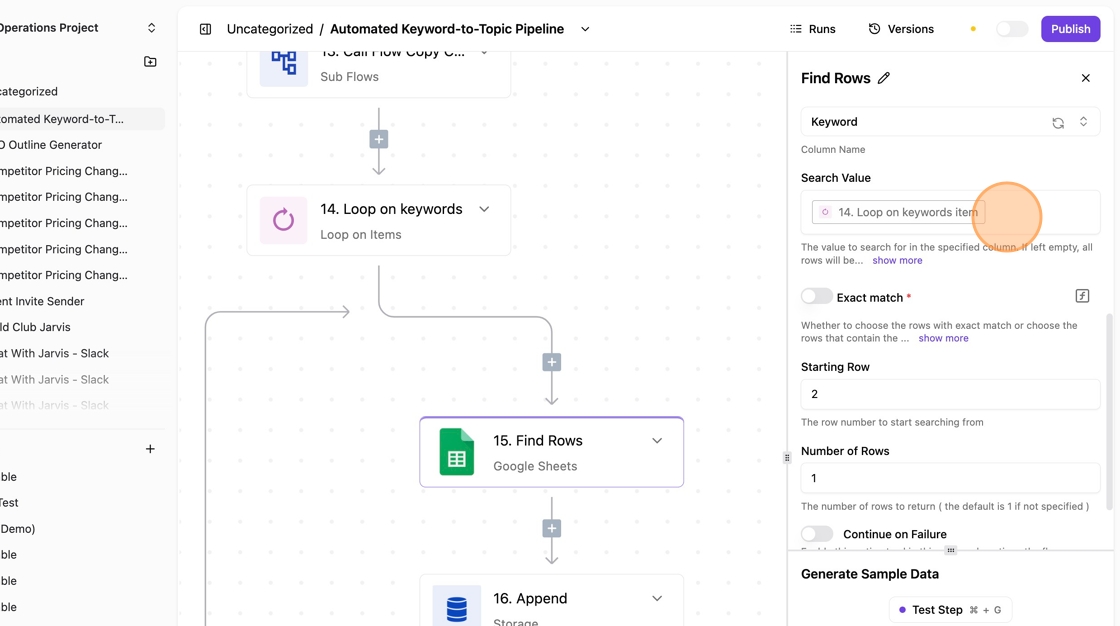
62. Click step 15: "Find Rows"

63. Connect your Google sheet account

64. Pass in the ID of your target spreadsheet

65. Pass in the value you want to search for and test the step
66. Click step 15: Append
Here we are assembling the data in storage which will be retrieved and used later in step 17

67. Add the key which is the spreadsheet ID. Then add the value .

68. Test the step

69. Click step 16: Get

70. Add the ID of the spreadsheet you want to get data from

71. Test the step

72. Click step 17: Insert Row
Here we will insert the data from step 15

73. Connect your Google sheet account, select your spreadsheet and sheet

74. Test the step

75. Step 18 & 19: Remove

76. Test the step

77. Click step 21: Remove

78. Add the ID of the spreadsheet you want to remove data from
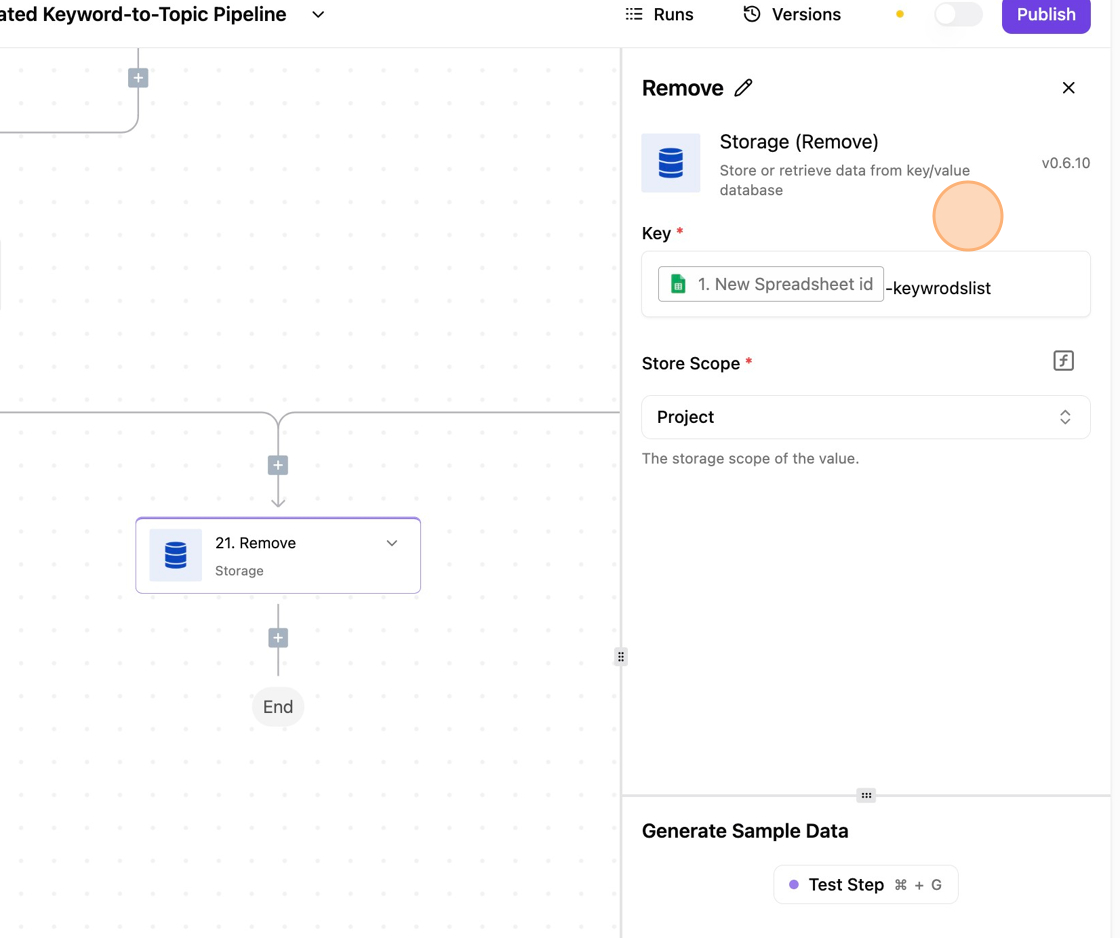
79. Test the step


Written by
Ginikachukwu Nwibe
Content Writer at Activepieces