Eden AI 🤝 Activepieces: Unlocking Smarter, AI-Powered Automations

Activepieces now integrates with Eden AI to make automations not just faster, but more intelligent.
With Eden AI’s unified API, both technical and non-technical users get instant access to multiple AI providers, covering translation, summarization, OCR, keyword extraction, moderation, invoice parsing, and more, without switching different accounts or setups.
This integration is part of Activepieces’ mission to make AI-powered automation accessible to everyone: no coding, no vendor lock-in, just smarter workflows for all
Learn more about the Eden AI piece here: https://www.activepieces.com/pieces/eden-ai
To show you this collaboration in action, we will be using a real-world use case
Flow Overview (Polyglot Publisher)
Managing a blog in just one language is a full-time job. Managing it across multiple languages is practically a second job.
This automation flow watches over a Notion database where you manage your blog posts. Whenever you mark a post status as "ready to post," the flow springs into action.
First, it grabs the blog content from the Notion page. Using the power of Eden AI, it detects the original language and translates both the title and the entire blog post into your target language.
Once that’s done, it creates a fresh Notion page right alongside the original, now showcasing the translated content.
Import the template here: https://cloud.activepieces.com/templates/grAoCLXn9WJ76d39LP7Pa
Setup Guide for Using the Polyglot Publisher Flow Template
Step 1: Prepare Your Notion Database
First things first, pop into Notion and set up your blog database. All you really need is a property called "Name" for your blog titles and a "Status" property to track each post’s state.
Step 2: Import and Configure the Flow
Now, jump over to Activepieces and import the flow. In the first step (Notion Updated Database Item), select your Notion connection and make sure the page and database are authorized and in scope.
Step 3: Connect Eden AI
Next, create an Eden AI connection using your API key, then select this connection in steps 4, 5, and 6.
Step 4: Set Your Target Language and Finalize
Finally, in steps 5 and 6 of the flow, choose the language you want your blogs translated into in the Target Language field. Then just make sure your Notion connections are selected wherever needed in the later steps (like steps seven and ten). And that’s it
Now, Let's Learn How To Build This Use Case from Scratch
Step 1: Add Your Trigger
In this case, the flow will be triggered when a database item is updated in Notion. So select the Updated Database Item

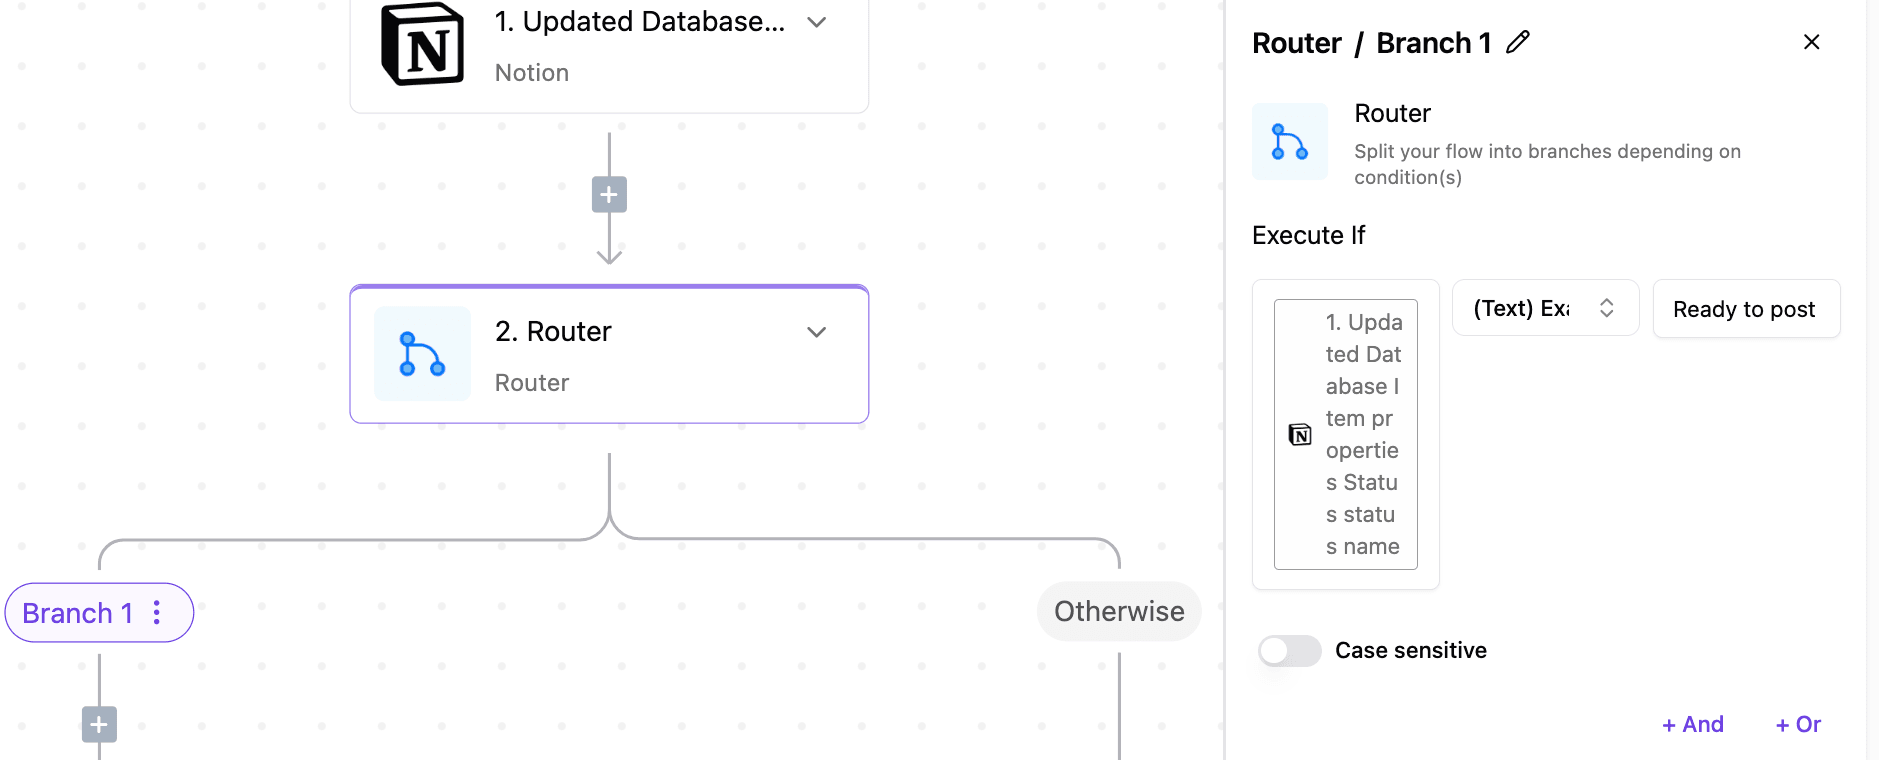
Step 2: Add Router
This will help us check if the status of the database item is set to Ready To Post using the router
If it is not ready to post, then no further actions will be taken
But if it is ready to post, then we continue with Step 3 and beyond
Step 3: Get Block Content
Here, we want to extract the content of the database block. So select the Get Block Content action from Notion.
Next, we get the page or parent block ID

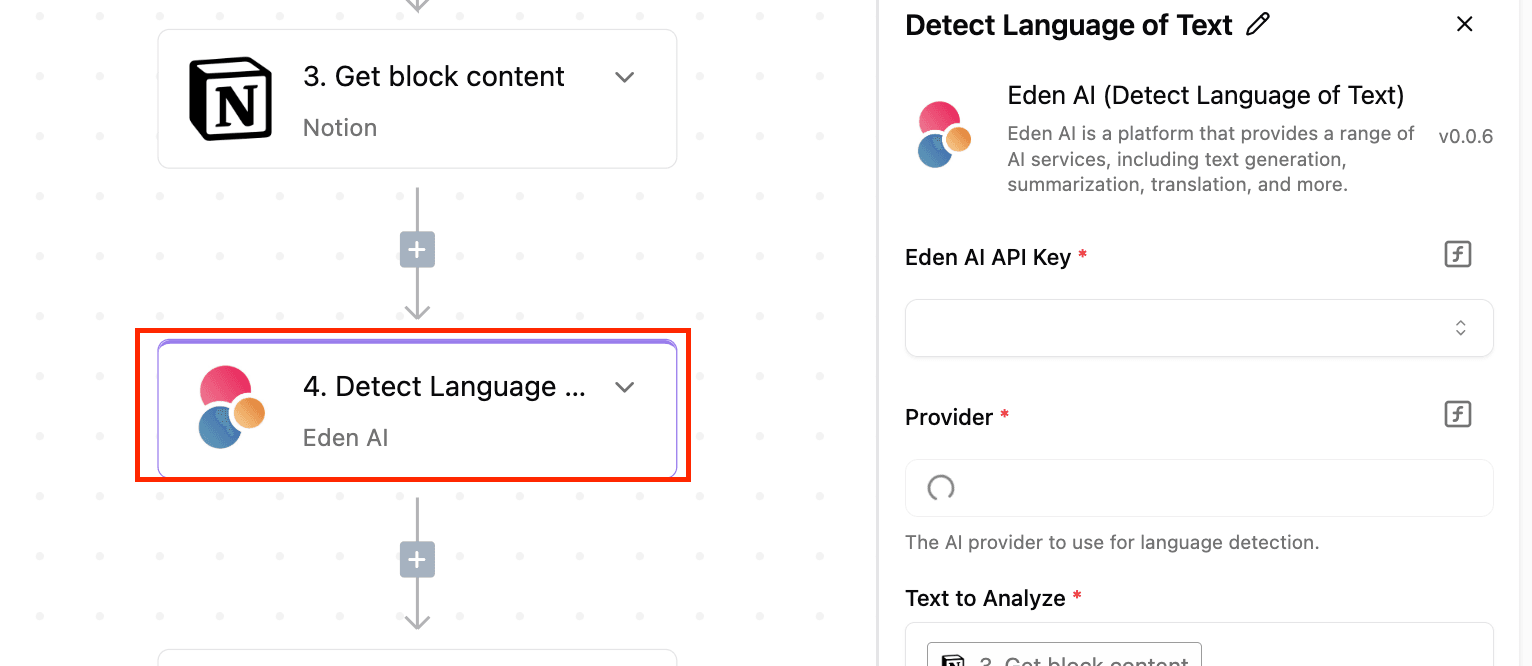
Step 4: Detect Language with Eden AI
In this step, we will use Eden AI to detect the language the blog is written in.
So, for this step, you need to select the Detect Language of Text action from Eden AI.
You will also need an Eden AI API key
Step 5: Translate Title
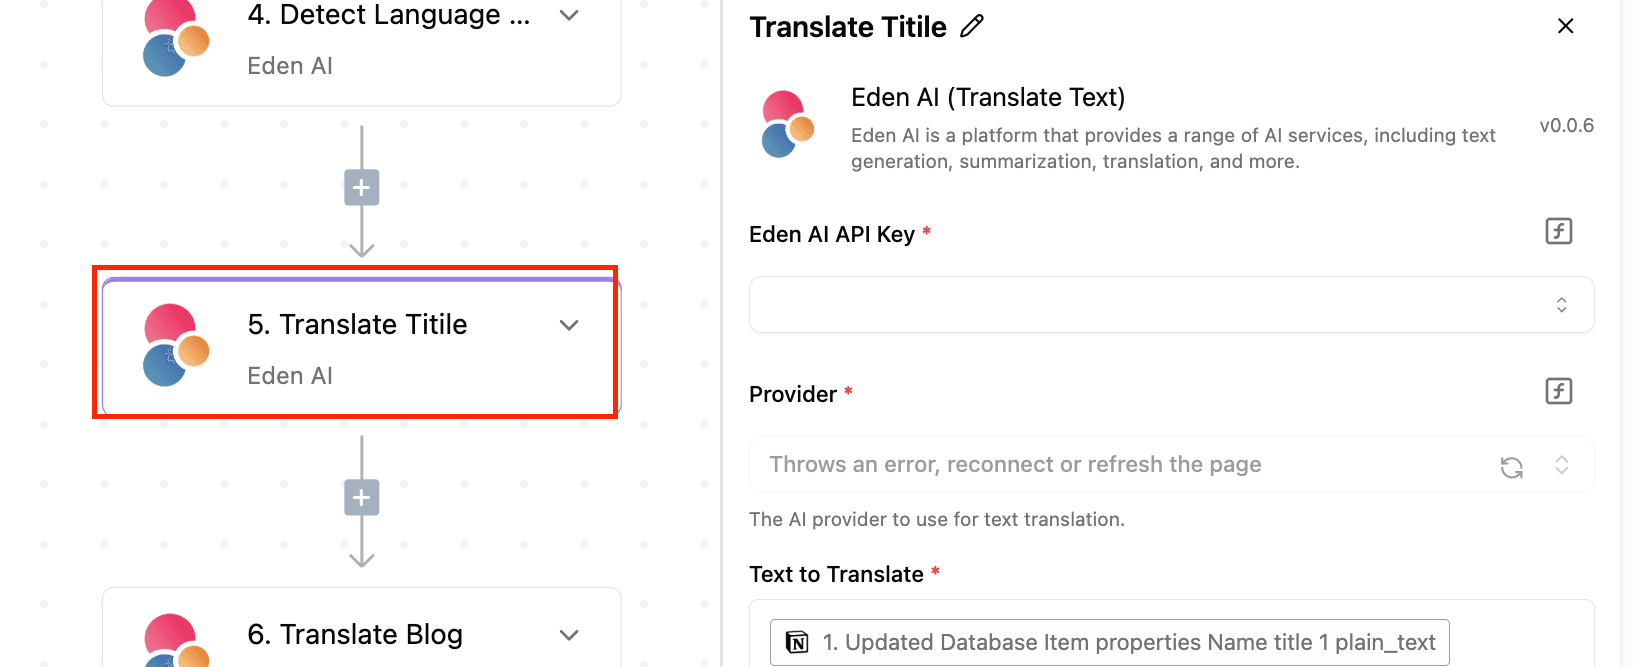
This step translates the title of the content from the detected language to your desired language. To achieve this, select the Translate Text action from Eden AI.
Then select the Source language and Target Language
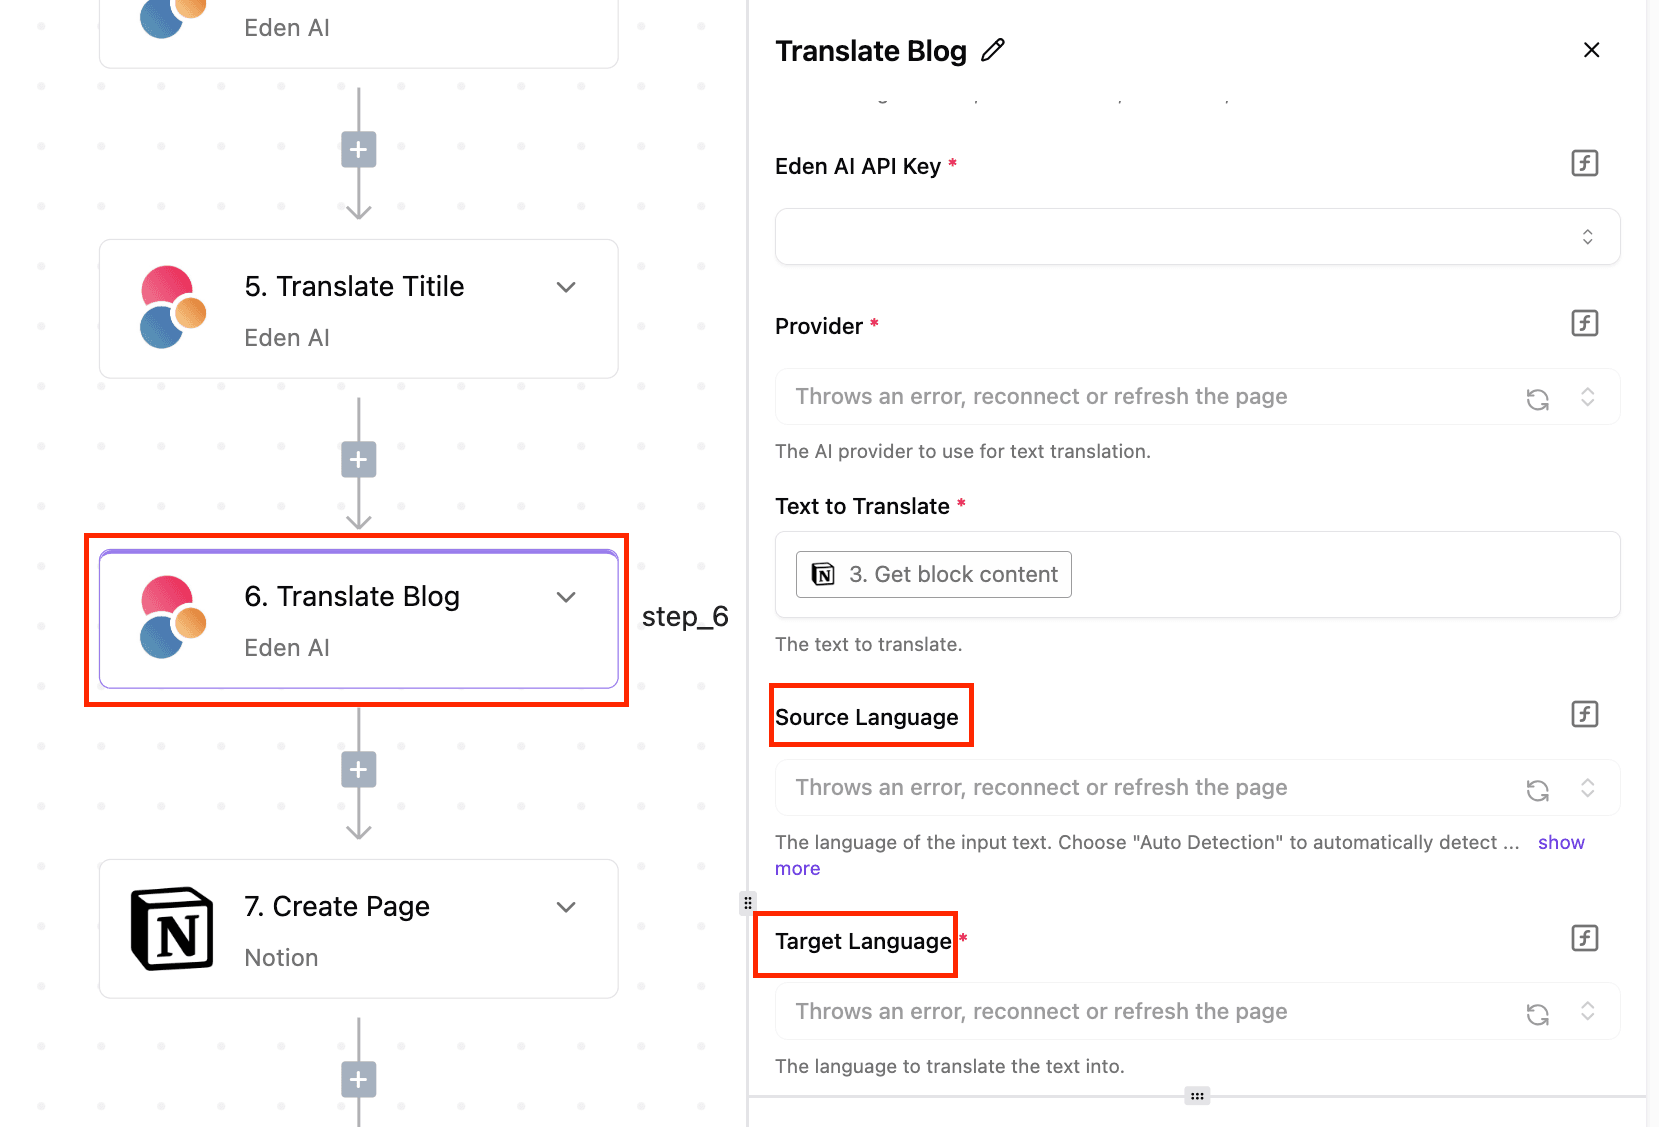
Step 6: Translate Blog
This step translates the remaining body content of the blog. To achieve this, also select the Translate Text action from Eden AI.
Then select the Source language and Target Language
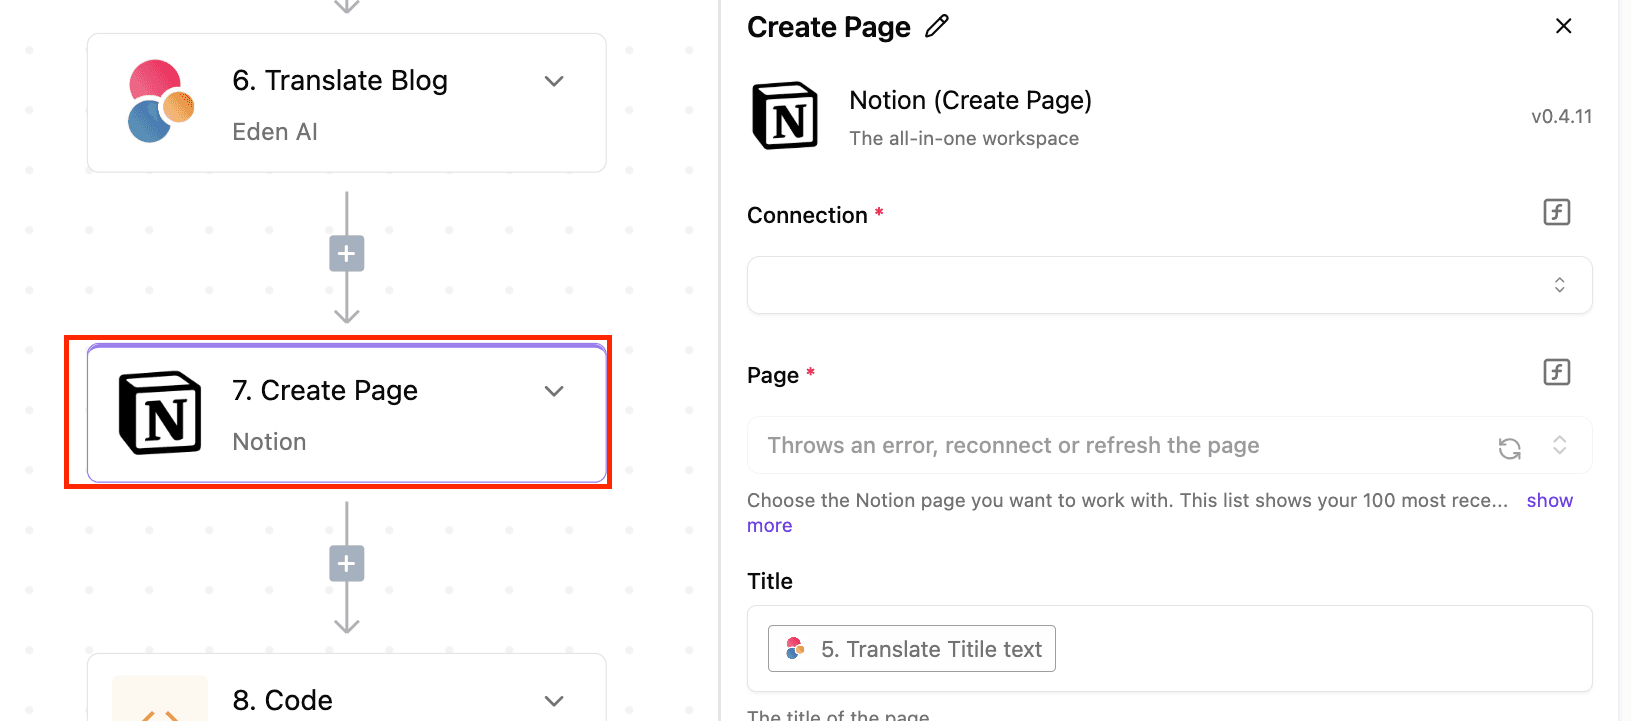
Step 7: Create Page
This step creates a new page on Notion with the translated blog title.
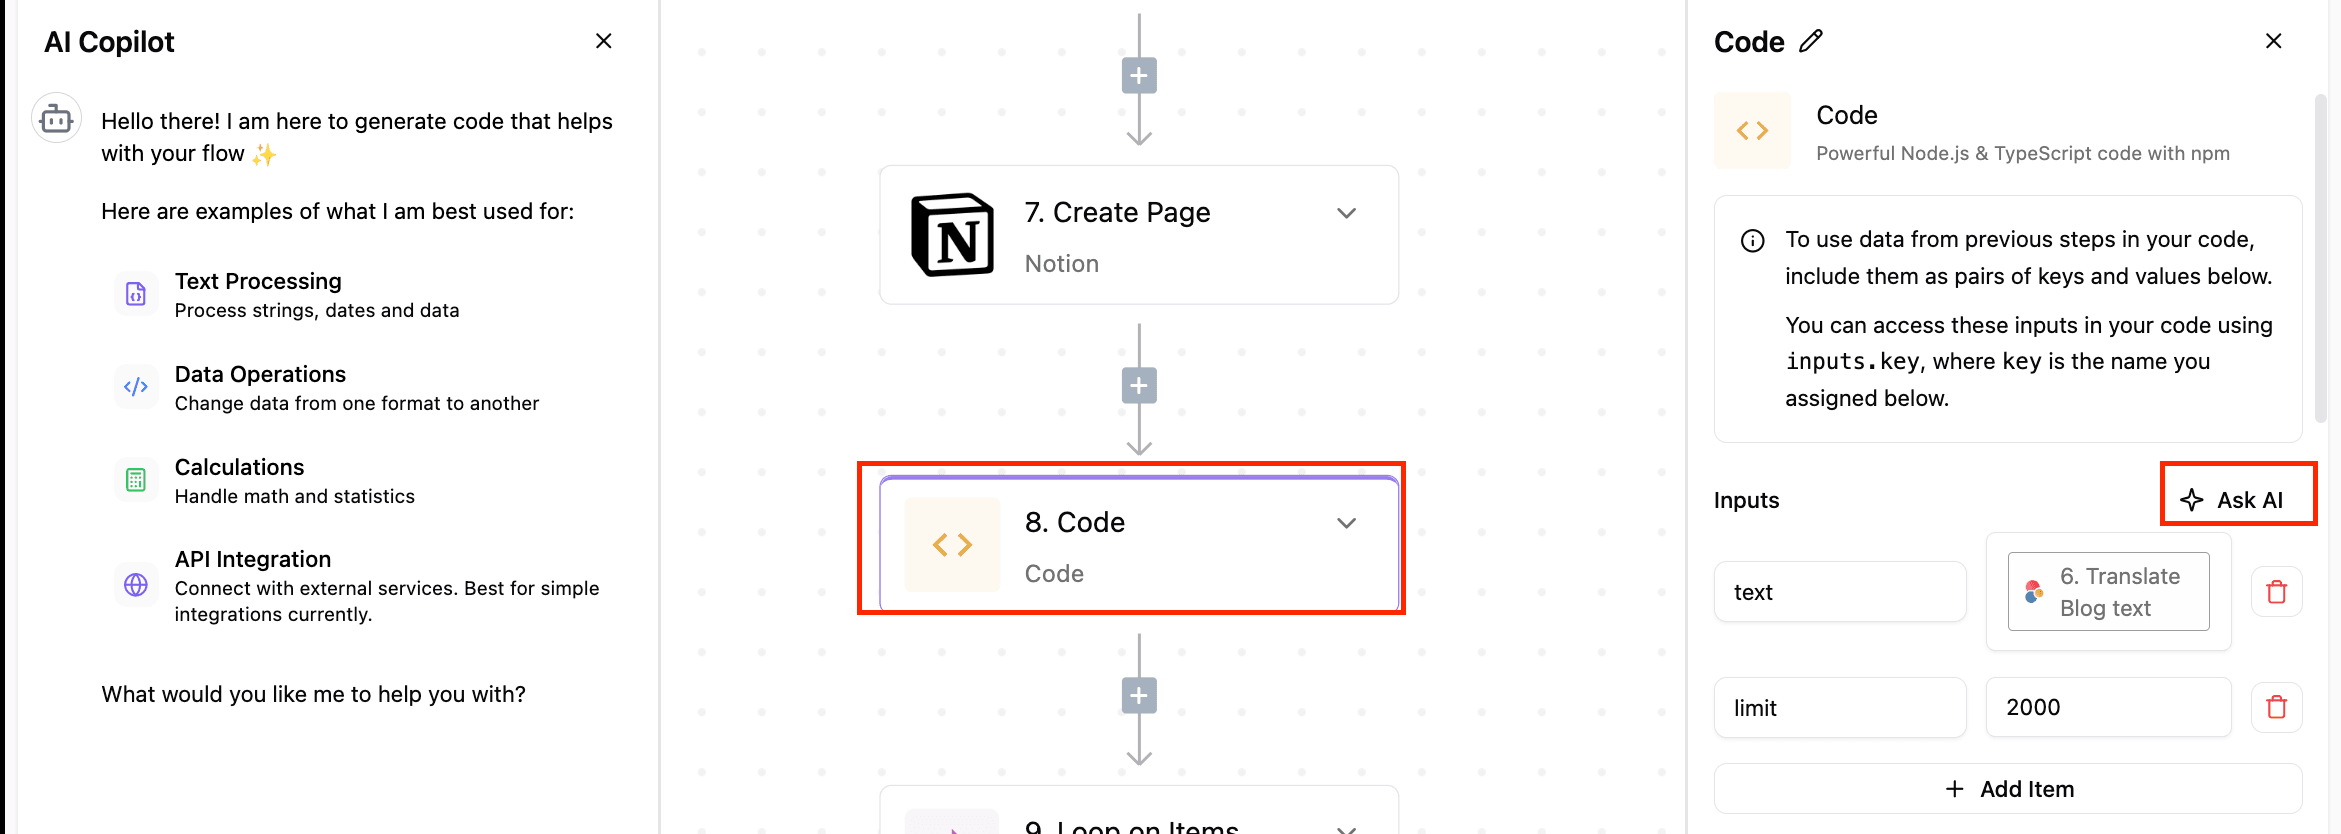
Step 8: Code
We need to append the rest of the blog to the newly created page, but the Append To Page action on Notion only allows 2000 characters at a time. This code step helps us split the content into two parts.
Don’t worry if you can't code; the AI copilot will help you generate the code when you describe your need in plain English.
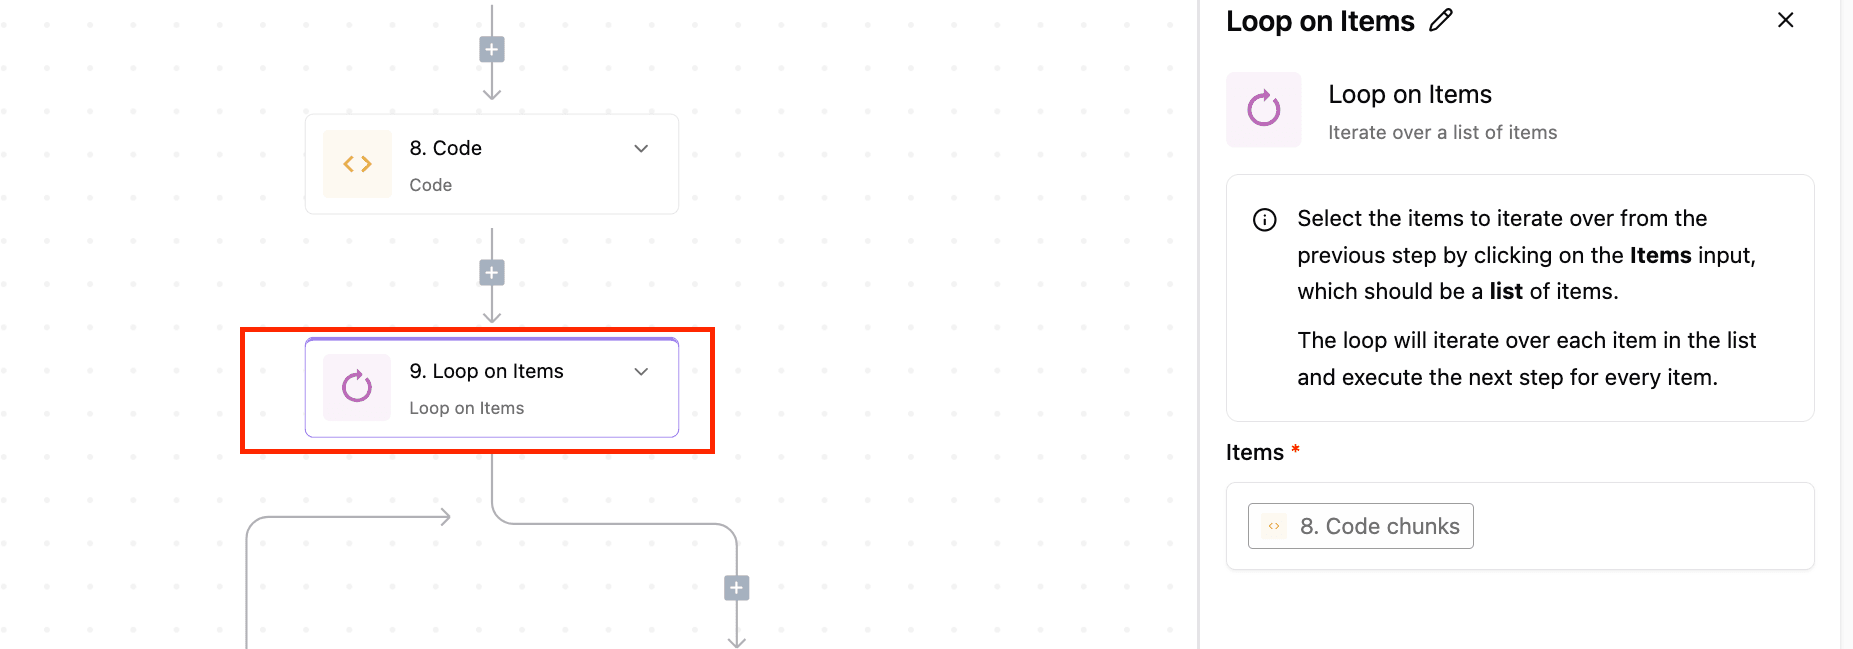
Step 9: Loop through split content
Since the code step splits the content into 2 parts, we need to loop through each of the content
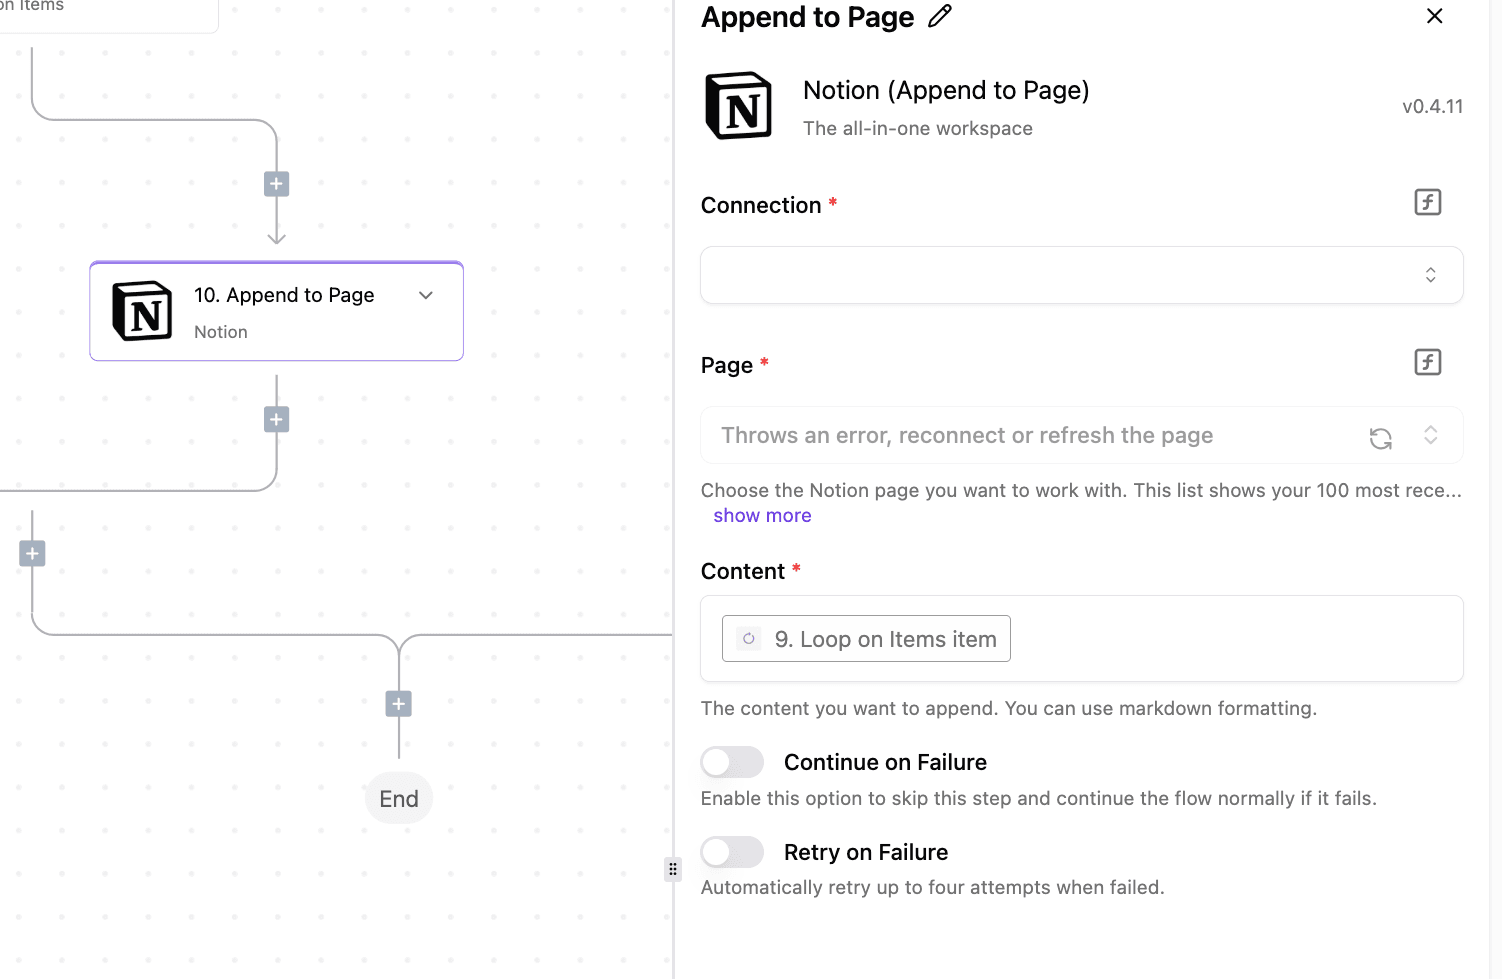
Step 10: Append content to Notion page
This step appends the content that has been looped through to a Notion page.
