Mailchimp Email Automation: Practical Workflows to Try Today
Ashraf Samhouri
Feb 24, 202611 min read

Mailchimp email automation helps you send the right messages to the right people without logging in every day to press send. When you run a business, you already know how much time email marketing can take.
You need to write copy, set up campaigns, check open rates, review data, and then repeat the entire process next week.
Through automation, you can build a workflow once, and the system will automatically send messages based on customer behavior, purchase activity, or signup events.
In this article, you’ll learn how Mailchimp email automation works, which workflows drive sales, and how to use automation software to support your business growth.
TL;DR
- Mailchimp email automation helps you automatically send targeted emails based on signups, purchases, and behavior without manual work.
- Practical workflows include welcome series, abandoned cart emails, post-purchase follow-ups, lead nurturing, and product recommendations.
- Triggers, segmentation, and ecommerce integration make sure you send the right message at the right time using real data.
- Activepieces expands Mailchimp automation by connecting it with 636+ tools, AI agents, and multi-app workflows.
Key Features of Mailchimp Email Automation
These are the common features of Mailchimp marketing automation flows:
Customer Journey Builder
Customer journey builder lets you design a complete workflow using a visual map. You can drag steps onto a canvas and connect them based on actions your audience takes. Each step is driven by data from your contacts.
You start with a trigger, such as purchase completion. From there, you can send emails, apply tags, update contact details, or pause the sequence for a set number of days.
Every step follows pre-defined rules to trigger email messages at the right moment.
You can also divide paths, which lets you send highly targeted messages and follow-ups. For example, when someone opens an email, you move them to one branch. Once they ignore it, you send a different follow-up.
Automation Triggers
Automation triggers control when a sequence begins. A trigger could be:
- Signup
- Tag added to a contact
- Link click
- Purchase from an ecommerce store
You can also react to an abandoned cart event or inactivity over a specific time frame.
Some plan levels allow multiple triggers within one workflow. That means you can start the same sequence when different actions occur.
Audience Segmentation
Audience segmentation helps you group contacts based on behavior, location, spending history, or engagement.
Segments update automatically when data changes. When someone spends over a set amount, they enter a high-value group. If they stop opening emails, they move to a re-engagement list.
You can combine rules with “and/or” logic. Advanced plan options allow more complex filters. This way, segmentation keeps your messages relevant and reduces wasted email send volume.
Ecommerce Automation in Mailchimp
As a business owner, you can link an ecommerce store like Shopify or WooCommerce to sync orders and product details.
When someone leaves an abandoned cart, the system can trigger reminders. You can schedule up to three follow-ups after that event. Product recommendation blocks analyze purchase history and suggest related items.
Order updates and post-purchase messages help ecommerce businesses communicate with customers and drive sales. Those workflows turn store activity into structured automation that supports long-term growth.
5 Practical Mailchimp Email Automation Workflows
Here are five workflows that show how Mailchimp customers can use automation:
1. Welcome Email Series
A welcome email series in Mailchimp is an automated sequence sent to new users immediately after they join your audience. You build a short workflow that introduces your brand step by step.
Many Mailchimp customers use a three-email structure to guide early engagement and support the first purchase.
Navigate to Automations → Customer Journey Builder and choose the “Welcome new contacts” template. Select “Signs up” as your trigger.
When you import contacts manually, enable the option to trigger the workflow for imported users. Create the first email to send immediately.
Add a time delay of two to three days before the second message. Then insert an “if/else” rule to check purchase activity.
Typical structure:
- Day 0: Welcome and discount
- Day 2: Brand story or product highlights
- Day 5: Reminder for non-buyers
Always review your subject lines before activation to improve open rates and early results.
2. Abandoned Cart Automation
Abandoned cart automation in Mailchimp triggers when someone leaves your site without completing checkout.
The system tracks cart activity from your connected ecommerce store and inserts product details directly into abandoned cart emails. That data includes product names, images, and prices, which keeps messages relevant.
You need to connect a supported store, such as Shopify or WooCommerce. Once connected, choose Shopping Activity → Abandoned cart as the trigger.
Recommended timing:
- 1 hour later: Gentle reminder
- 24 hours later: Add urgency or social proof
- 48 to 72 hours later: Offer a discount or free shipping
These campaigns help recover lost sales and keep customers engaged at the right time.
3. Post-Purchase Follow-Up Sequence
A post-purchase follow-up sequence is an automated series of emails triggered immediately after a customer completes a transaction to increase customer retention and encourage repeat buying.
The first message expresses appreciation for the buyer and confirms the order details. Then add another 7–14 days of time delay so the customer has time to use the product.
After that delay, send a request for customer feedback, which strengthens trust and supports consistent engagement after the purchasing decision.
You can also insert an “if/else” rule based on activity. Here’s an example:
- If the contact opened the previous email, send product recommendations related to the purchase
- If not, send helpful usage tips
You can further tag buyers as “Recent Buyer” or “Repeat Customer” at the end of the workflow.
4. Lead Nurture Email Sequence
A lead nurture email sequence moves someone from interest to purchase through structured automation.
It usually starts when a person downloads a guide or signs up for a webinar but has not made a purchase yet. Navigate to Automations → Customer Journey and set the trigger to a tag such as “Downloaded_Guide.”
Send the resource immediately. Add a two-day delay before sending a message that solves a common problem. After another delay, share proof or results that support your product.
You can insert an “if/else” condition based on link clicks, such as:
- If the lead clicks the case study link, send a direct offer
- If not, continue with educational content
Relevant messages delivered over time guide prospects toward a confident purchasing decision.
5. Product Recommendation Automation
Product recommendation automation uses purchase data to suggest items customers may want next. The system compares buying behavior and ranks products based on similar patterns.
To activate personalized recommendations, your connected store should have:
- At least 10 products
- At least 50 customers
- At least 500 orders in the past year
Start the workflow after a completed purchase. Add a 7–14-day delay before sending recommendations. The system can display similar product recommendations after a user has bought from your site.
This automation increases repeat buyers and keeps your brand visible after checkout.
Benefits of Automated Email Workflows
Once you build a workflow, the system reacts to customer behavior in real time and delivers messages at the right moment. That consistency improves results and keeps your brand active without constant monitoring.
Here are the main benefits you gain when you rely on automation:
- Save time by removing repetitive tasks such as manual follow-ups and reminder emails.
- Increase efficiency by sending the right message at the right time based on customer behavior.
- Personalize each customer’s experience and increase the relevance of your automated campaigns.
- Improve marketing performance by using more data from purchase activity and engagement history.
- Make iterative changes based on what you learn from customer interactions.
- Support long-term growth by keeping customers engaged beyond the first purchase.
- Strengthen your brand by delivering consistent communication without gaps.
How Activepieces Enhances Mailchimp Email Marketing Automation
Mailchimp handles email automation well, but most businesses run on more than one system. Sales teams rely on customer relationship management (CRM) tools, support tracks tickets, and marketing teams publish content and review campaign data.
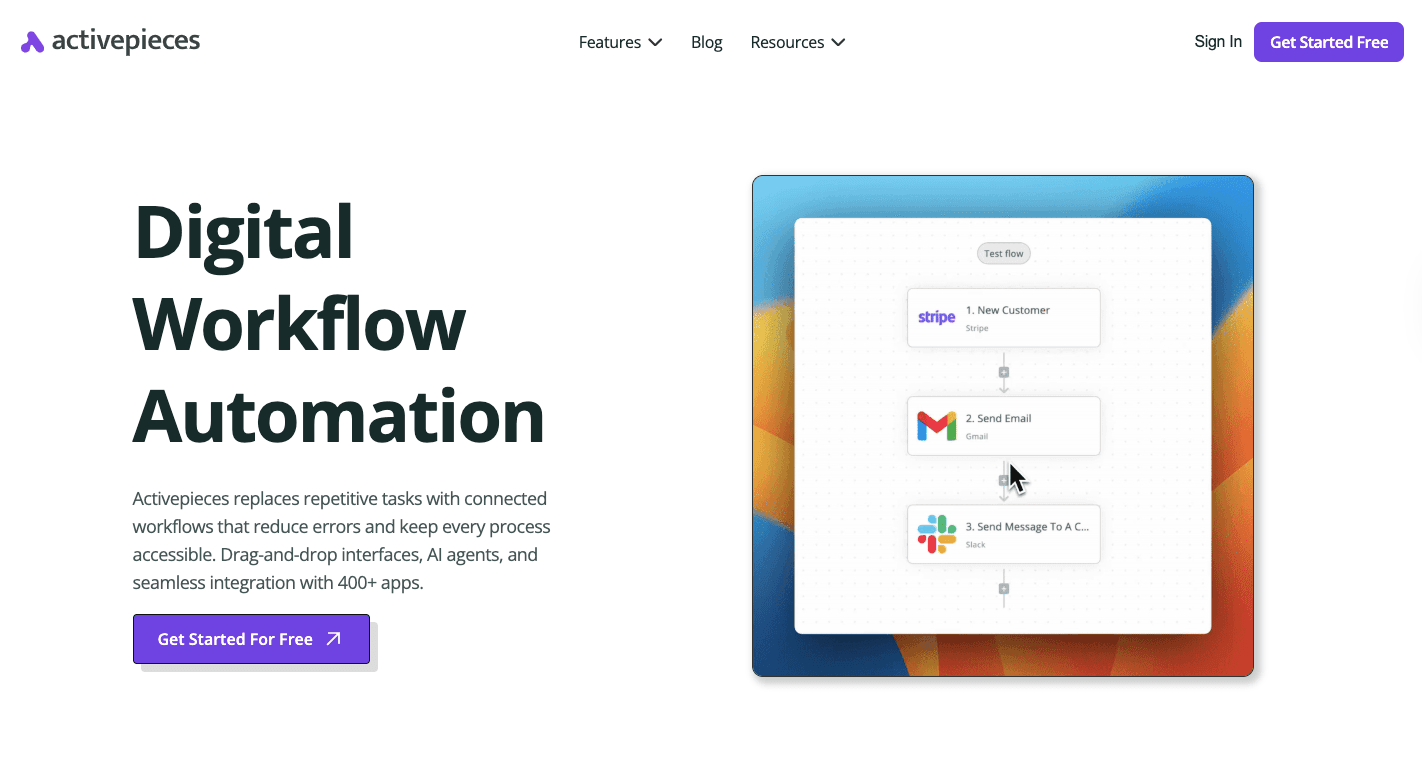
Activepieces connects those systems so your Mailchimp workflow does more than send emails.
It is automation software built for multi-app logic. You can trigger a Mailchimp sequence when someone fills out a form, update your CRM, notify your team in Slack, and log details in Google Sheets within the same flow. That integration removes manual updates and lets your team focus on growth.
Key features include:
- Cross-app triggers that connect Mailchimp with 636+ supported tools
- AI steps that analyze data before emails go out
- Advanced branching with approval steps
- Bi-directional syncing between Mailchimp and other systems
- Predictable pricing starting at $5 per active flow
The platform also offers pre-built templates to help you start quickly while still allowing full customization for complex business workflows.
Advanced Mailchimp Automation Workflows
Below are some Mailchimp workflows you can build using Activepieces.
Send Personalized Welcome Emails With ChatGPT and Mailchimp

Personalized welcome emails usually take time. You check who signed up, write a message, then send it manually.
With Activepieces, that entire process runs on its own. When someone joins your Mailchimp audience, the flow sends their data to ChatGPT, generates a unique subject and body, formats the response, and delivers it through SendGrid.
You build it once, and every new subscriber receives a custom email without extra work.
Here are the steps to build it:
- Copy the template into your Activepieces account and open the flow editor.
- Click the Mailchimp trigger, create a new connection, and choose the audience you want to monitor. Add a test subscriber and click “Test Trigger.”
- Open the Ask ChatGPT step, connect your OpenAI API key, and edit the prompt with your business context. Make sure it returns subject and content in JSON format. Click the “Test” step.
- Configure the code step if needed to parse the JSON output.
- Connect SendGrid, set sender details, map subject and body fields, test the full flow, then click “Publish.”
Automate Leads From Google Form to Mailchimp

When someone submits your Google Form, you don’t need to open a spreadsheet, review emails, and move contacts manually. Leads from Google Form to Mailchimp automation checks each lead as it comes in.
When the email ends with Gmail, it adds the contact to a Mailchimp audience for long-term email marketing. If not, it sends the lead directly to HubSpot for your sales team.
You can also notify yourself by email every time a new lead arrives.
Steps to build it:
- Click “Start building” to open a new flow.
- Add Google Forms as the trigger. Choose “New Response” and connect your Google account. Select the form and click “Load Data” to pull sample responses.
- Add a branch step. Select the email field from the form. Set the condition to “Ends with” and enter @gmail.com.
- Under true, add Mailchimp and choose “Add Member to an Audience.” Connect your account, map the email field, and set the status to “Subscribed.”
- Under false, add HubSpot and choose “Create Contact.” Map first name, last name, and email.
- Add a Gmail “Send Email” step after both branches to receive notifications.
- Test the flow, then click “Publish.”
Design Limitless Mailchimp Automation Workflows With Activepieces
Mailchimp manages email flows well, but advanced businesses need more than basic triggers and follow-ups. Activepieces is a powerful tool for automation that gives you full control over complex workflows that connect every system your team relies on.
Currently, it supports 636+ data integrations, including AI services, CRMs, productivity tools, finance apps, and business intelligence platforms. Many integrations come from the community, which means the ecosystem keeps expanding.
You can add AI agents directly into workflows. Copilot assists with building flows. Human approval steps allow you to review actions before execution.
Connect Mailchimp to everything your team uses. Start building with Activepieces today!
FAQs About Mailchimp Email Automation
Can Mailchimp do email automation?
Yes, Mailchimp supports email automation through its Customer Journey Builder and classic automation tools. You can trigger emails based on signups, purchases, clicks, or other contact activity.
It also supports transactional emails through add-ons or integrations for order confirmations and receipts.
Are automations free on Mailchimp?
Mailchimp offers limited automation features on its free plan, such as single-step welcome emails. More advanced journeys, branching logic, and behavioral triggers require paid plans.
How can I automate sending emails?
You create a workflow in the automation section, choose a trigger such as signup or purchase, design the email, and set delays or conditions. Other than that, you can schedule specific steps within the flow.
How do I automatically send emails to new subscribers in Mailchimp?
Go to Automations, open Customer Journey Builder, choose “Signs up” as the trigger, select your audience, design the email, review sender details, test the flow, and publish it. Once active, Mailchimp will automatically send the email to every new subscriber.

Written by
Ashraf Samhouri