Building More Powerful Forms: Fillout Form 🤝 Activepieces
▶️ Watch the video tutorial on YouTube here.
It starts with a form, but it doesn’t have to end there. We’re excited to welcome Fillout Forms into the Activepieces ecosystem, making it easier than ever to turn form submissions into powerful, automated workflows. With this new integration, you can now trigger basic automation flows the moment someone hits “Submit.”
Now, the Fillout + Activepieces combo gives you the power to automate more complex processes from form actions without writing a single line of code.
What is Fillout Forms?
Fillout enables you to build smart, interactive forms that can trigger other actions. Think of it like a powerful form builder with built-in logic and light automation.
What makes Fillout stand out is how smooth and professional everything feels. The forms are beautiful, easy to use, and can be customized to match your brand. You can also make the forms smart: show or hide questions based on answers, calculate totals instantly, or send information to different places depending on who fills it out.
What Is Possible With Fillout Forms on Activepieces?
- Triggers
New form response: Triggers when a new response is received for a selected Fillout form
- Fillout Form Actions
- Get Form Responses: Fetch all responses for a Fillout form with optional filters
- Find Formed by Title: Finds an existing form by title
- Get Single Response: Retrieves a specific submission from a form
- Custom API Call: Make a custom API call to a specific endpoint
💡 Use Case Spotlight
In this section, you will learn how to build 2 powerful workflows with Fillout and Activepieces
Use Case 1
Lead Qualifier
In this flow, whenever someone fills out a form on Fillout, Perplexity AI is used to search for information about the company that was submitted in the form. After that, you have an AI lead scoring step that rates the company from 1 to 10 to see if it's a good lead. Depending on that score, if it's higher than 4, you'll then have another step with Perplexity AI to get more specific details about the company. Finally, all that information is entered into HubSpot.
Here is the template for this flow: https://cloud.activepieces.com/templates/c2VHnotmEJHaEU28jMrjb
Now let's see how it is built
Prerequisites for this flow
- Fillout Forms account
- Fillout API key: See how to get your Fillout API key here
- Activepieces Account
- Perplexity API
Step 1: Select your Trigger
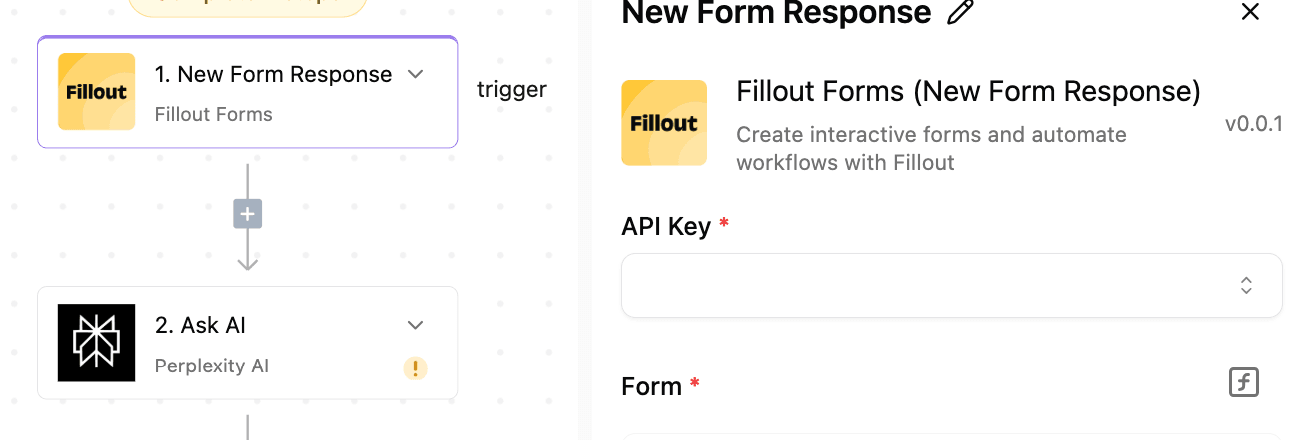
- Select the New Form Response Trigger from Fillout Forms
- Add your API key and select the form you want to work with
Step 2: Add Perplexity AI
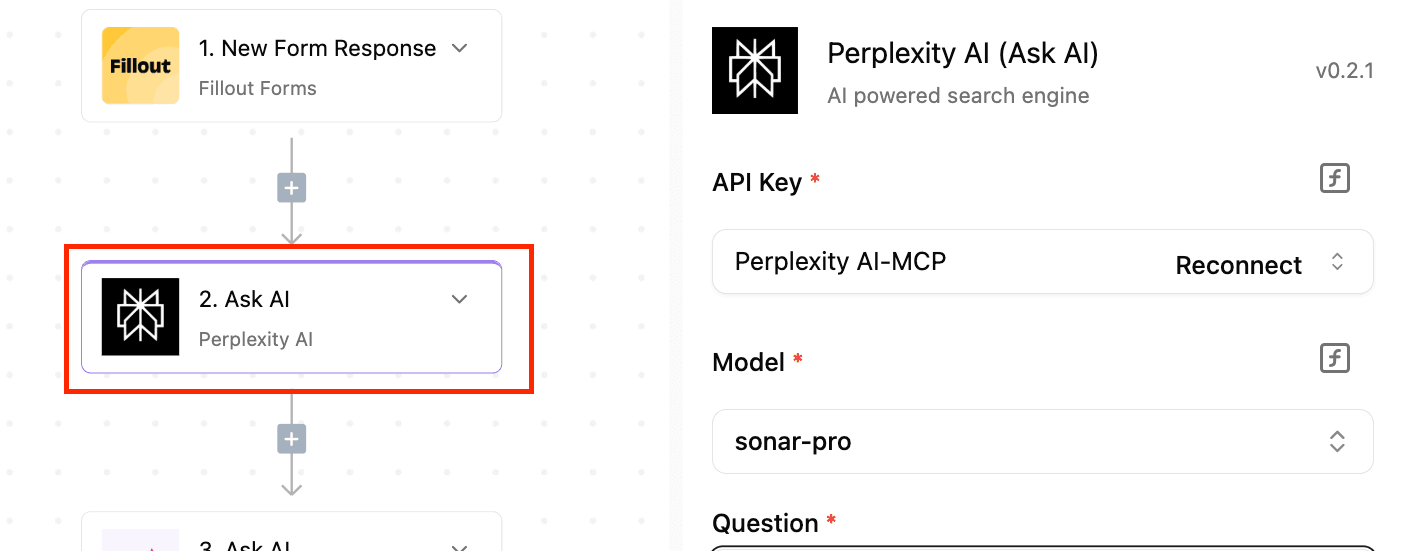
Perplexity AI will help you search for relevant information about the company.
Add your API key, select your preferred model, and type in your prompt.
Step 3: Add AI to Score The Company
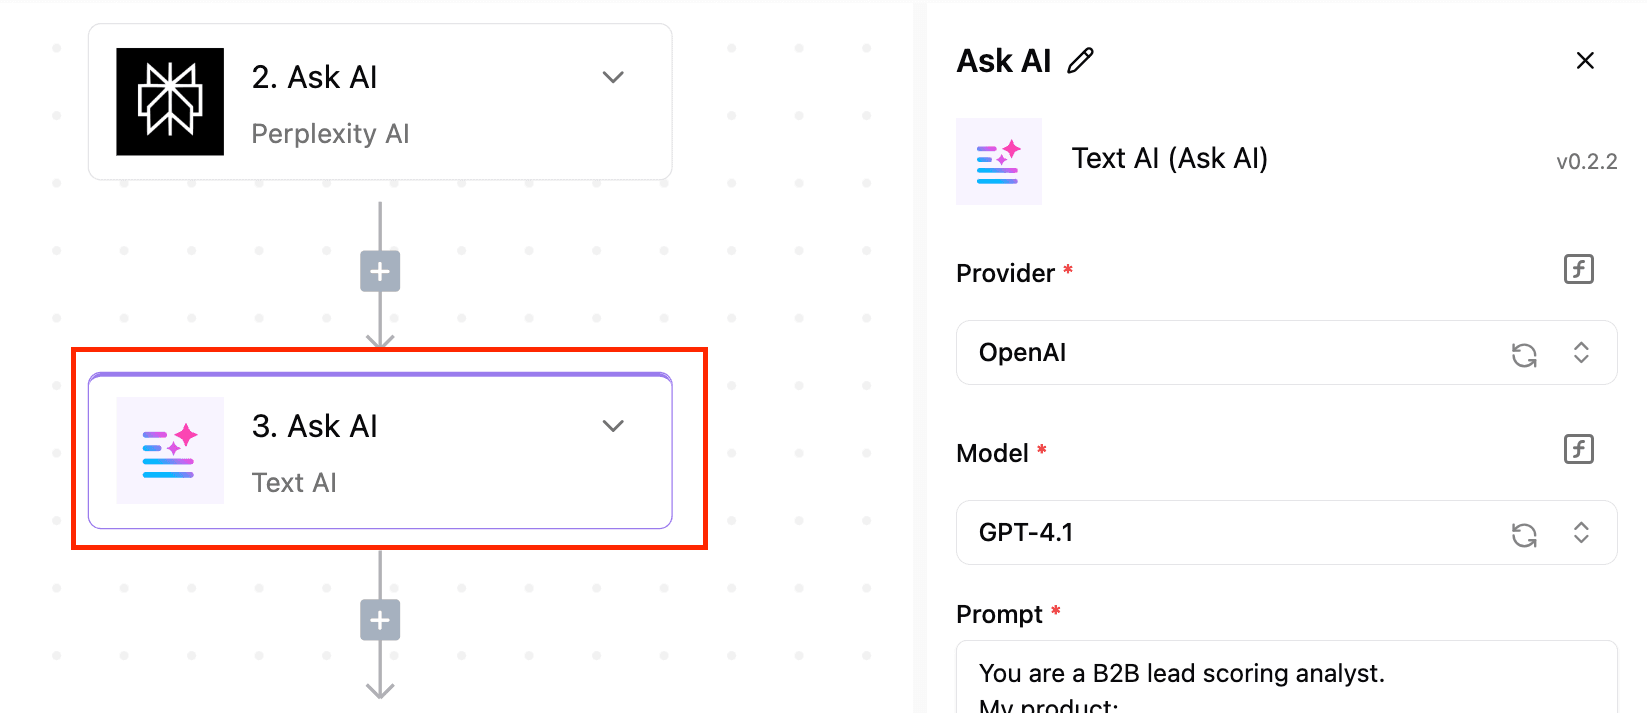
To use the Text AI step
- Click on the plus (+) sign below your last step,
- Type Text AI into the search bar, and select Ask AI.
Once you select this AI step, you need to select your provider, model, and add the prompt to help the AI know how to score the company
The prompt that was used in the flow can be found in the template on the Ask AI step
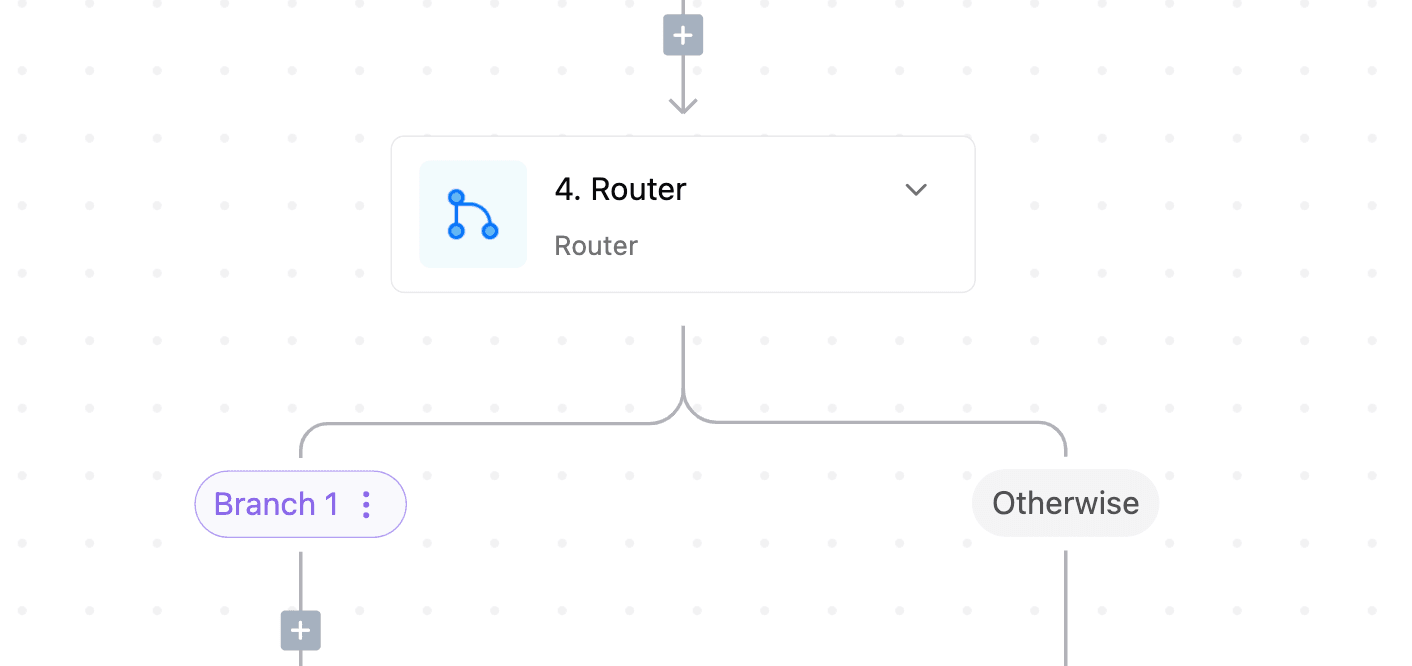
Step 4: Add The Router Step
The router helps the automation to carry out different actions based on certain conditions.
On Branch 1 will check if the result returned from the last step is greater than 4. If it is greater than 4, then it will carry out the next set of actions.
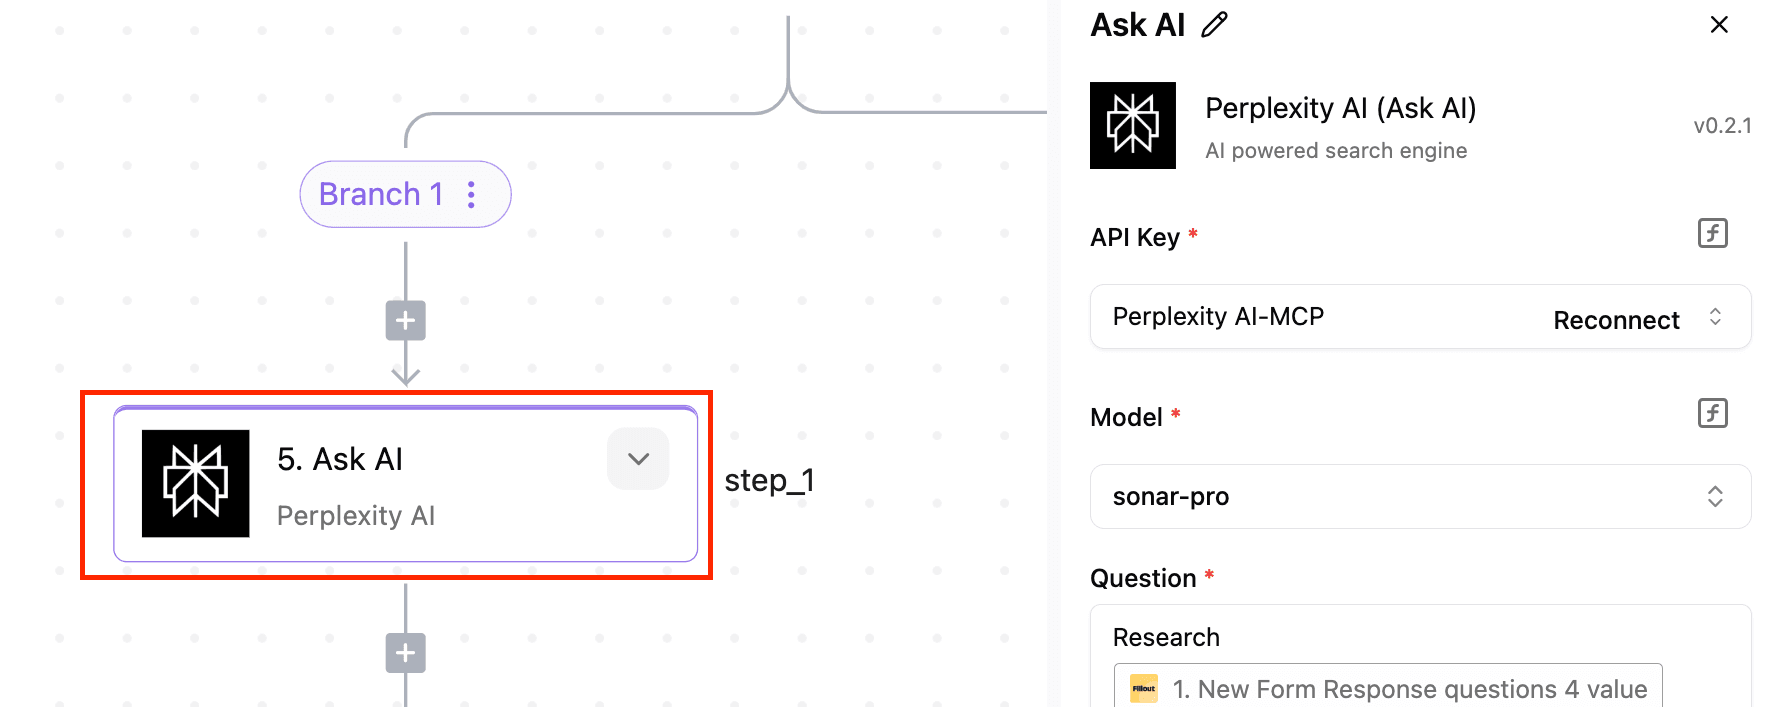
Step 5: Add Perplexity AI
If the company score is greater than 4, Perplexity AI will be used to get more specific information about the company
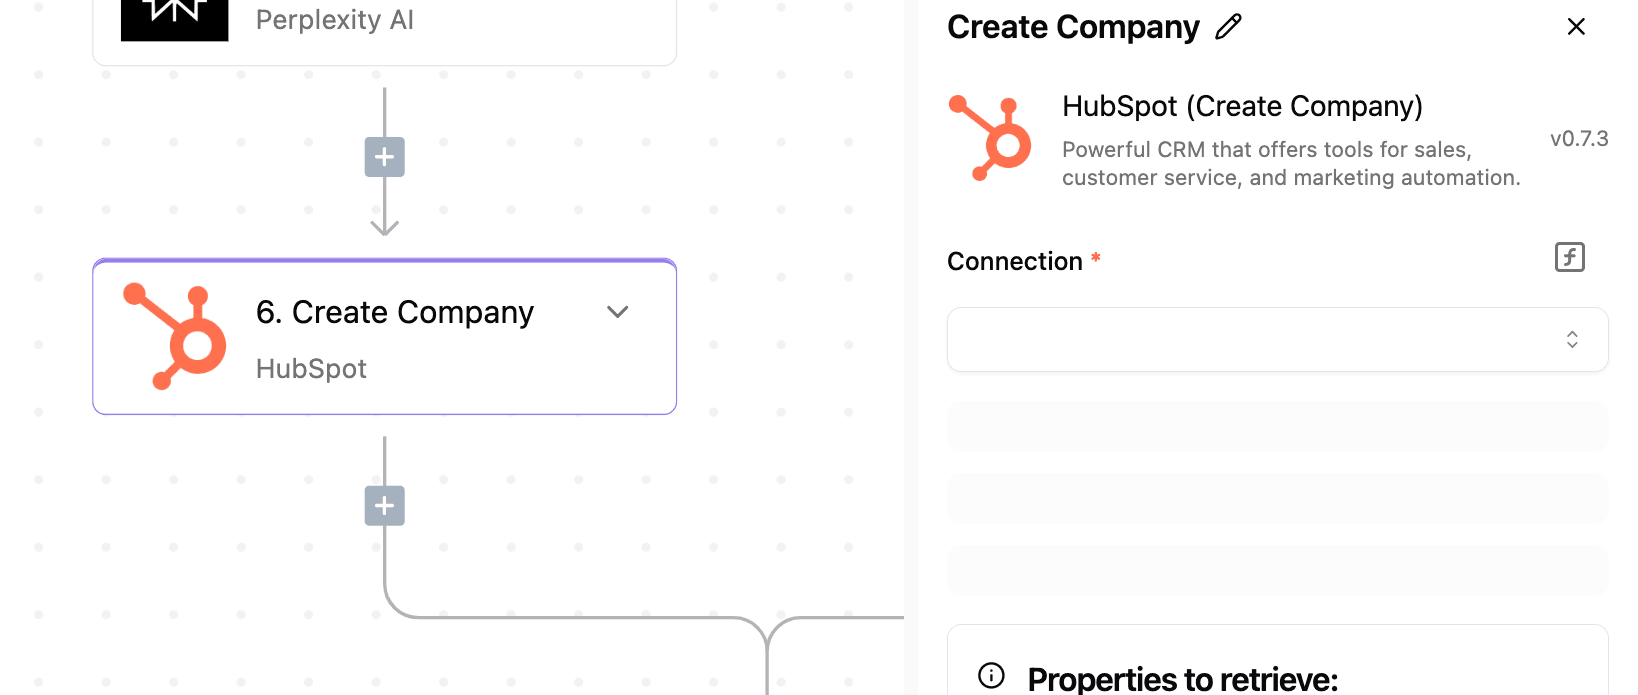
Step 6: Create a Company in HubSpot
In this step, all the details from the previous step are used to create a new company data or a new company account in Hubspot
Use Case 2
Event Invite Sender
The flow starts when someone submits a form on Fillout. Then, it validates the email address using ZeroBounce to make sure it's a good email. If the email is valid, the flow adds that person as an attendee for the event and then sends them a personalized invitation email.
Here is the template for this flow: https://cloud.activepieces.com/templates/q7WsD4PFJTrAyNZq3mZvB
Prerequisites for this flow
- Fillout account
- Fillout API key: See how to get your Fillout API key here
- Activepieces Account
- Zerobounce Account and API Key
Step 1: Select your trigger
Select the New Form Response trigger from the Fillout piece. Then, enter your API key and select the form that you want to work with.

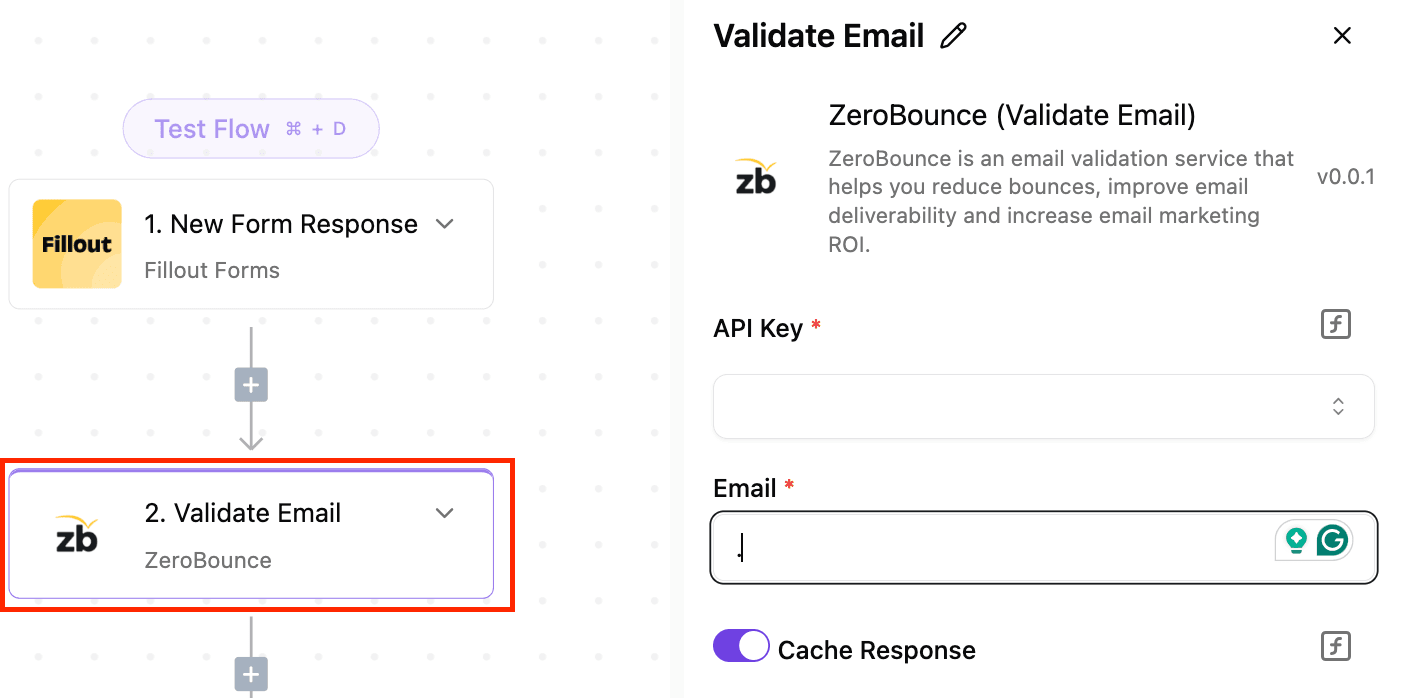
Step 2: Validate Email
Select the Validate Email action from ZeroBounce. Then, enter your API key and the email address. This step helps you validate the email addresses of people who fill out the form, so you know whether you should add them to the event.
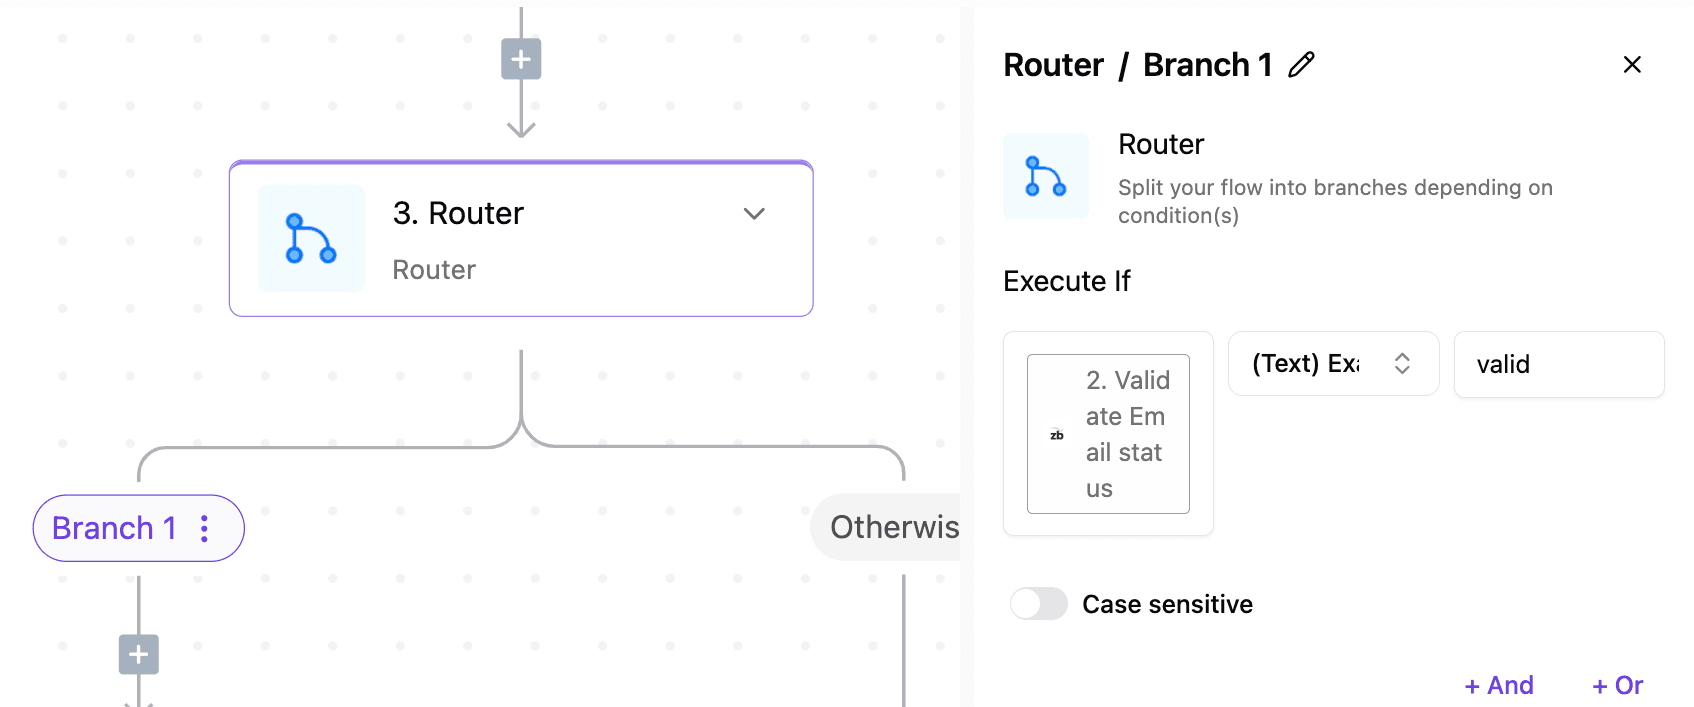
Step 3: Add Your Router
This step helps you take different actions depending on how valid the email is.
- Branch 1 checks for the email validity. If the email is valid, it will execute the next set of steps on the branch.
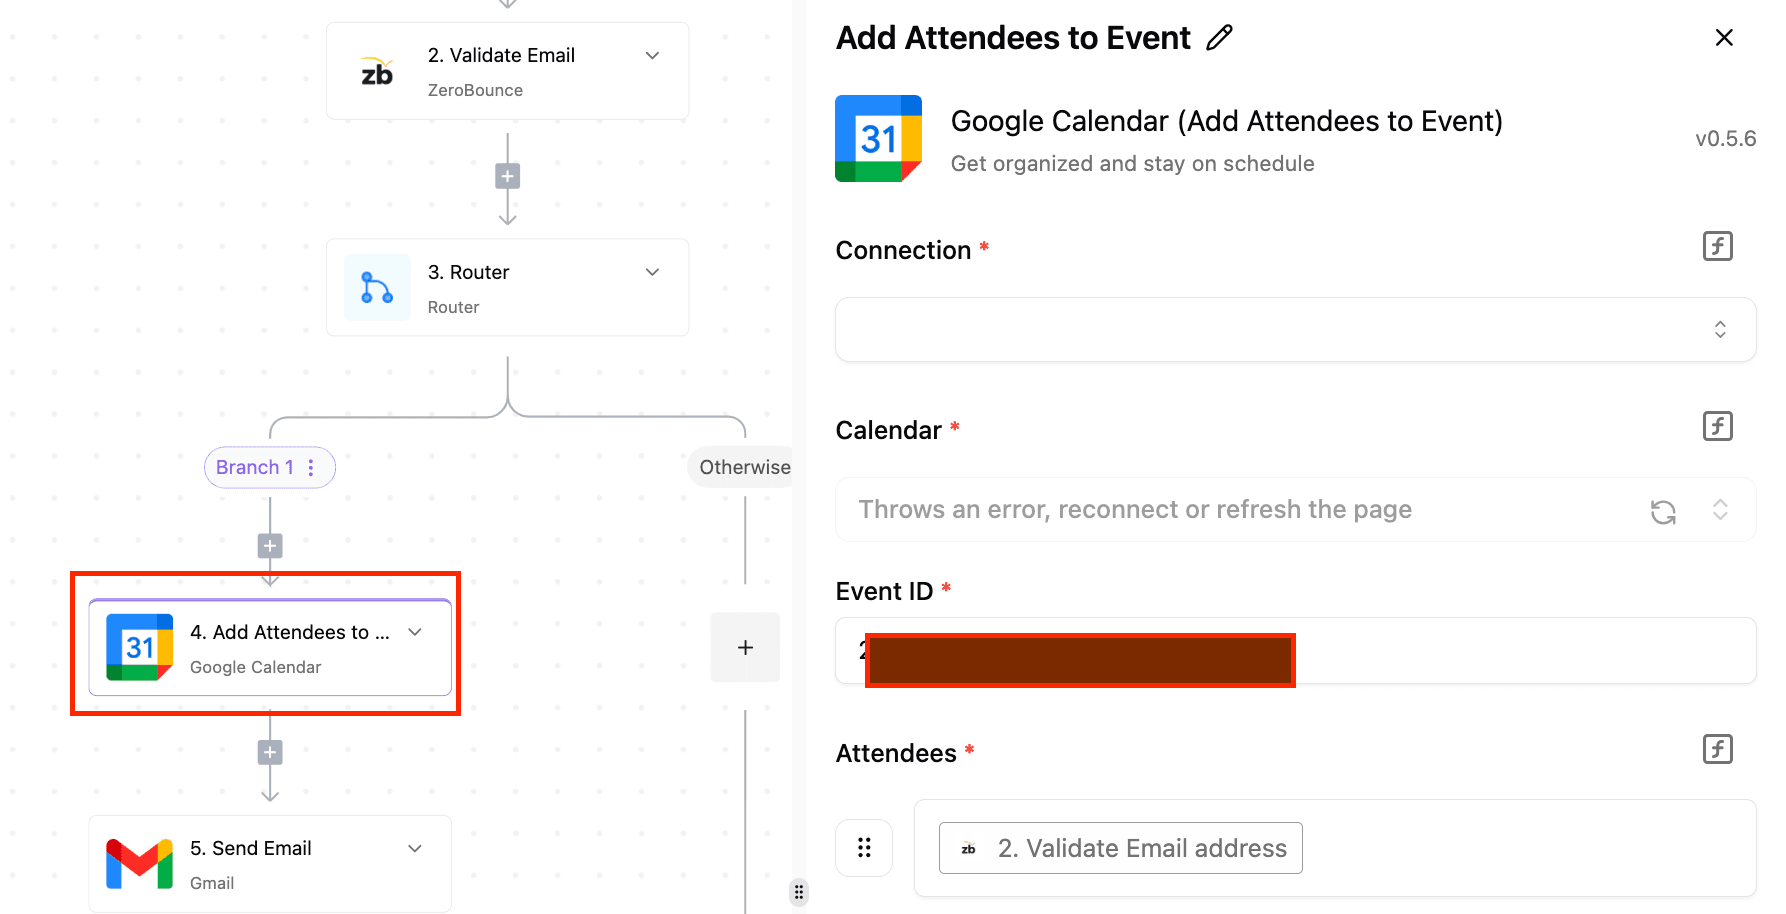
Step 4: Add Attendees to the Event
For this step, we're going to use the Add Attendee to Event action from the Google Calendar piece. Once the email has been validated as real and working by ZeroBounce, we want to add that email to the list of attendees for an event on your Google Calendar.
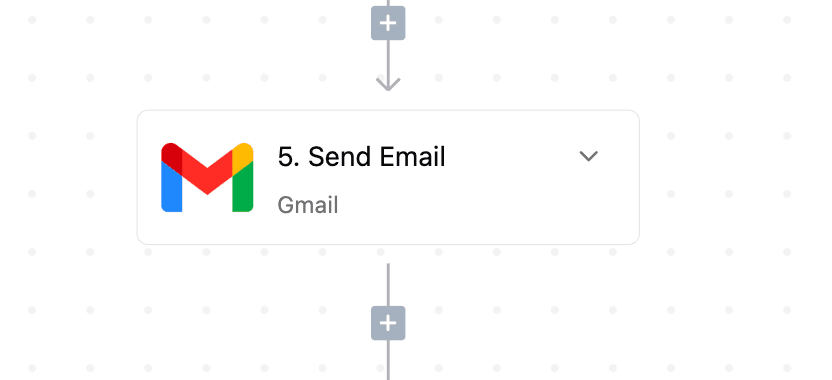
Step 5: Send email
Once we've added the email to the list of attendees on Google Calendar, send them a personalized invitation via email.
This is how easy it is to build powerful workflows with Fillout and Activepieces
📌 What’s Next?
- Start building: You can explore the Fillout Forms integration directly in Activepieces.
- Follow us on social for use cases, tutorials, and tips.
- LinkedIn: Fillout | Activepieces
- Twitter:Fillout | Activepieces


